Stampin’ Up!’s First Ever Virtual Album Retreat!
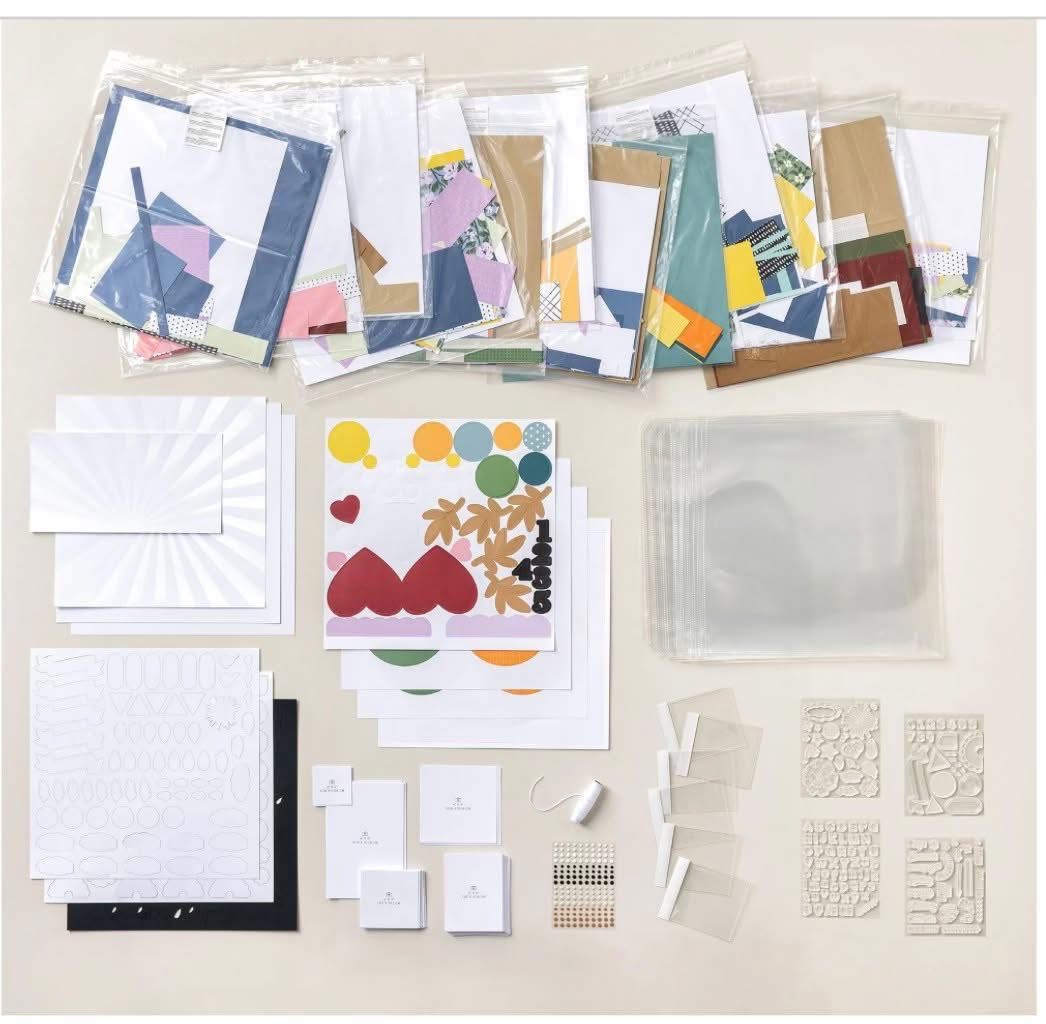
If you are looking for a fun & super productive scrapbooking event, you’ll definitely want to register for Stampin’ Up!’s First Ever Virtual Album Retreat! Close To My Heart used to offer these Album Retreats for years. They were super popular. And for good reason! Before CTMH decided to shut down, they had one more … Read more Stampin’ Up!’s First Ever Virtual Album Retreat!