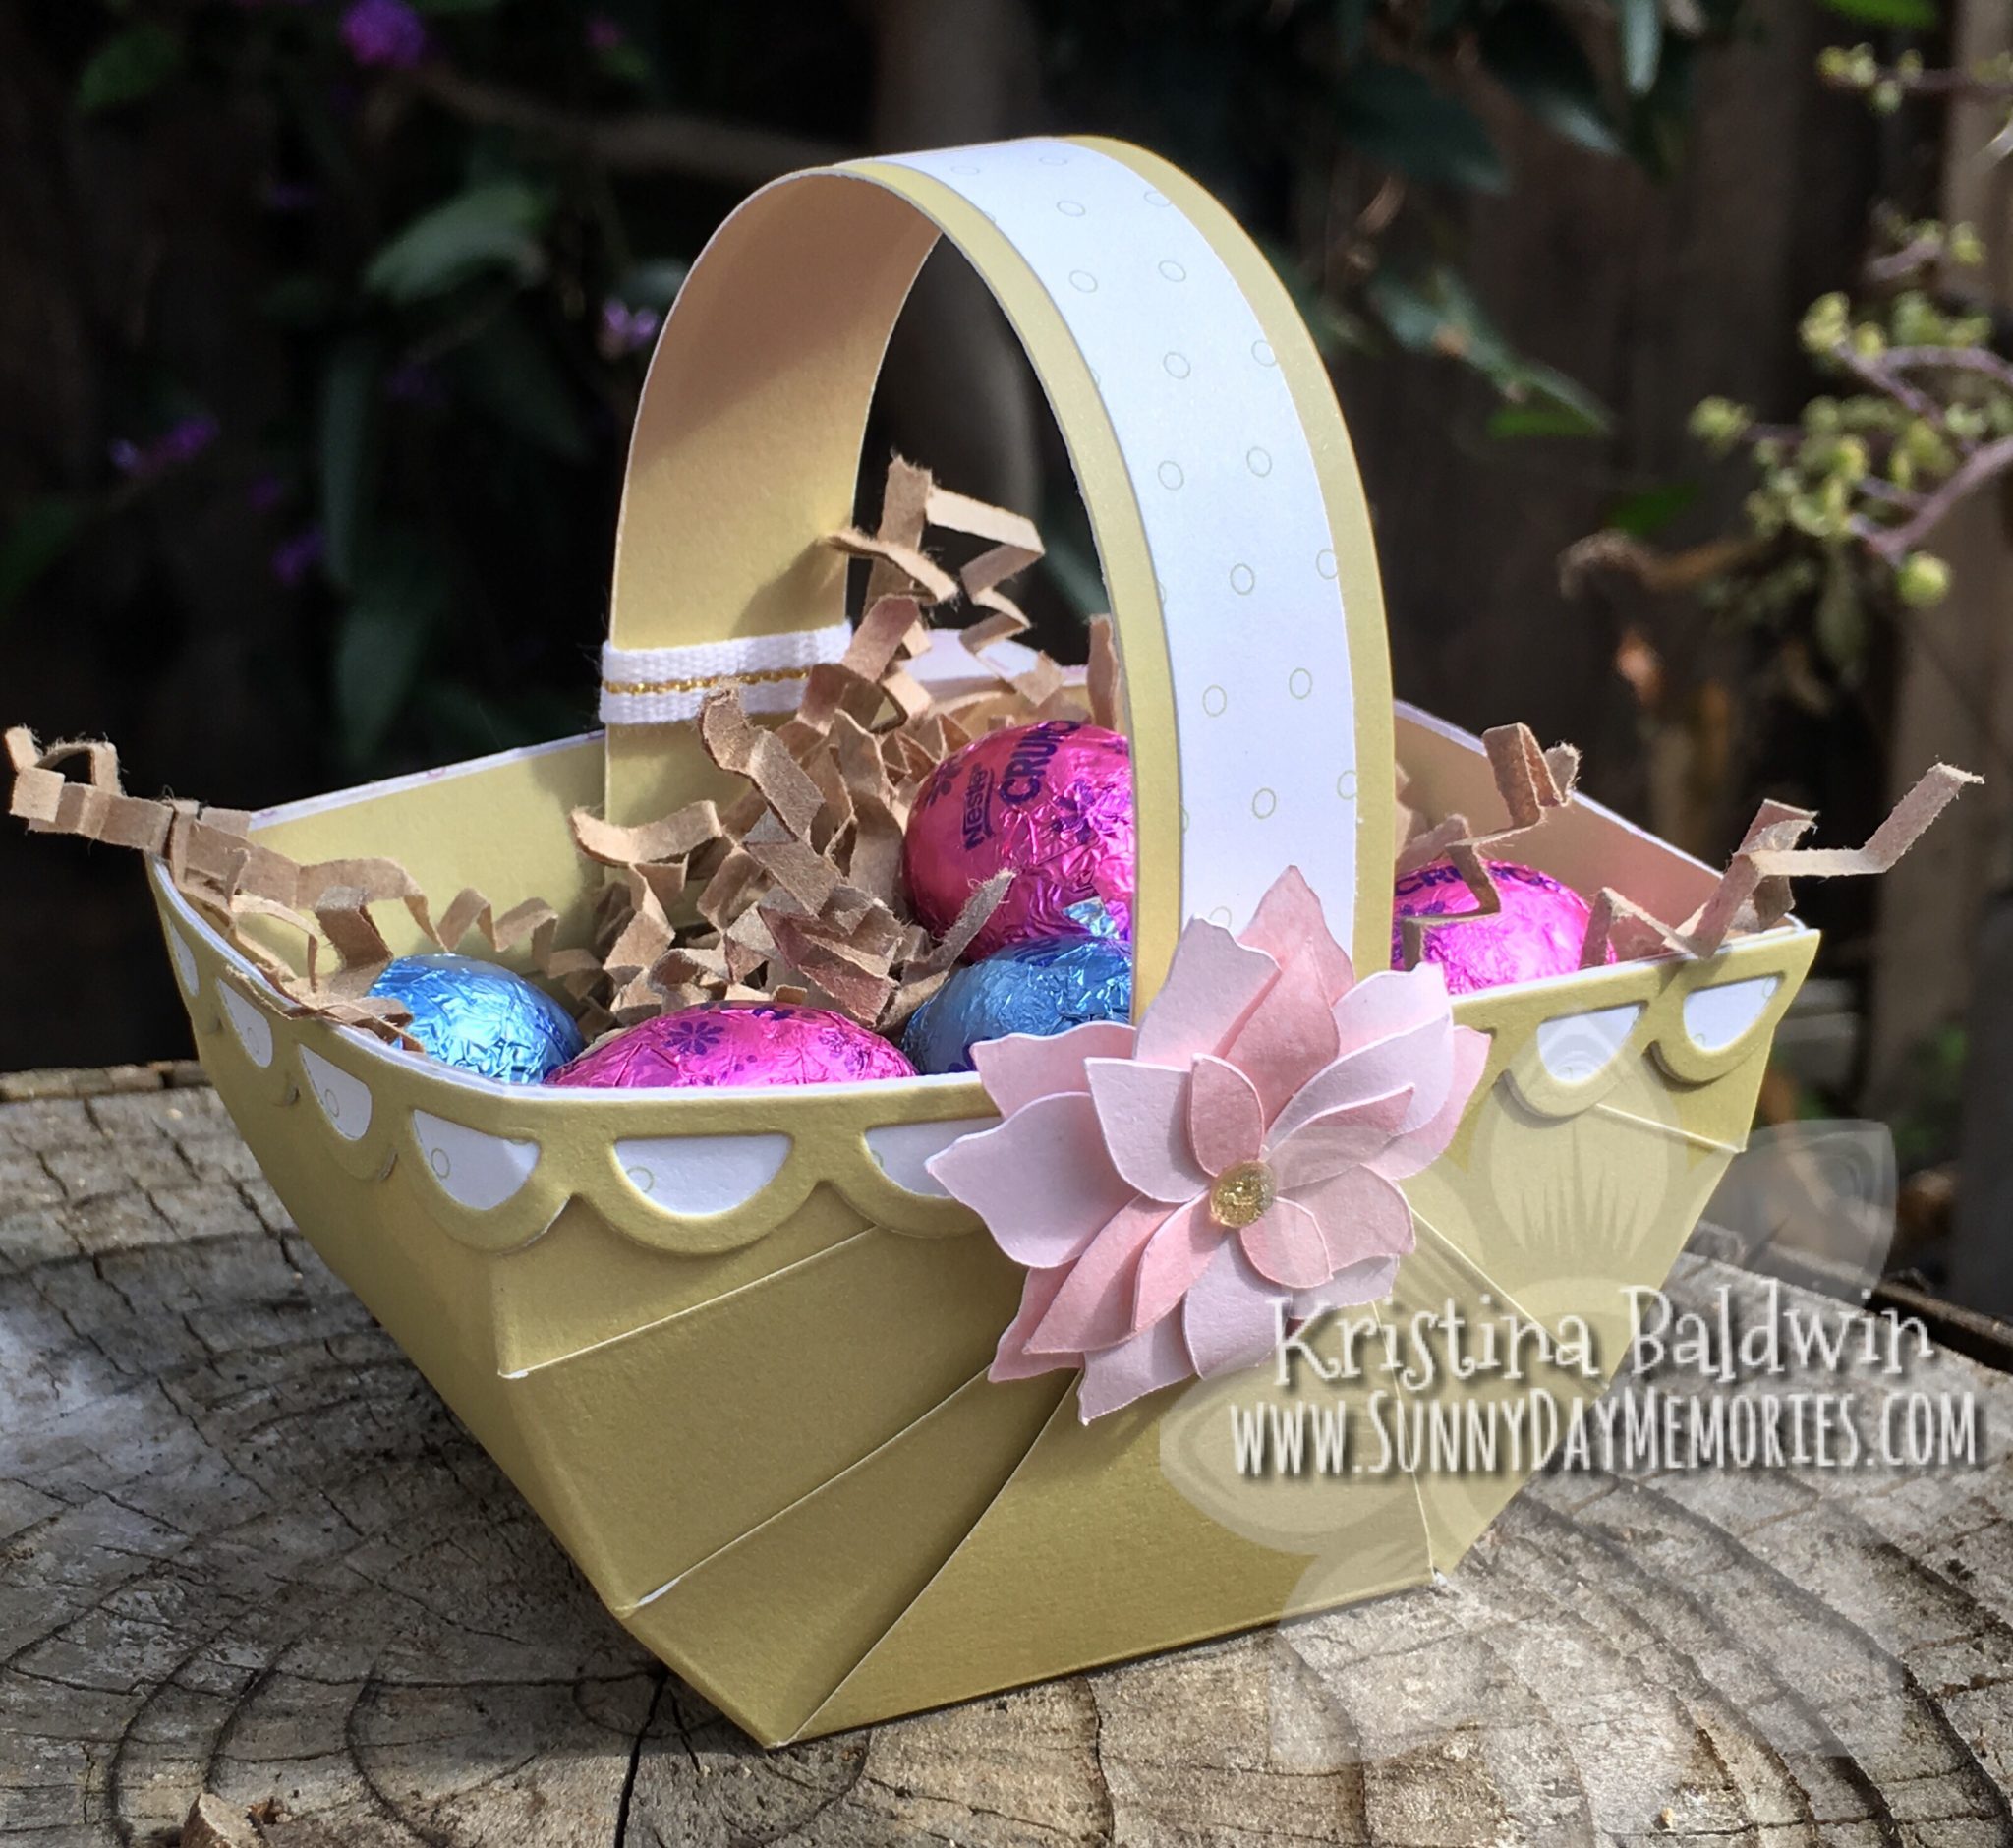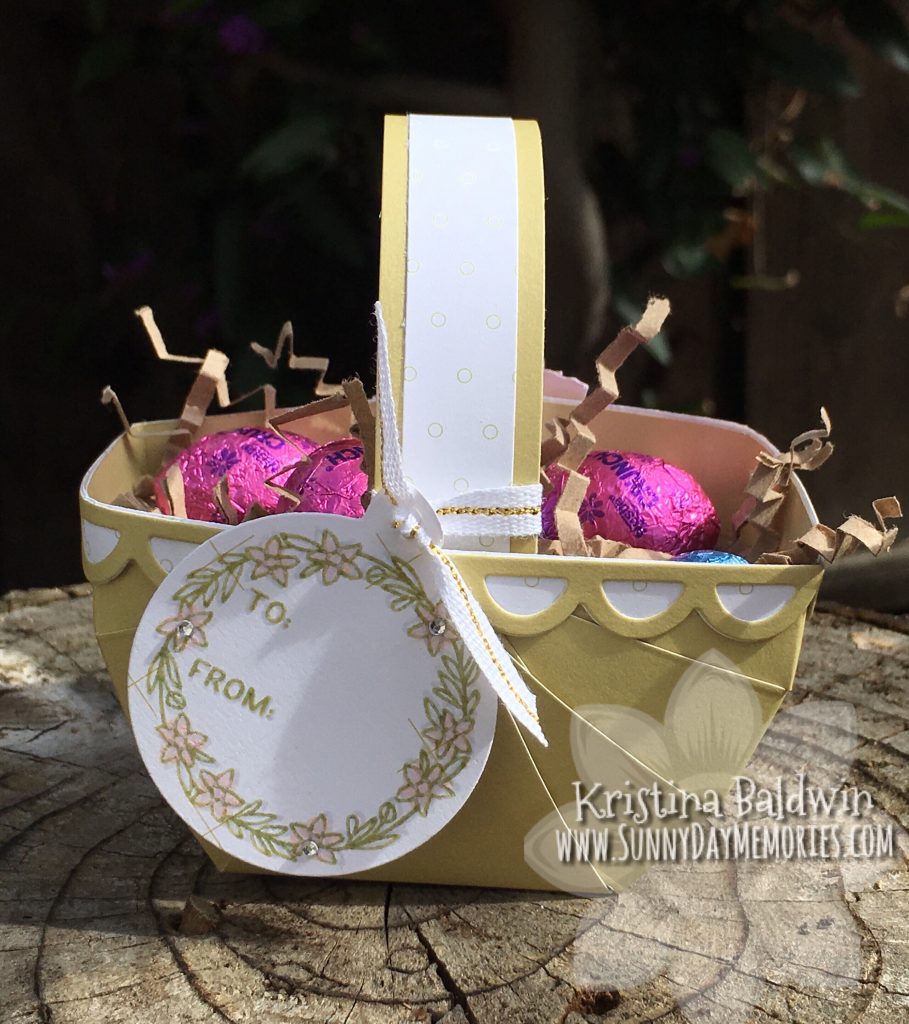
It’s only a few days until Easter. Are you ready? Need a cute mini Easter basket to give to someone special? Here’s the perfect one you can create in no time! Let me show you how.
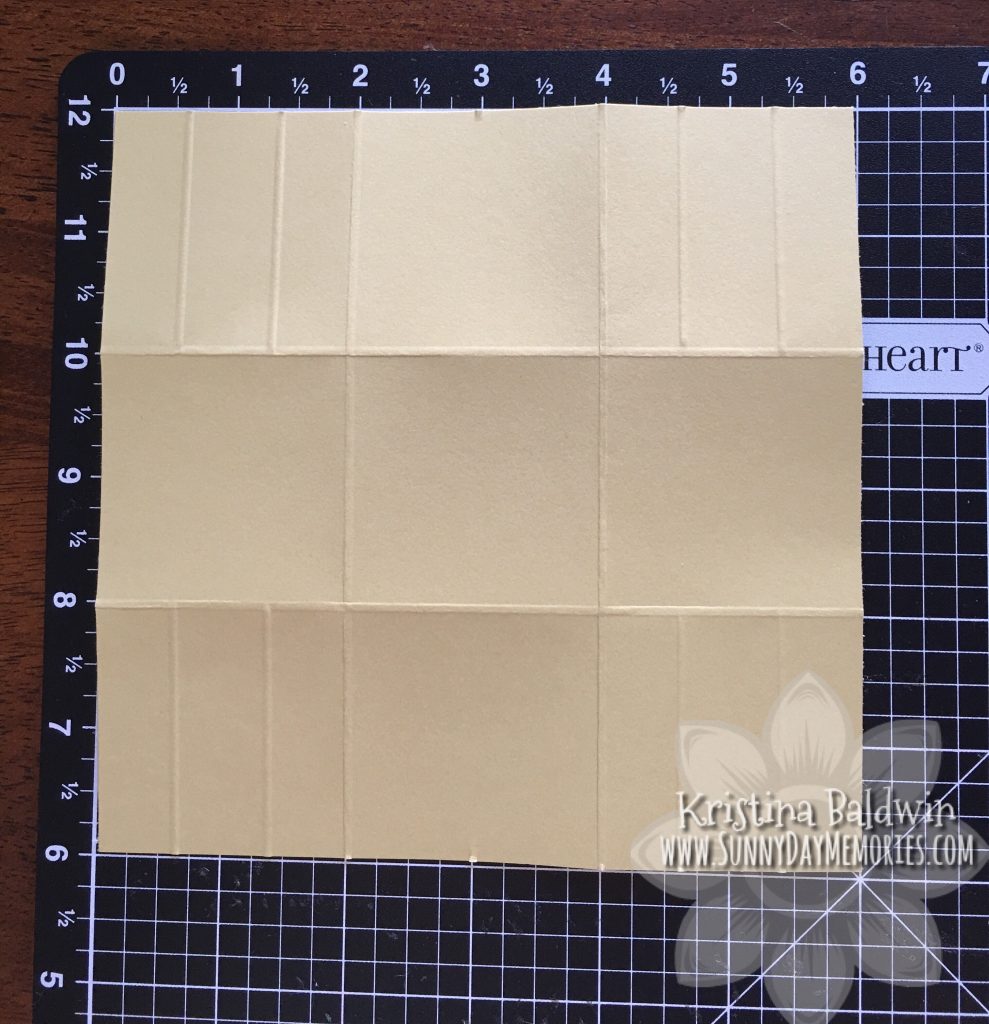
STEP 1:
First, you want to start with a 6″ x 6″ square of cardstock. With this piece you’ll want to make several score lines:
- score at 2″ and 4″; rotate 90 degrees and repeat
- score (only to the 1st score line) at 5/8″, 1-3/8″, 4-5/8″ and 5-3/8″; rotate 180 degrees and repeat
- make a small score mark at 3″ along the 2 sides you created the score marks
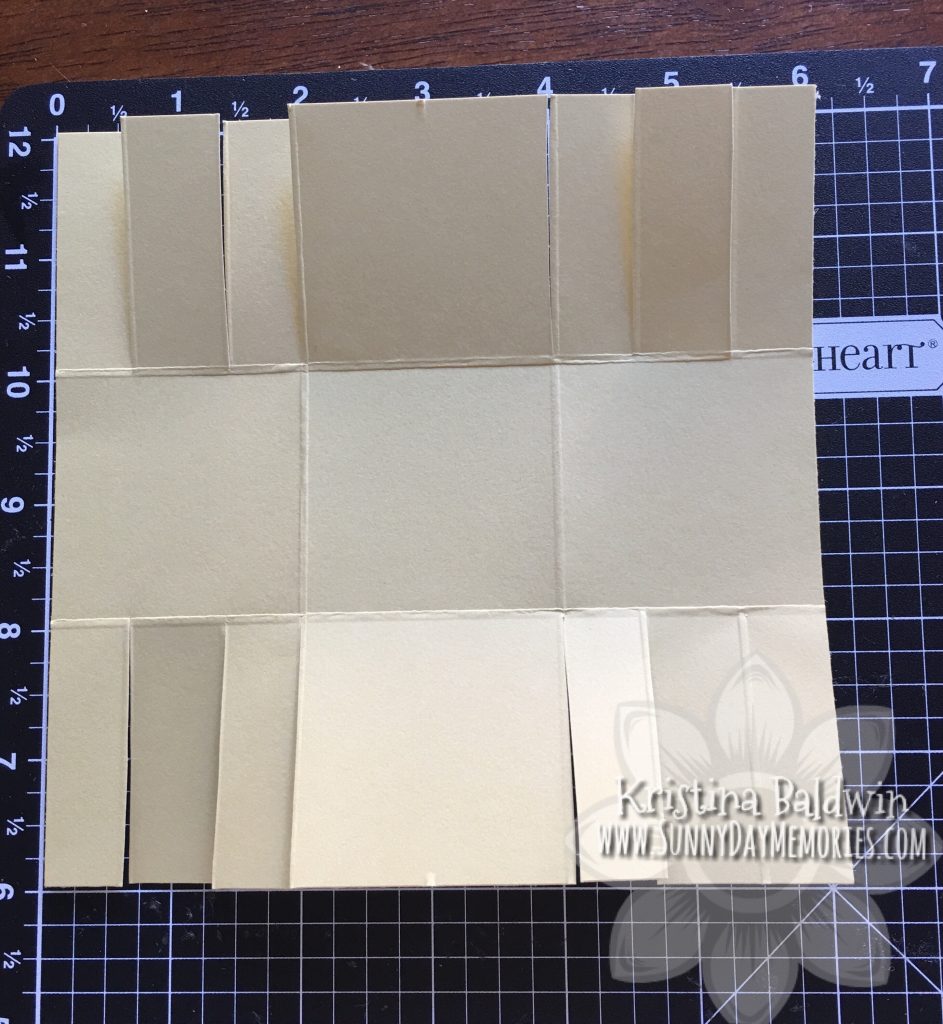
STEP 2:
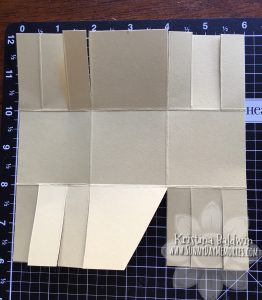
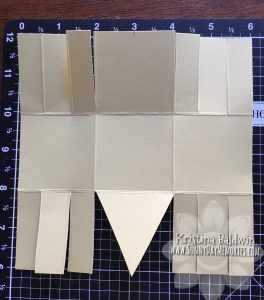
With a pair of Micro-tip Scissors cut along the 6 score lines as shown.
STEP 3:
Using the small score mark we made at 3″, make an angled cut to the intersection point of that first score mark to the right of it.
Then repeat cutting from the 3″ mark to the intersection point of the first score mark to the left of it. You’ll be left with a triangle.
You can totally do this freehand–I know it’ll seem scary, but it doesn’t need to be perfect. Trust me. 🙂 However, if it does cause you some discomfort, feel free to pull out a ruler and make a pencil mark from the 2 points to assist you with cutting (I won’t tell anyone!)
You’ll want to rotate your paper and do the same thing on the other side so you have matching triangles across from each other.
STEP 4:
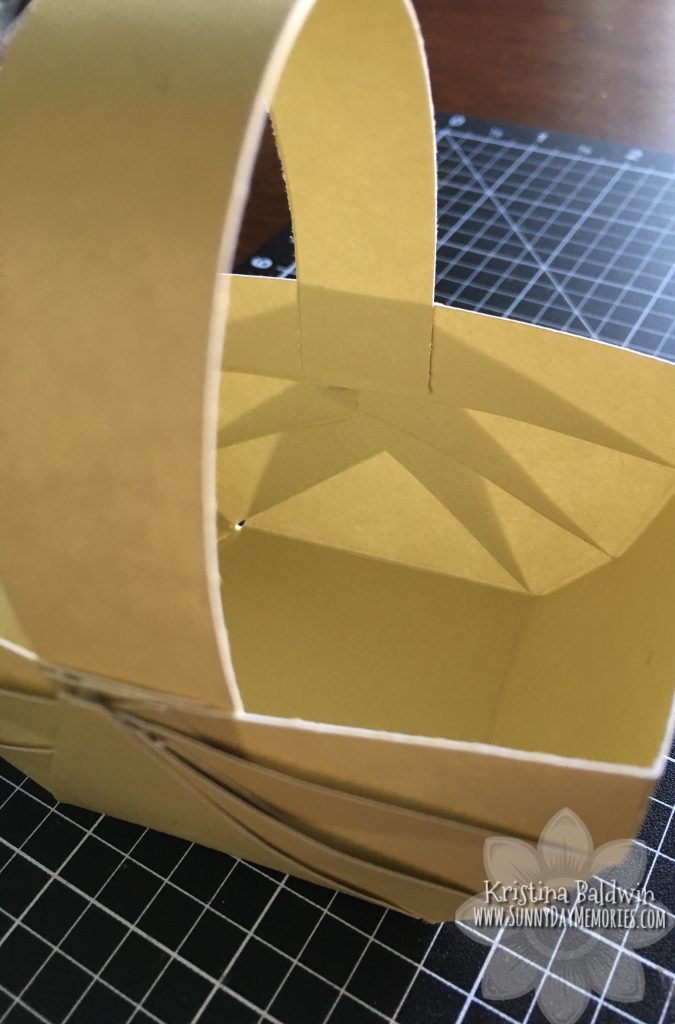
Now we are going to put the basket together. So it would be helpful to crease all your score lines if you haven’t done so yet.
*Note: this is going to look messy as we put it together, but trust me it will turnout darling once all complete!
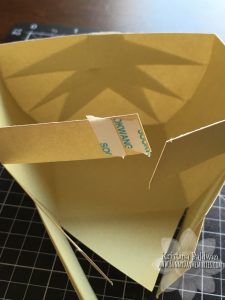
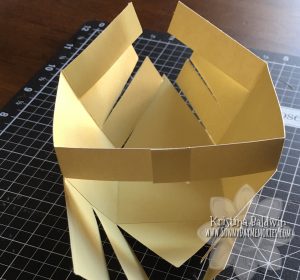
Starting with the outside strips, you are going to adhere them together, overlapping about 1/2″. My tip for this is to use a strong adhesive tape like Scor-Tape. If you use the 1/4″ size, like I do, you can put 2 pieces side by side to guide you on how far they should overlap. Easy trick, right?
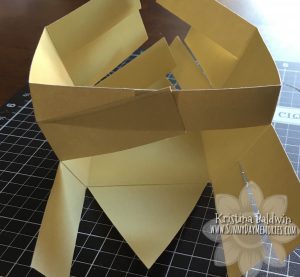
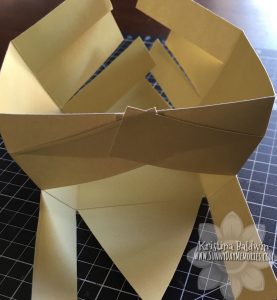
Next, you’ll bring the left side strip and adhere it. Follow that by adhering the right side strip. Repeat adhering the next left strip followed by the final right side strip.
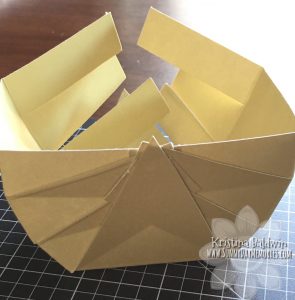
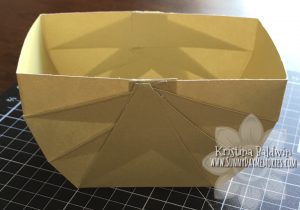
Only the triangle piece should remain. You’ll adhere that to the center of the strips to seal the side closed. You’ll repeat this same process on the other side of the basket. Once done, you can do any minor trimming you might like. However, most of this can be covered by adding some embellishments like a flower or a gift tag.
STEP 5:
It’s now time to do your handle to your basket. If you wish for yours to be placed like mine is, you’ll want to cut a strip of cardstock 3/4″ x 6″. I adhered mine to the inside of the basket flush with the first seam from the top of the basket on both sides. *If you wish to have a patterned piece in the center of your handle like mine, you’ll want to adhere those together before adding the handle to the basket. For the patterned piece you’ll want to cut it to 1/2″ x 6″.
Your basket is essentially done! All that remains is any of the finishing touches you might like to add.
For my basket, I added the beautiful scallop border around the top rim of it using CTMH’s Scallop Border Thin Cuts (which, by the way, are 25% off right now!) I also used the *NEW* Floral Tag Stamp along with the coordinating Circle Tag Thin Cut (again, 25% off!)–it seemed like the perfect accent to the basket.
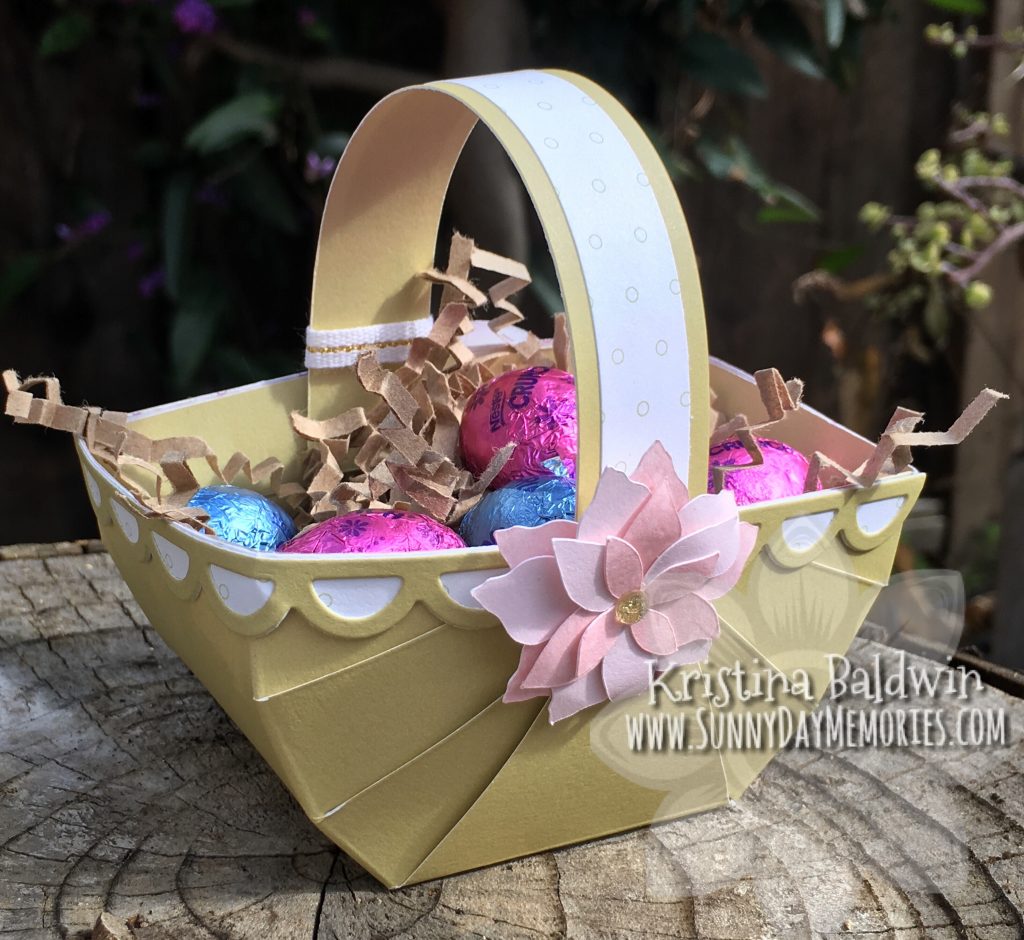
Since the flowers in the Floral Tag had more pointed petals, I decided to cut out a poinsettia from our Cricut Flower Market Collection in our Color of the Year–Bashful to add to the opposite side of the basket. Since our cardstock is now 2-tone, I alternated with each layer of the flower. I love how it turned out!
These mini baskets would also be super cute for Mother’s Day. They are the perfect size to put a gift card in it. I hope you’ve enjoyed this tutorial and make many darling baskets! If you need any supplies to create your baskets, please visit my ONLINE CTMH STORE.

