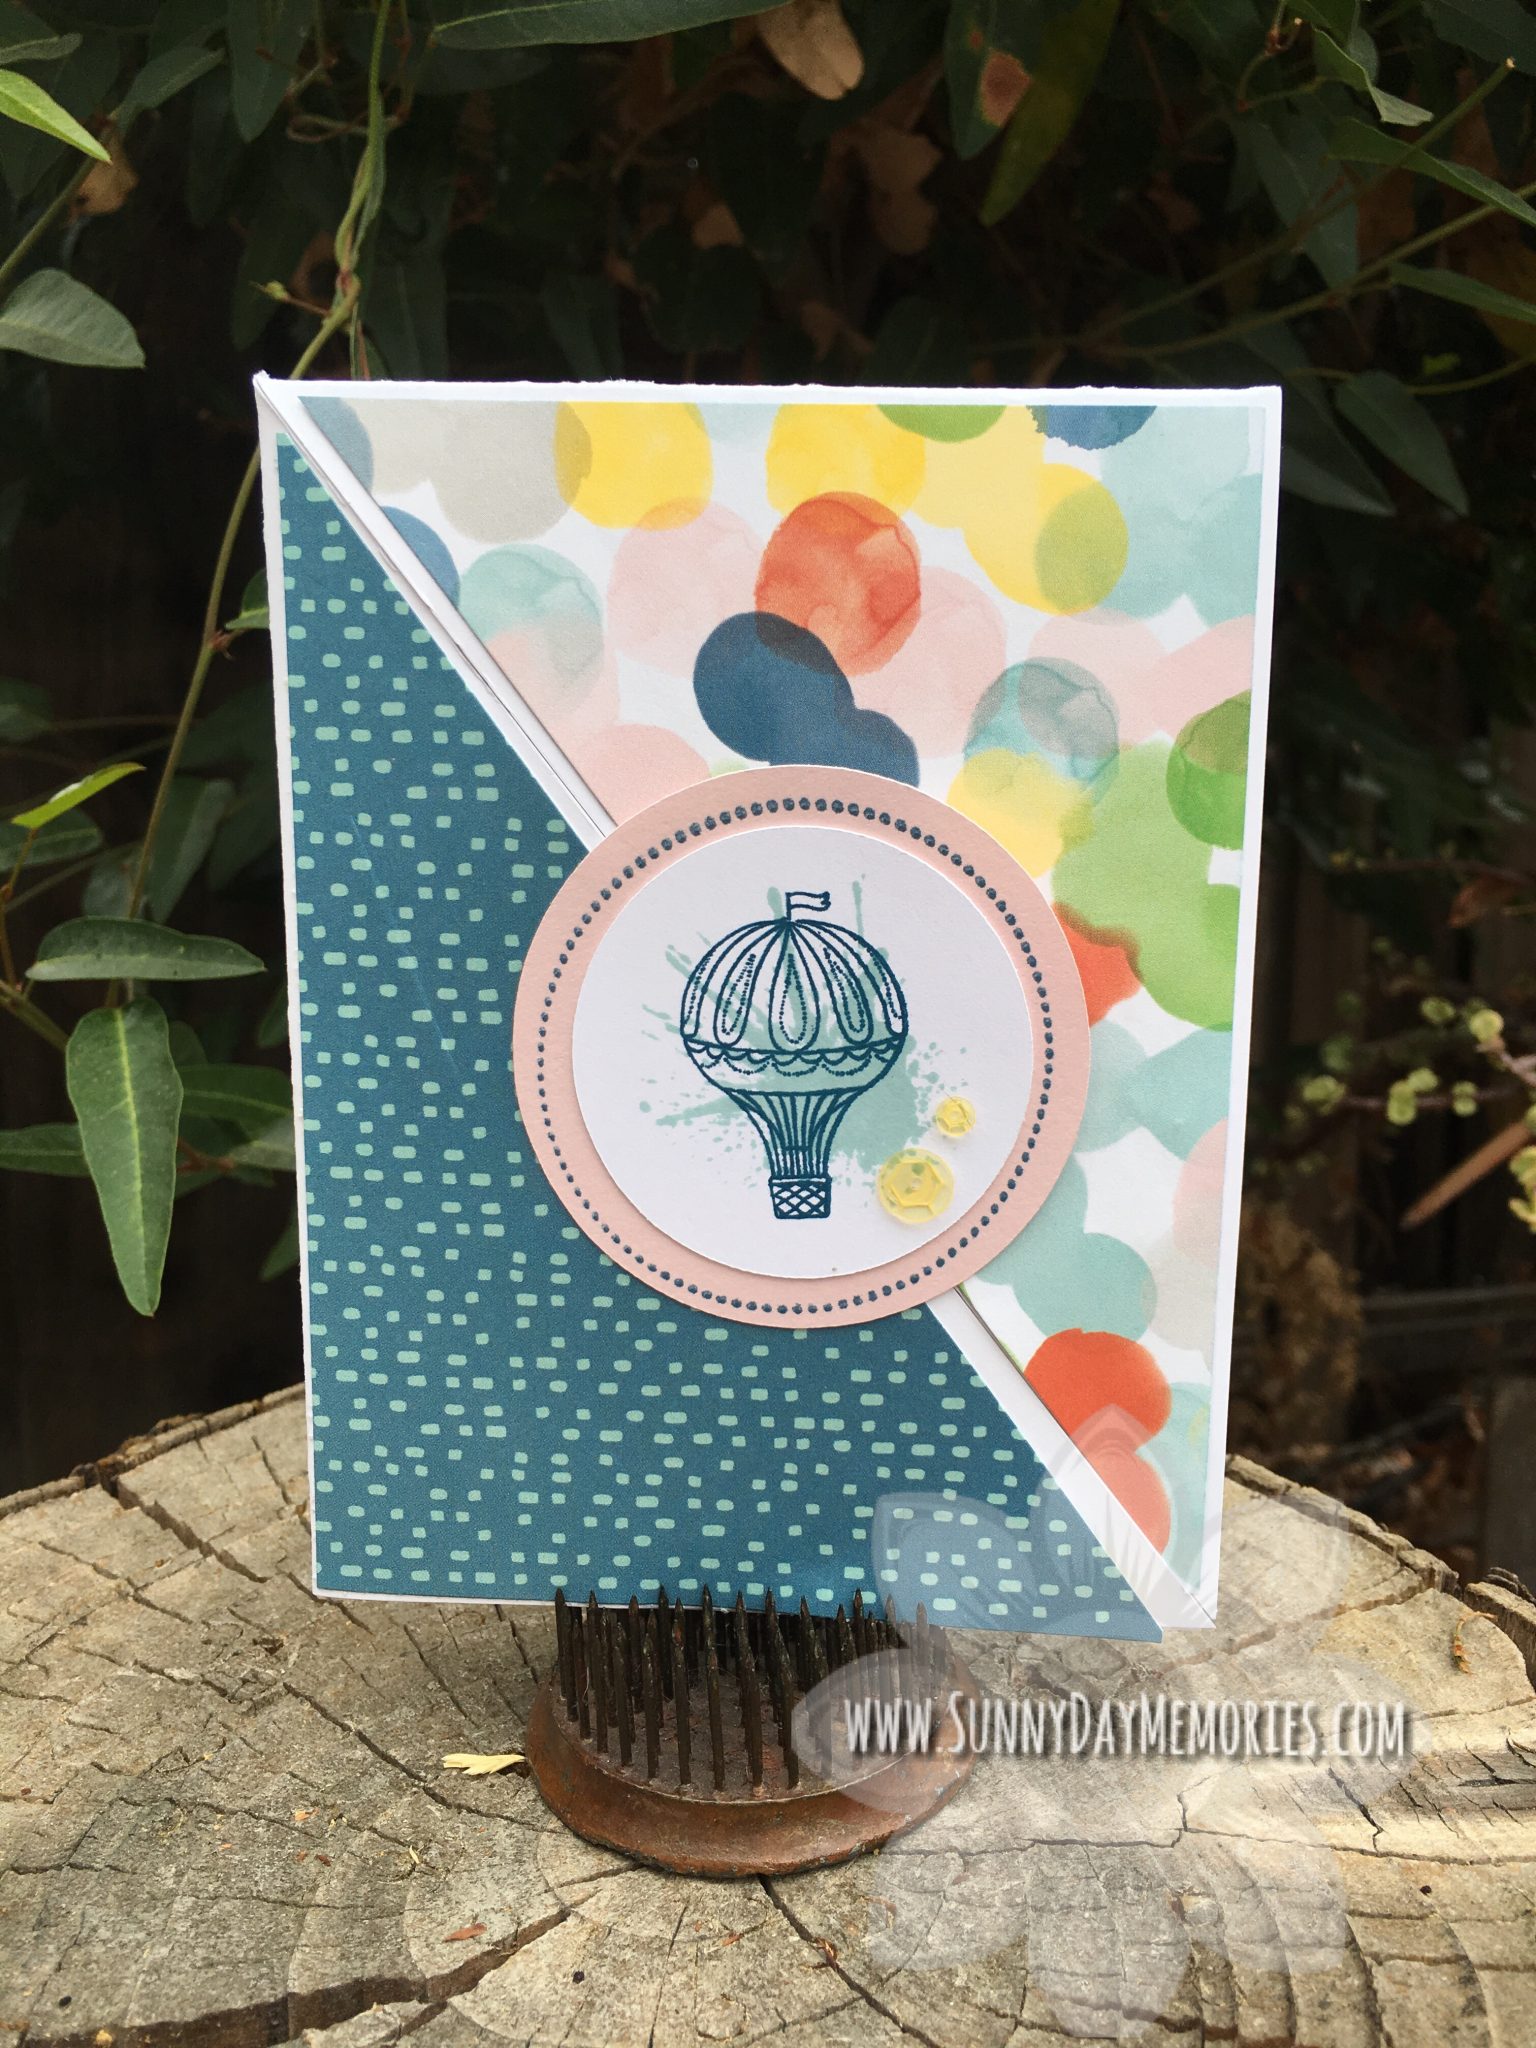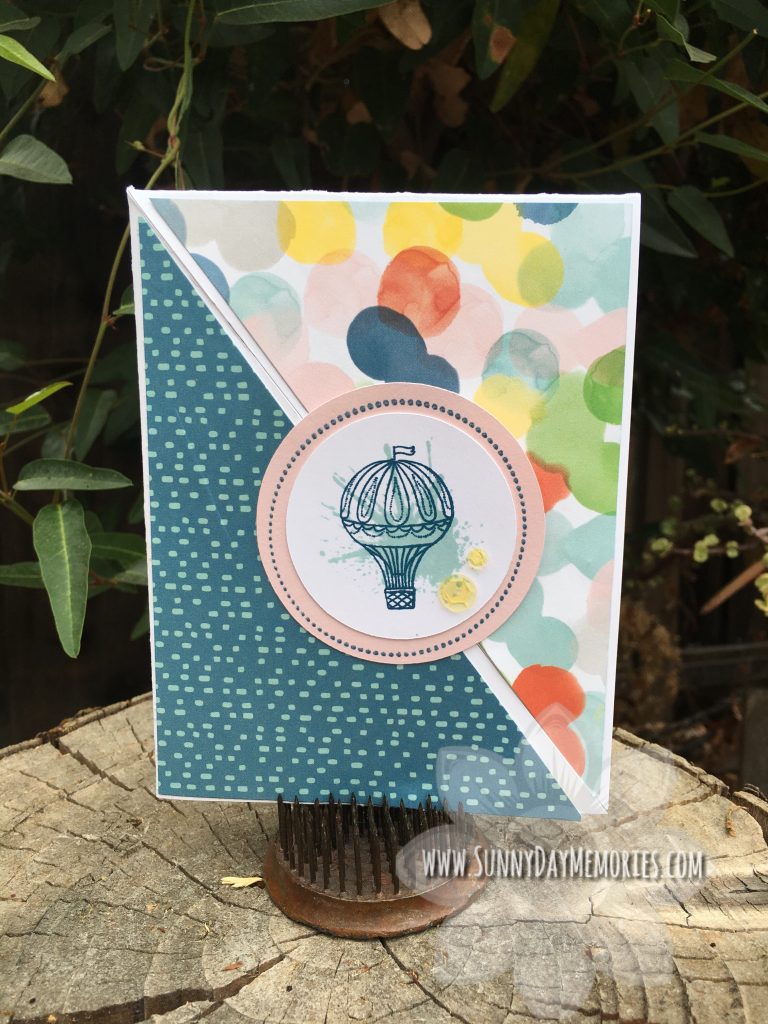
Last week I shared how I turned a “fail” on creating a Right Angle Fold Over Card into a success. I was inspired to create my own Right Angle Card after I received this one from Elizabeth Hawley. So today I’m going to share with you how simple it is to create a Right Angle Fold Over Card as well as how to create the Double Triangle Pocket Card I initially thought was a fail!
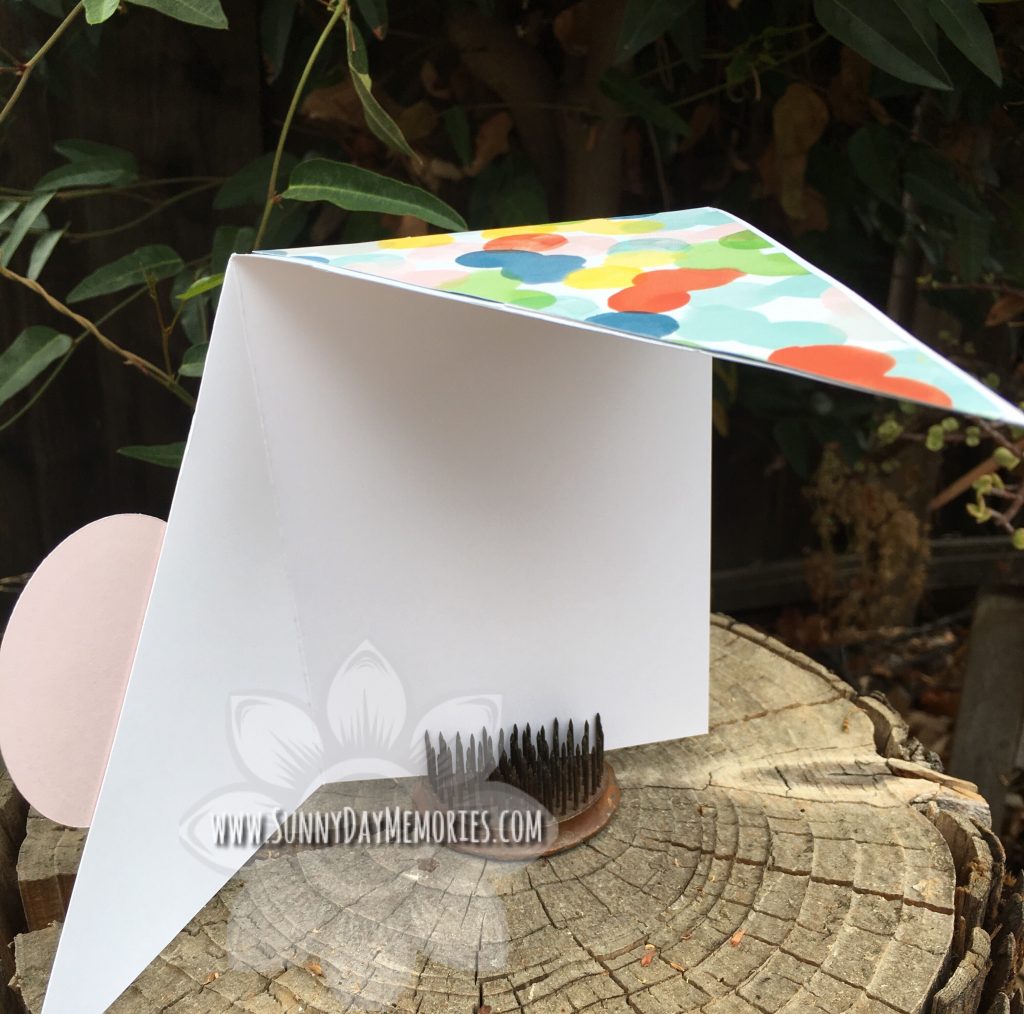
If you haven’t seen one of these cards before, you’ll quickly understand how it gets its name! This is the card half open.
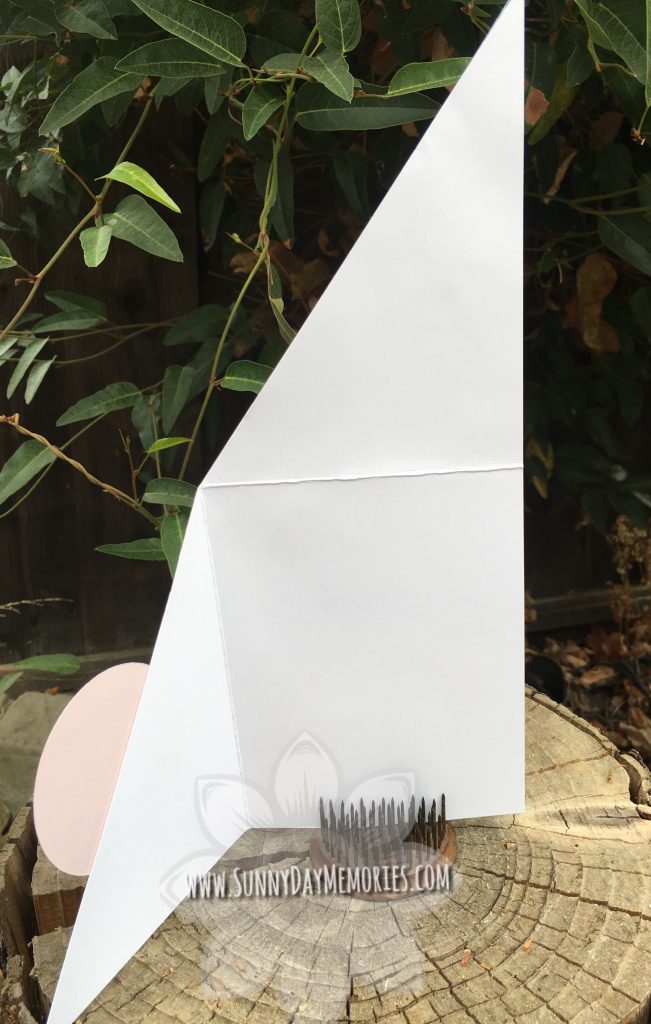
See how the 2 flaps open in different directions to create a right angle? Pretty fun, right?
Here’s how you can create this style card in 2 easy steps!
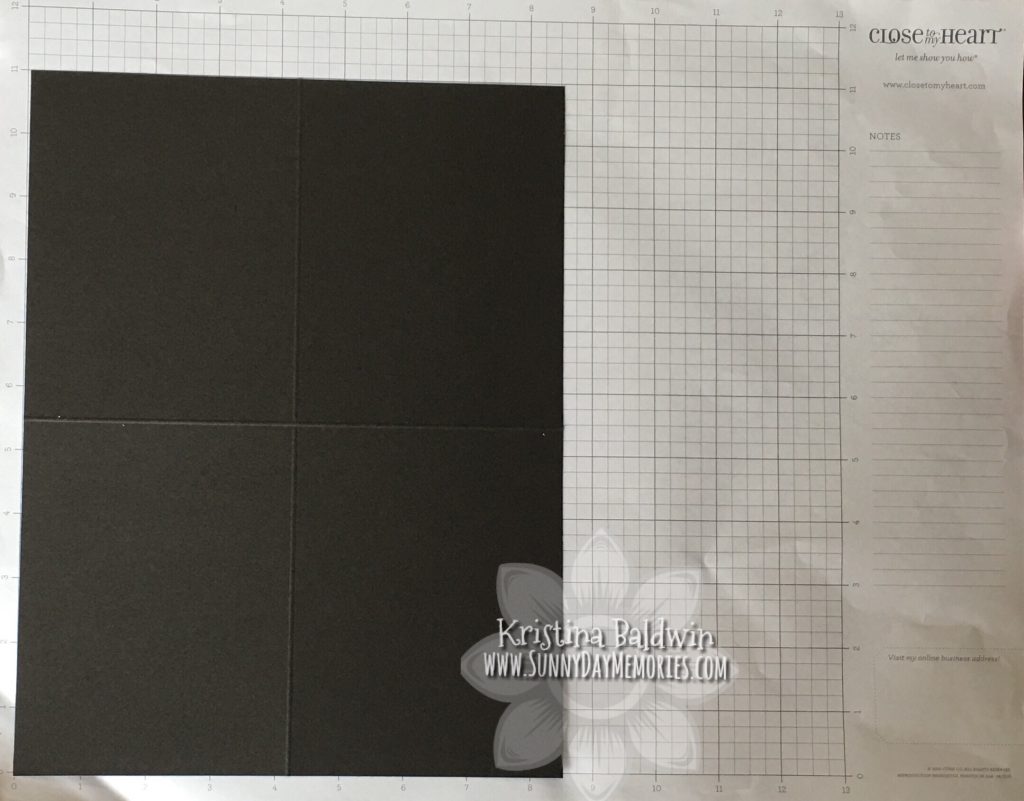
STEP 1:
First, you’ll want to cut cardstock/paper to 8-1/2″ x 11″. Then you want to score the piece in half lengthwise as well as in half width-wise (so it’ll be scored at 4-1/4″ and 5-1/2″.)
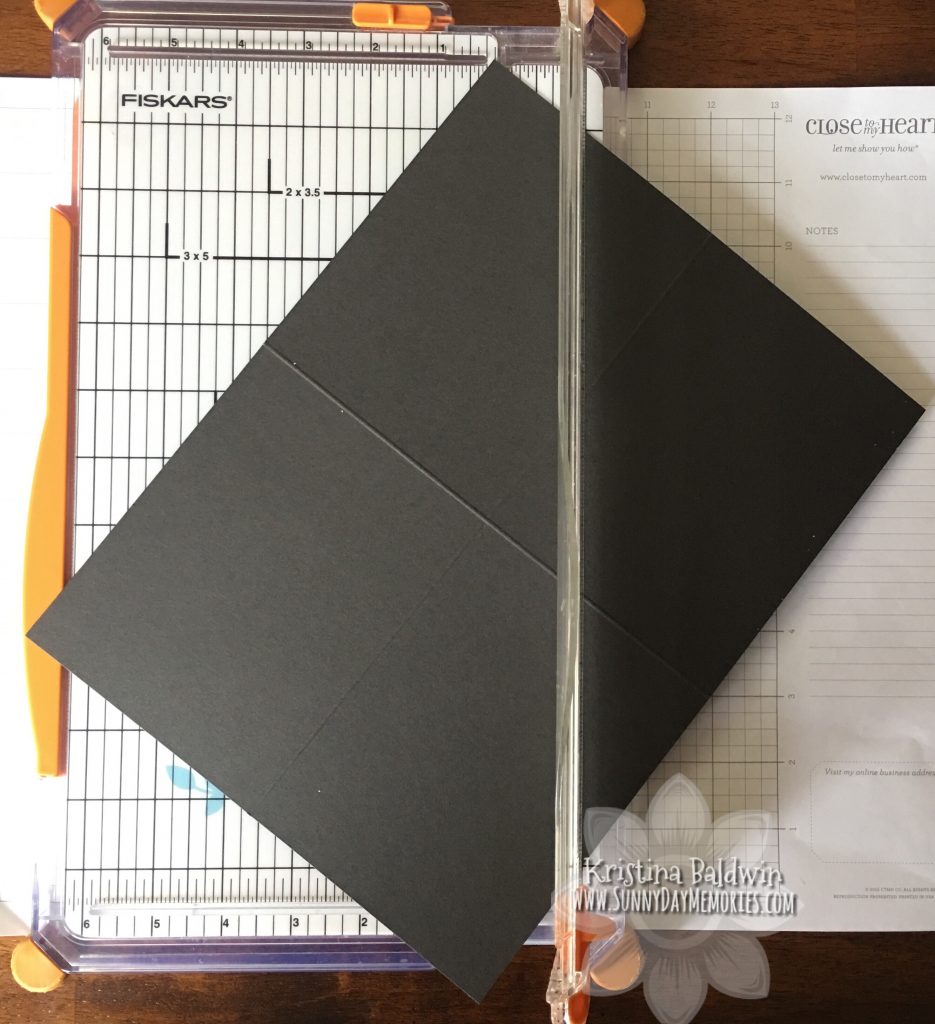
STEP 2:
Next, you want to cut your scored paper diagonally. This will get you 2 Right Angle Fold Over Card bases. To decorate the triangles you’ll simply cut a 4″ x 5-1/4″ piece of patterned paper and then cut it diagonally. These pieces will then fit nicely on your flaps.
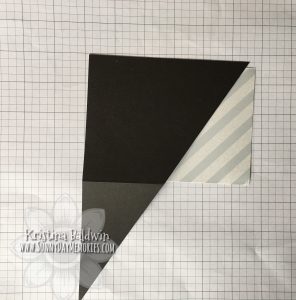
This diagonal cut is where my “fail” came into play. As you can see from my picture above, I realized that my paper trimmer didn’t allow for the full length of my paper for a diagonal cut. So instead of taking a ruler and some scissors, I thought it made sense to fold my paper in half and do the diagonal cut (in hindsight I completely see my faulty reasoning, but at the time it made total sense! LOL!)

STEP 3 (to create the Double Triangle Pocket Card):
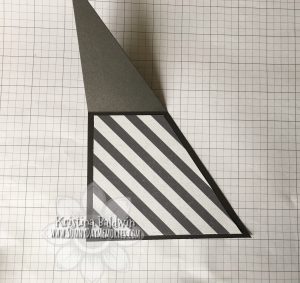
Fold your paper in half before making the diagonal cut. The result is 3 triangles!
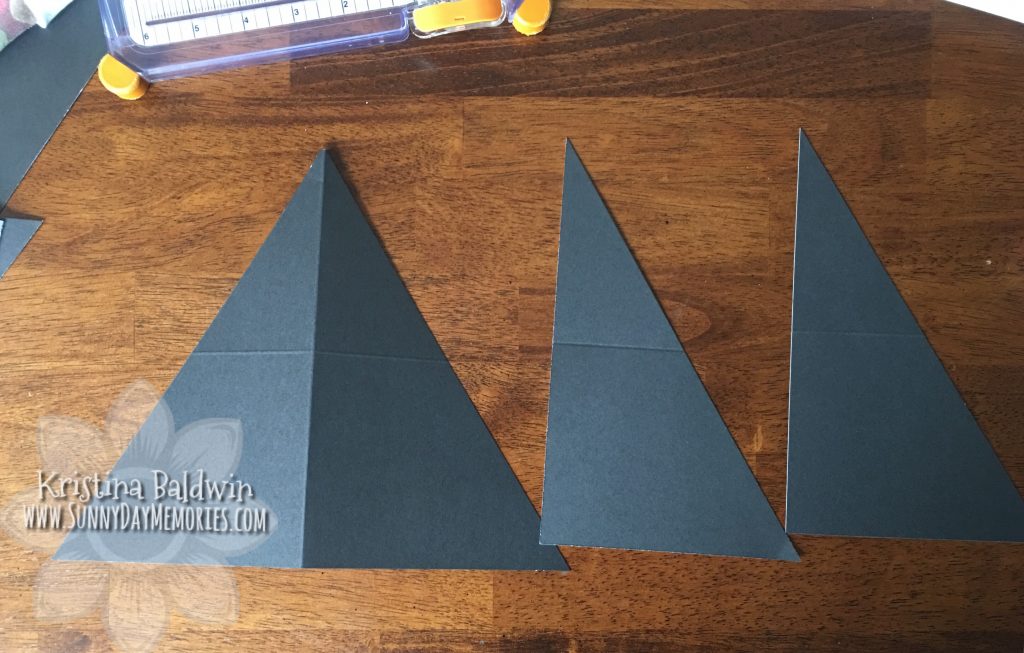
Rather than waste my mistake, we’re going to put them together to create a fun pocket card!
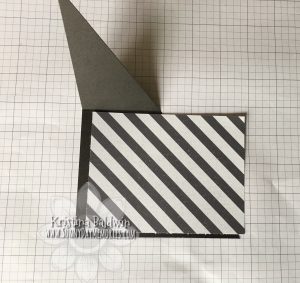
STEP 4:
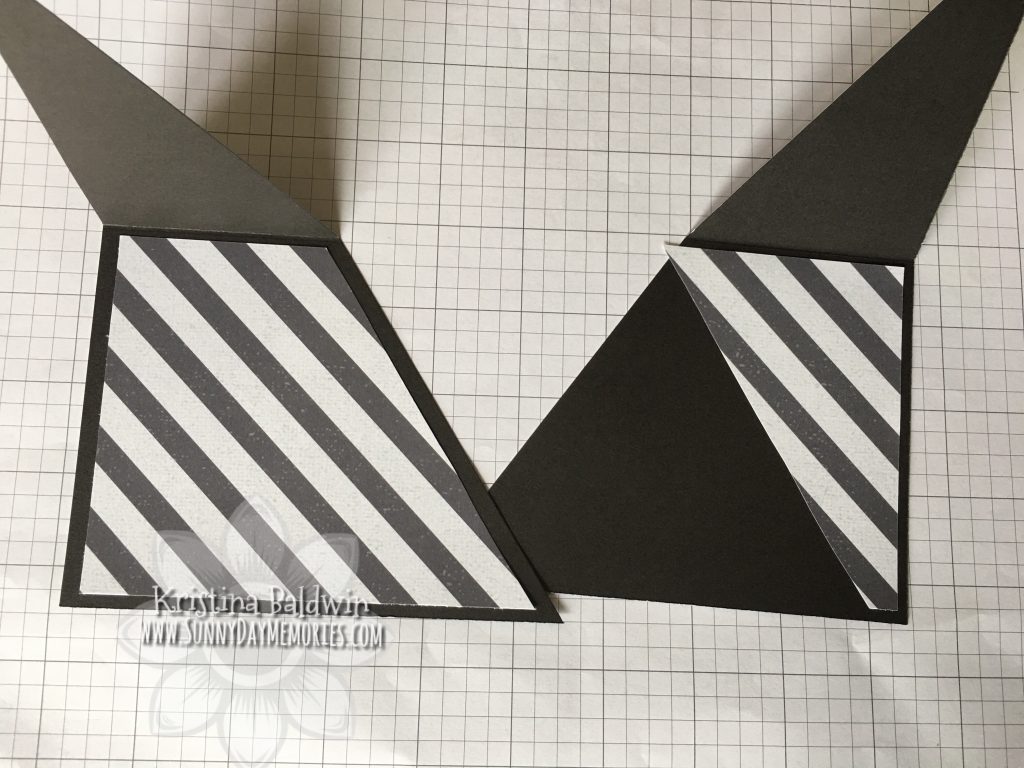
Cut a piece of patterned paper (or another color cardstock) to 4″ x 5-1/4″. Dry fit (without gluing it down) the piece onto the left right angle leaving double the border you want on the left-hand side. Then flip the paper over and cut the paper. Using the piece you dry fitted to size, adhere it to the center of the left triangle piece.
STEP 5:
Adhere the remaining piece of patterned paper to the right-side right angle piece. Don’t worry that it won’t cover it all because it will be hidden by the pocket we are going to create next!
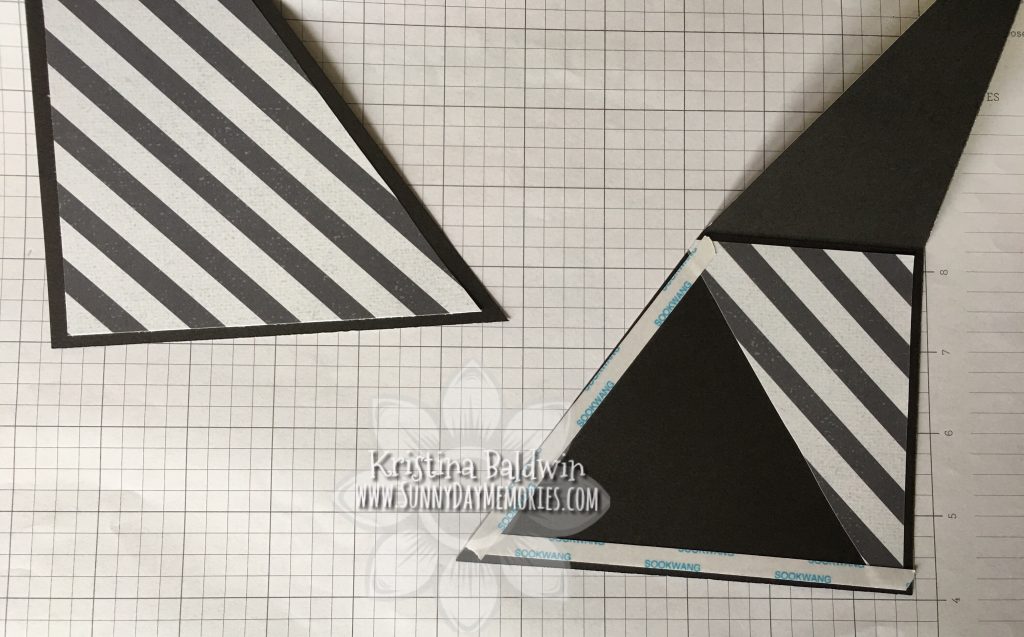
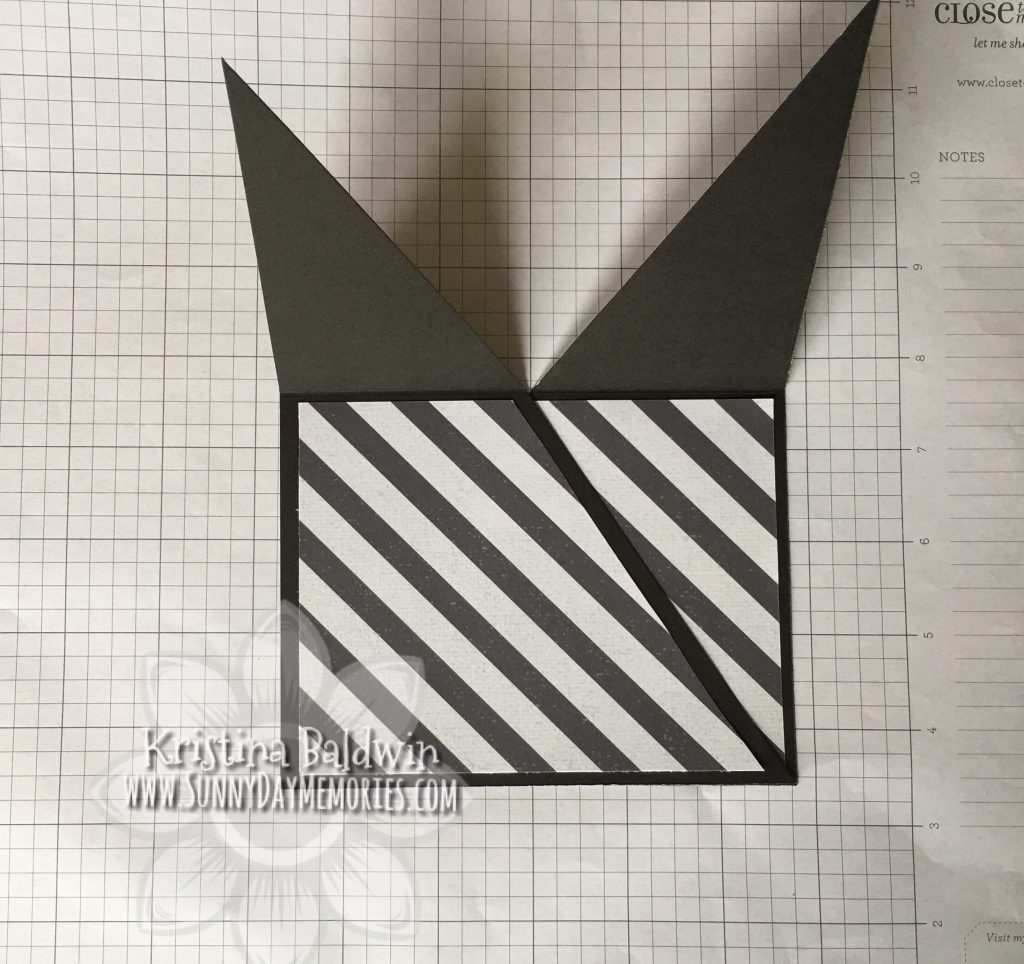
STEP 6:
Using strong adhesive (like ScorTape) line the edges without the patterned paper to glue to the other triangle (line up the edges) to create a pocket.
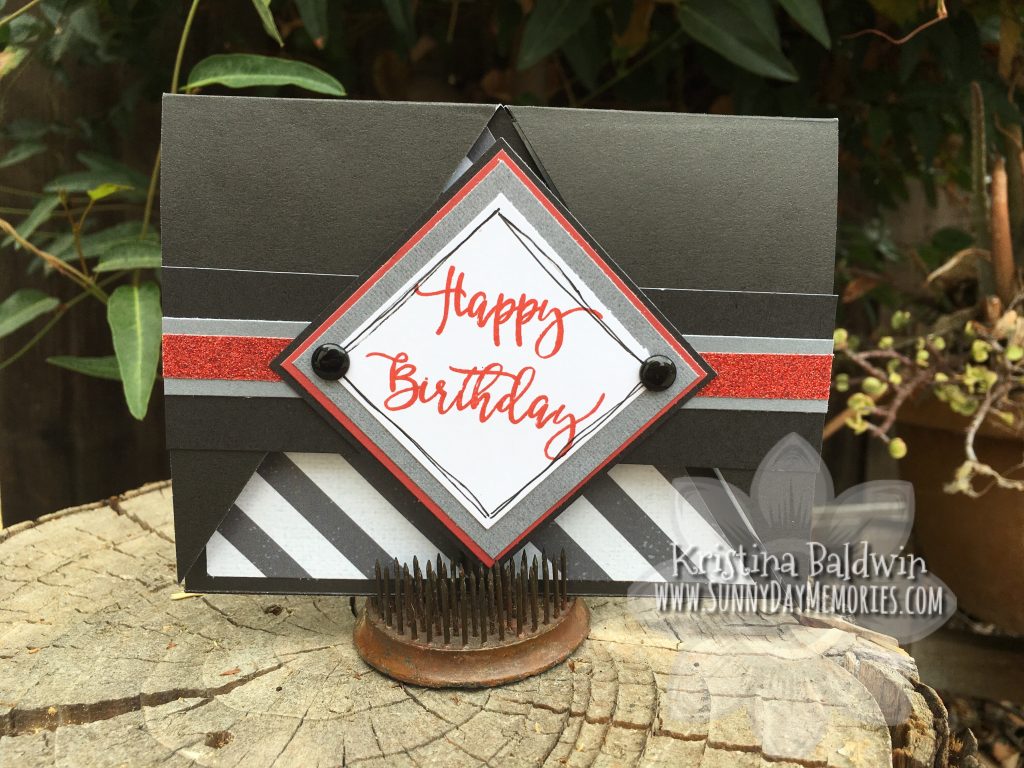
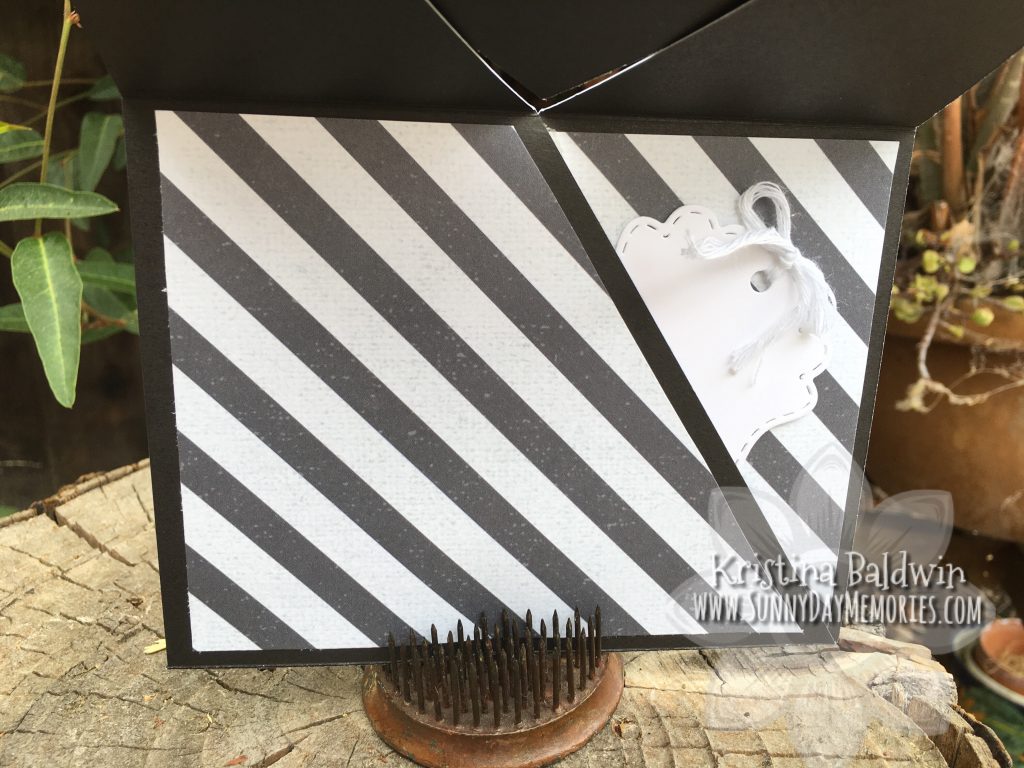
Finish by decorating the card as desired. You can put a tag for a special note to the recipient or you can insert a gift card–either will work–or even both!

