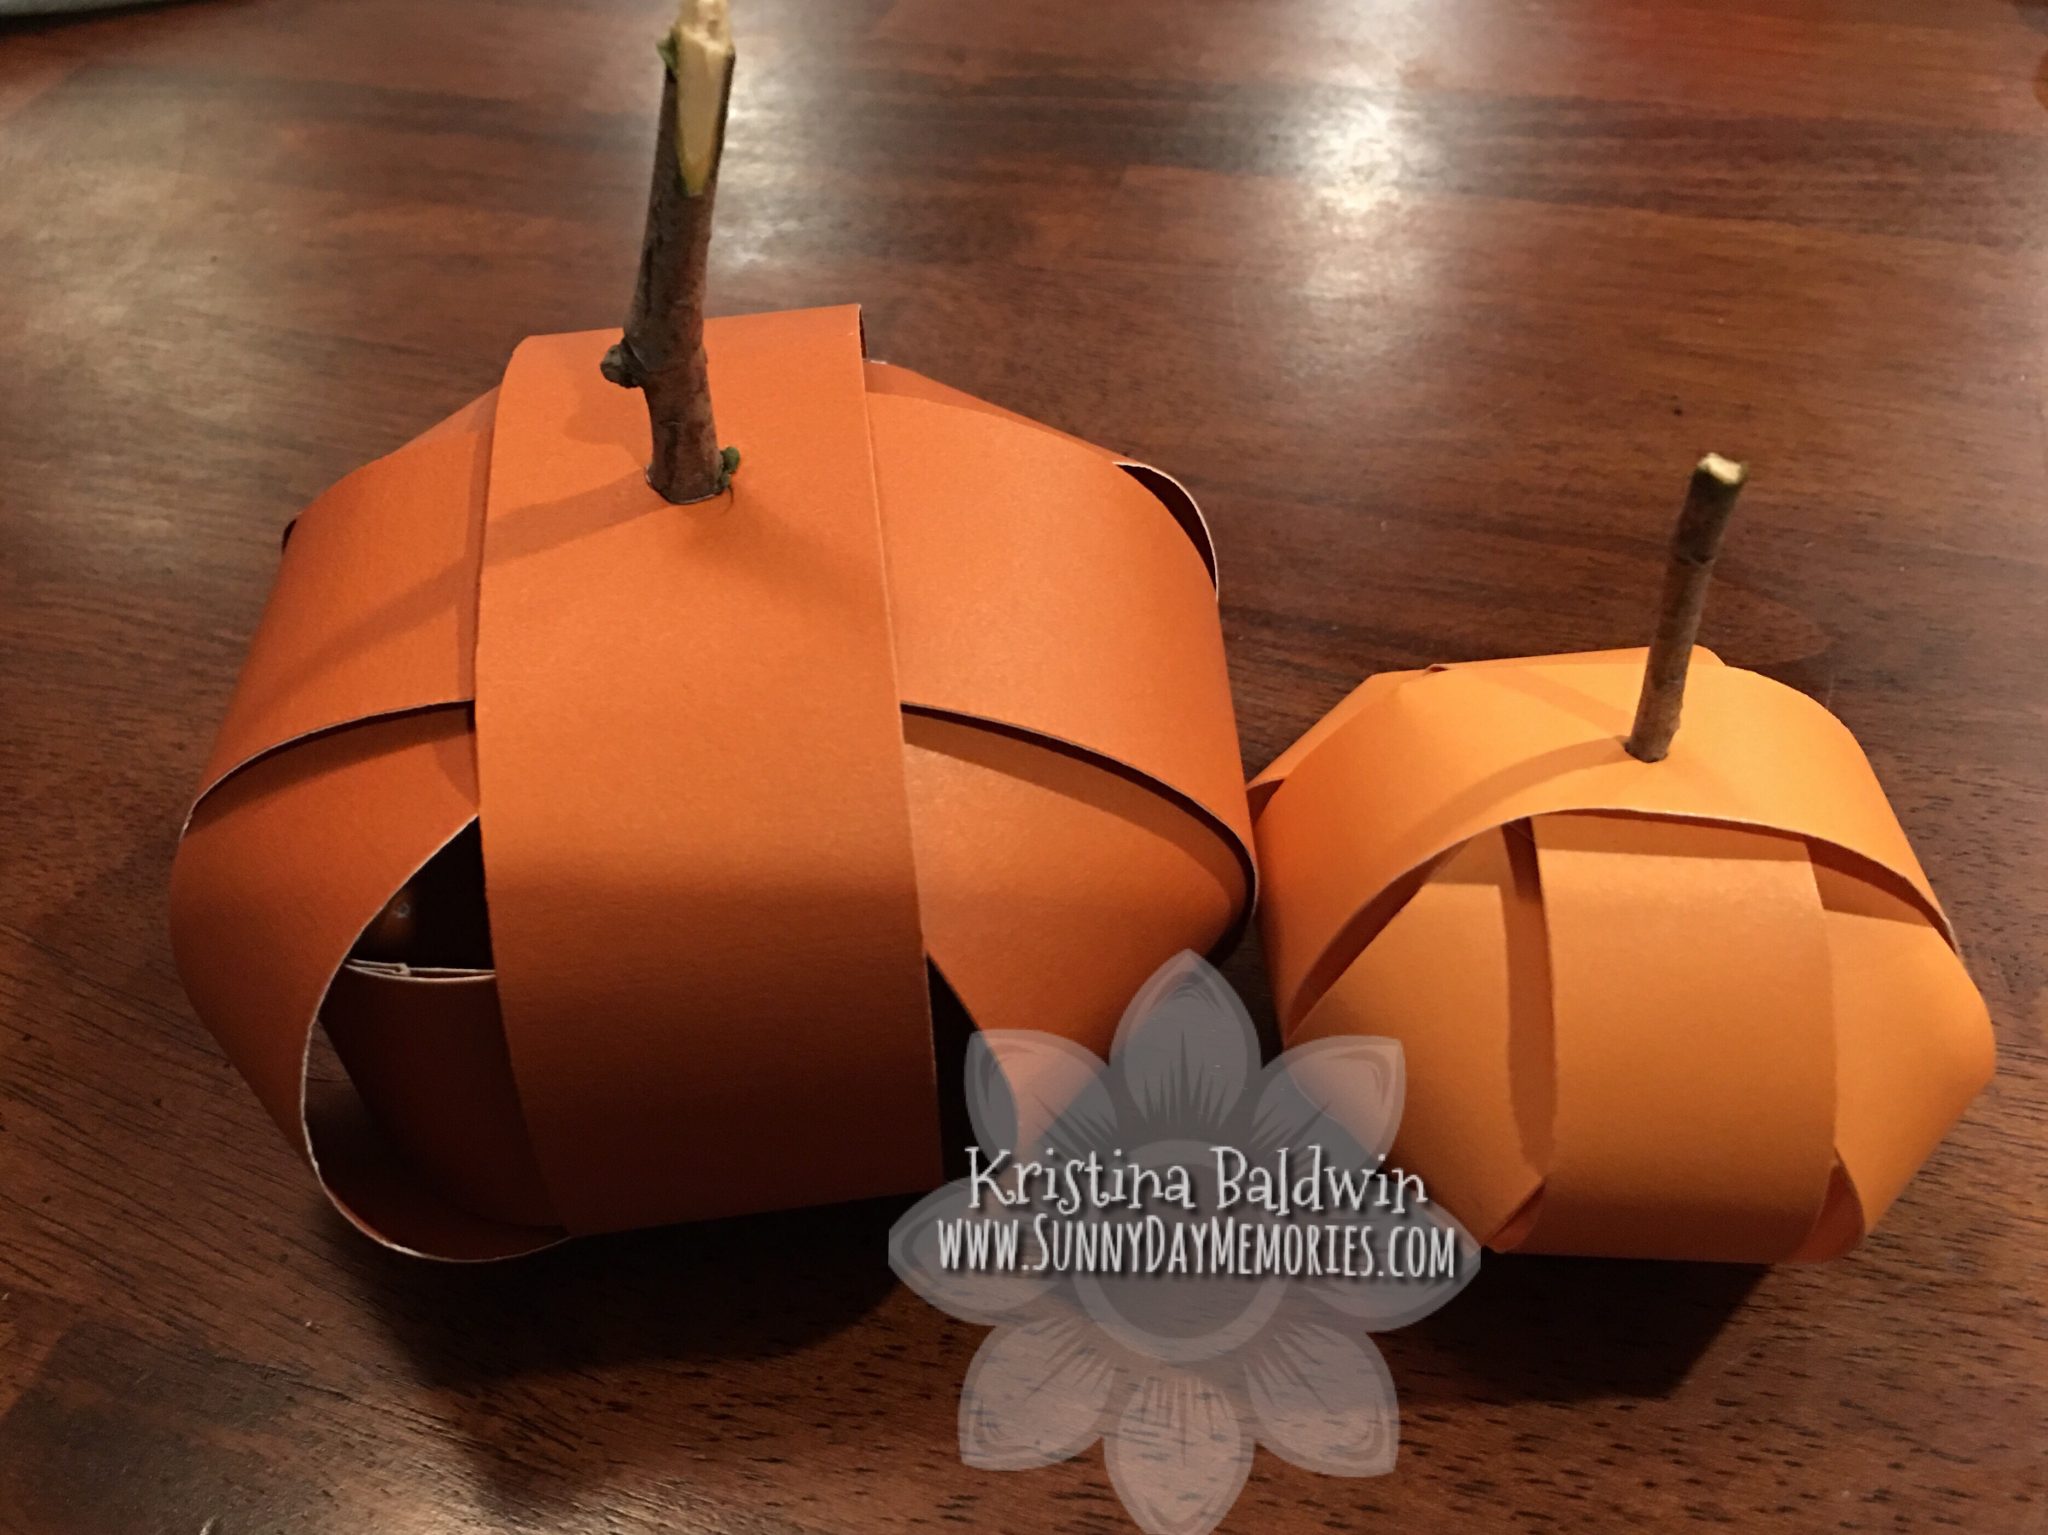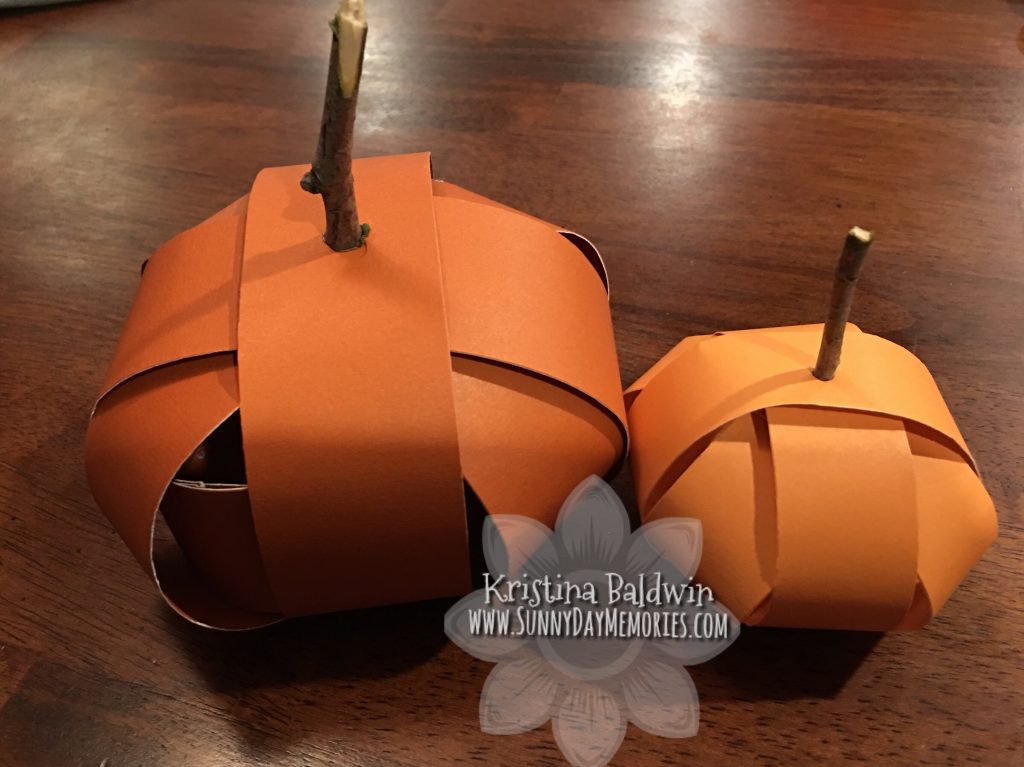
Today’s project is a great home decor piece perfect for both Halloween and Thanksgiving. Plus, these paper pumpkins are incredibly easy to make, too!
What you’ll want to gather together to make your own paper pumpkins:
- cardstock
- paper trimmer
- bone folder
- strong tape adhesive
- hole punch
- small stick
STEP 1:
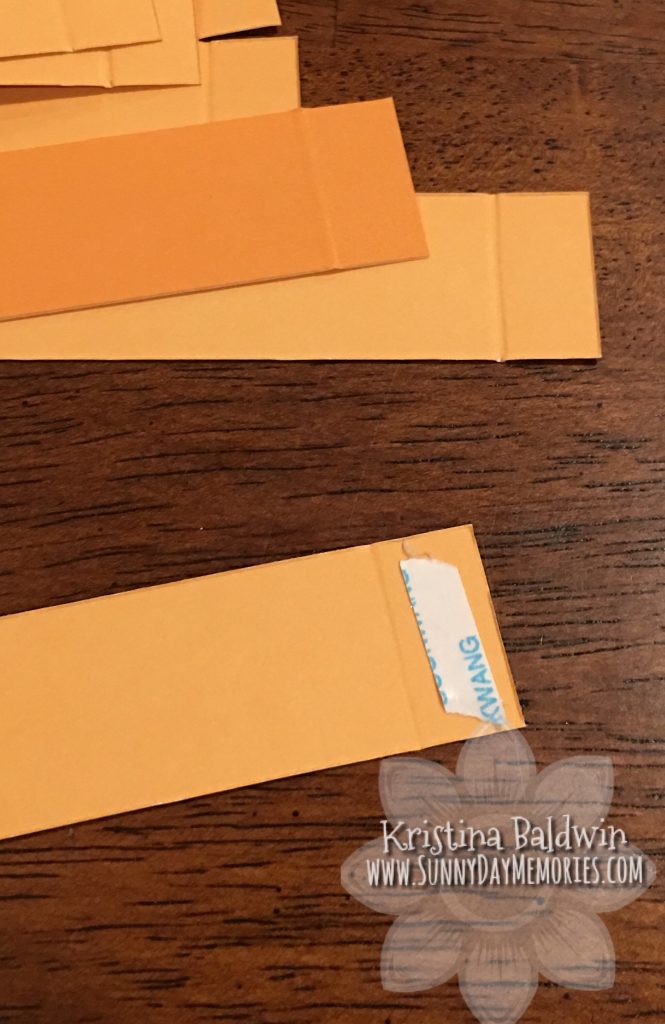
First cut 4 strips* of paper for your pumpkin. In order to maintain consistency, I scored each strip at 1/2″ to use as a guide when gluing the strip together to make a circle. After you score each of your strips, place a small strip of strong double-sided adhesive within the scored section.
* For my large pumpkin the strips were cut at 1-1/2″ x 12″ and the small pumpkin was 1″ x 8″.
STEP 2:
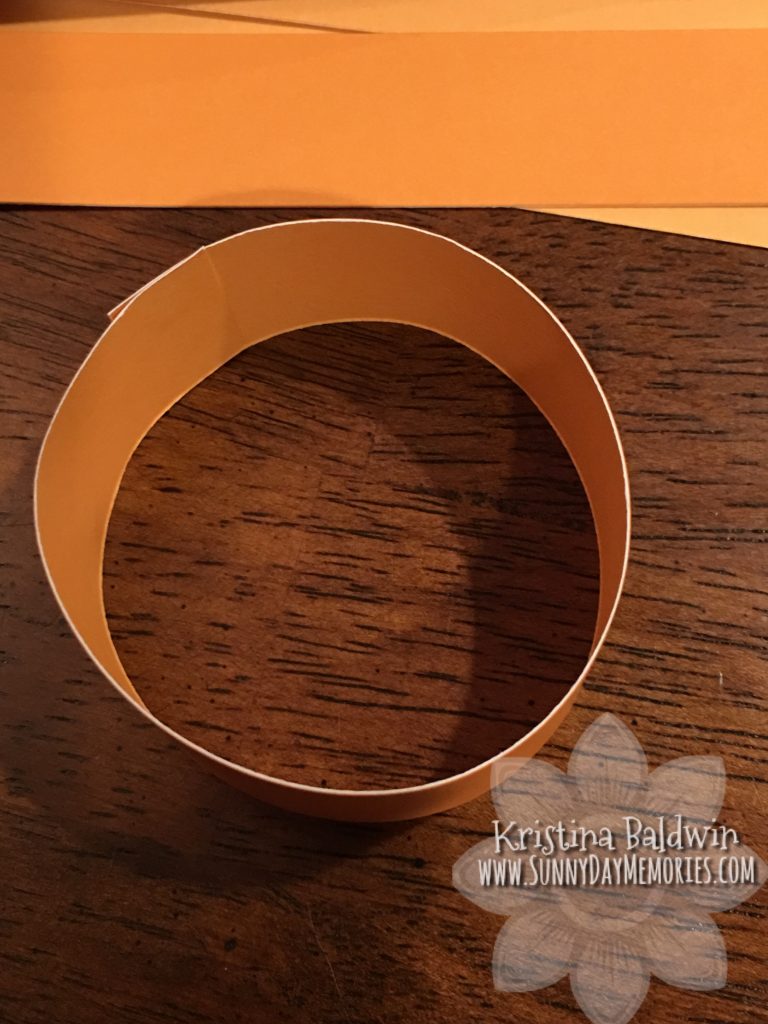
Remove backing to adhesive and adhere the end of the strip flush with the score line to create a circle. Repeat with remaining cardstock strips.
STEP 3:
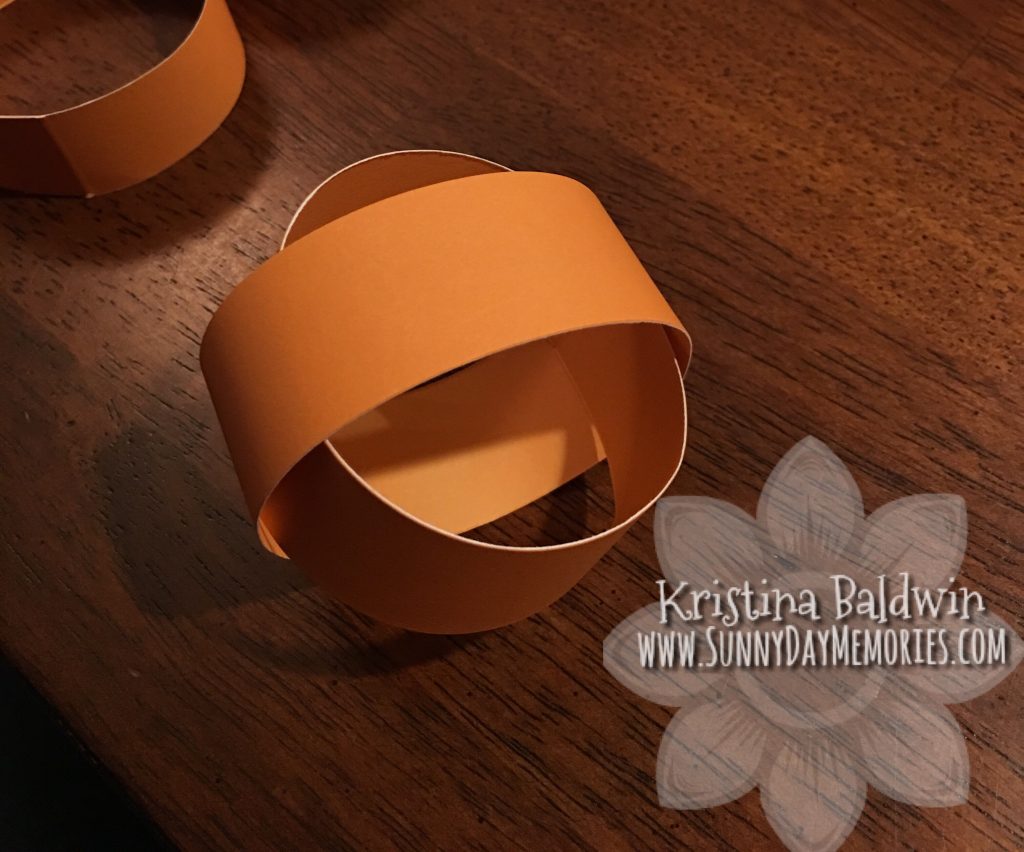
Insert one circle inside of another circle so that they cross at a perpendicular creating an “X”. Place a small piece of adhesive between the 2 circles where you wish your base to be. This will help keep the shape of the pumpkin so that the circles don’t slip away from each other.
STEP 4:
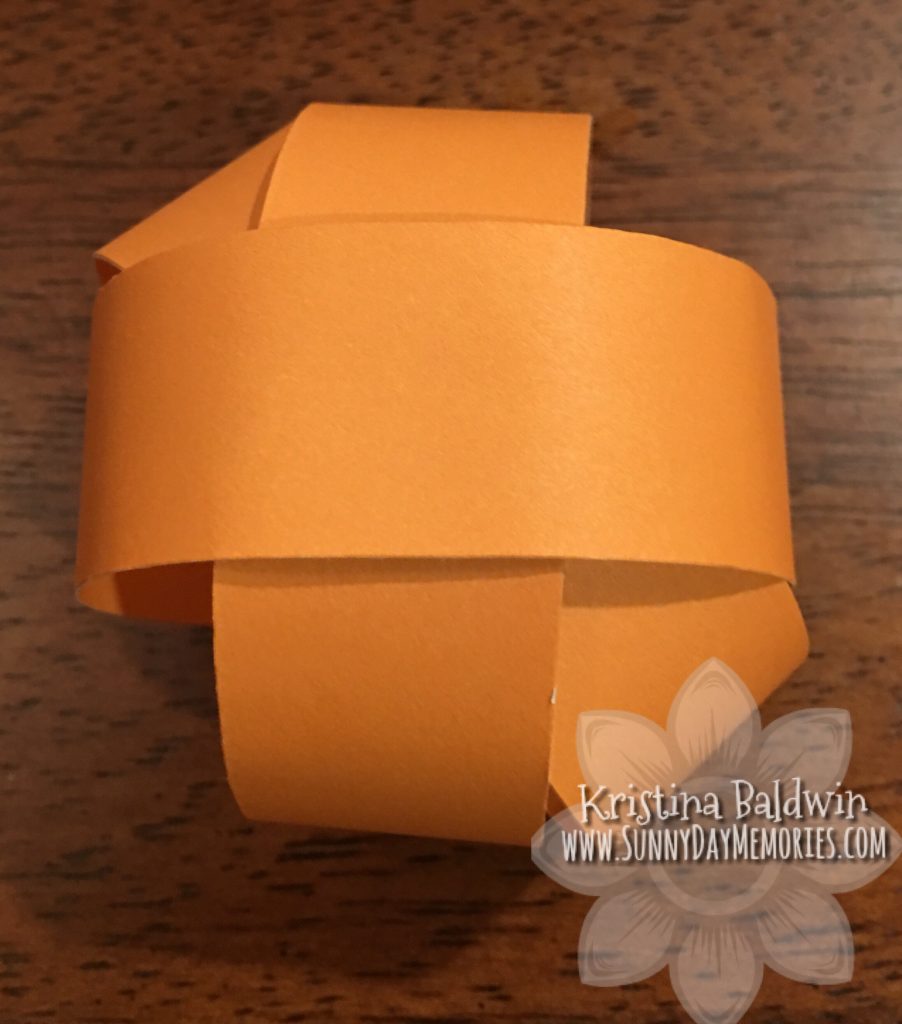
Following the same process as in Step 3, insert another circle and secure with a small piece of adhesive at the base to maintain the shape. Finish by adding the 4th strip (which will create another “X” with the 3rd strip, just like the 1st and 2nd strips did.)

STEP 5:
Gently punch a hole in the top of the pumpkin through the first 2 layers of cardstock strips–large enough for your stick/twig to fit through it (this is why you only adhere the circle strips at the base–makes it easier to punch through the top portion for the stem.) Then insert the stick and viola–your own paper pumpkin!
If you need some supplies to create your own paper pumpkins, visit my ONLINE CTMH STORE.

