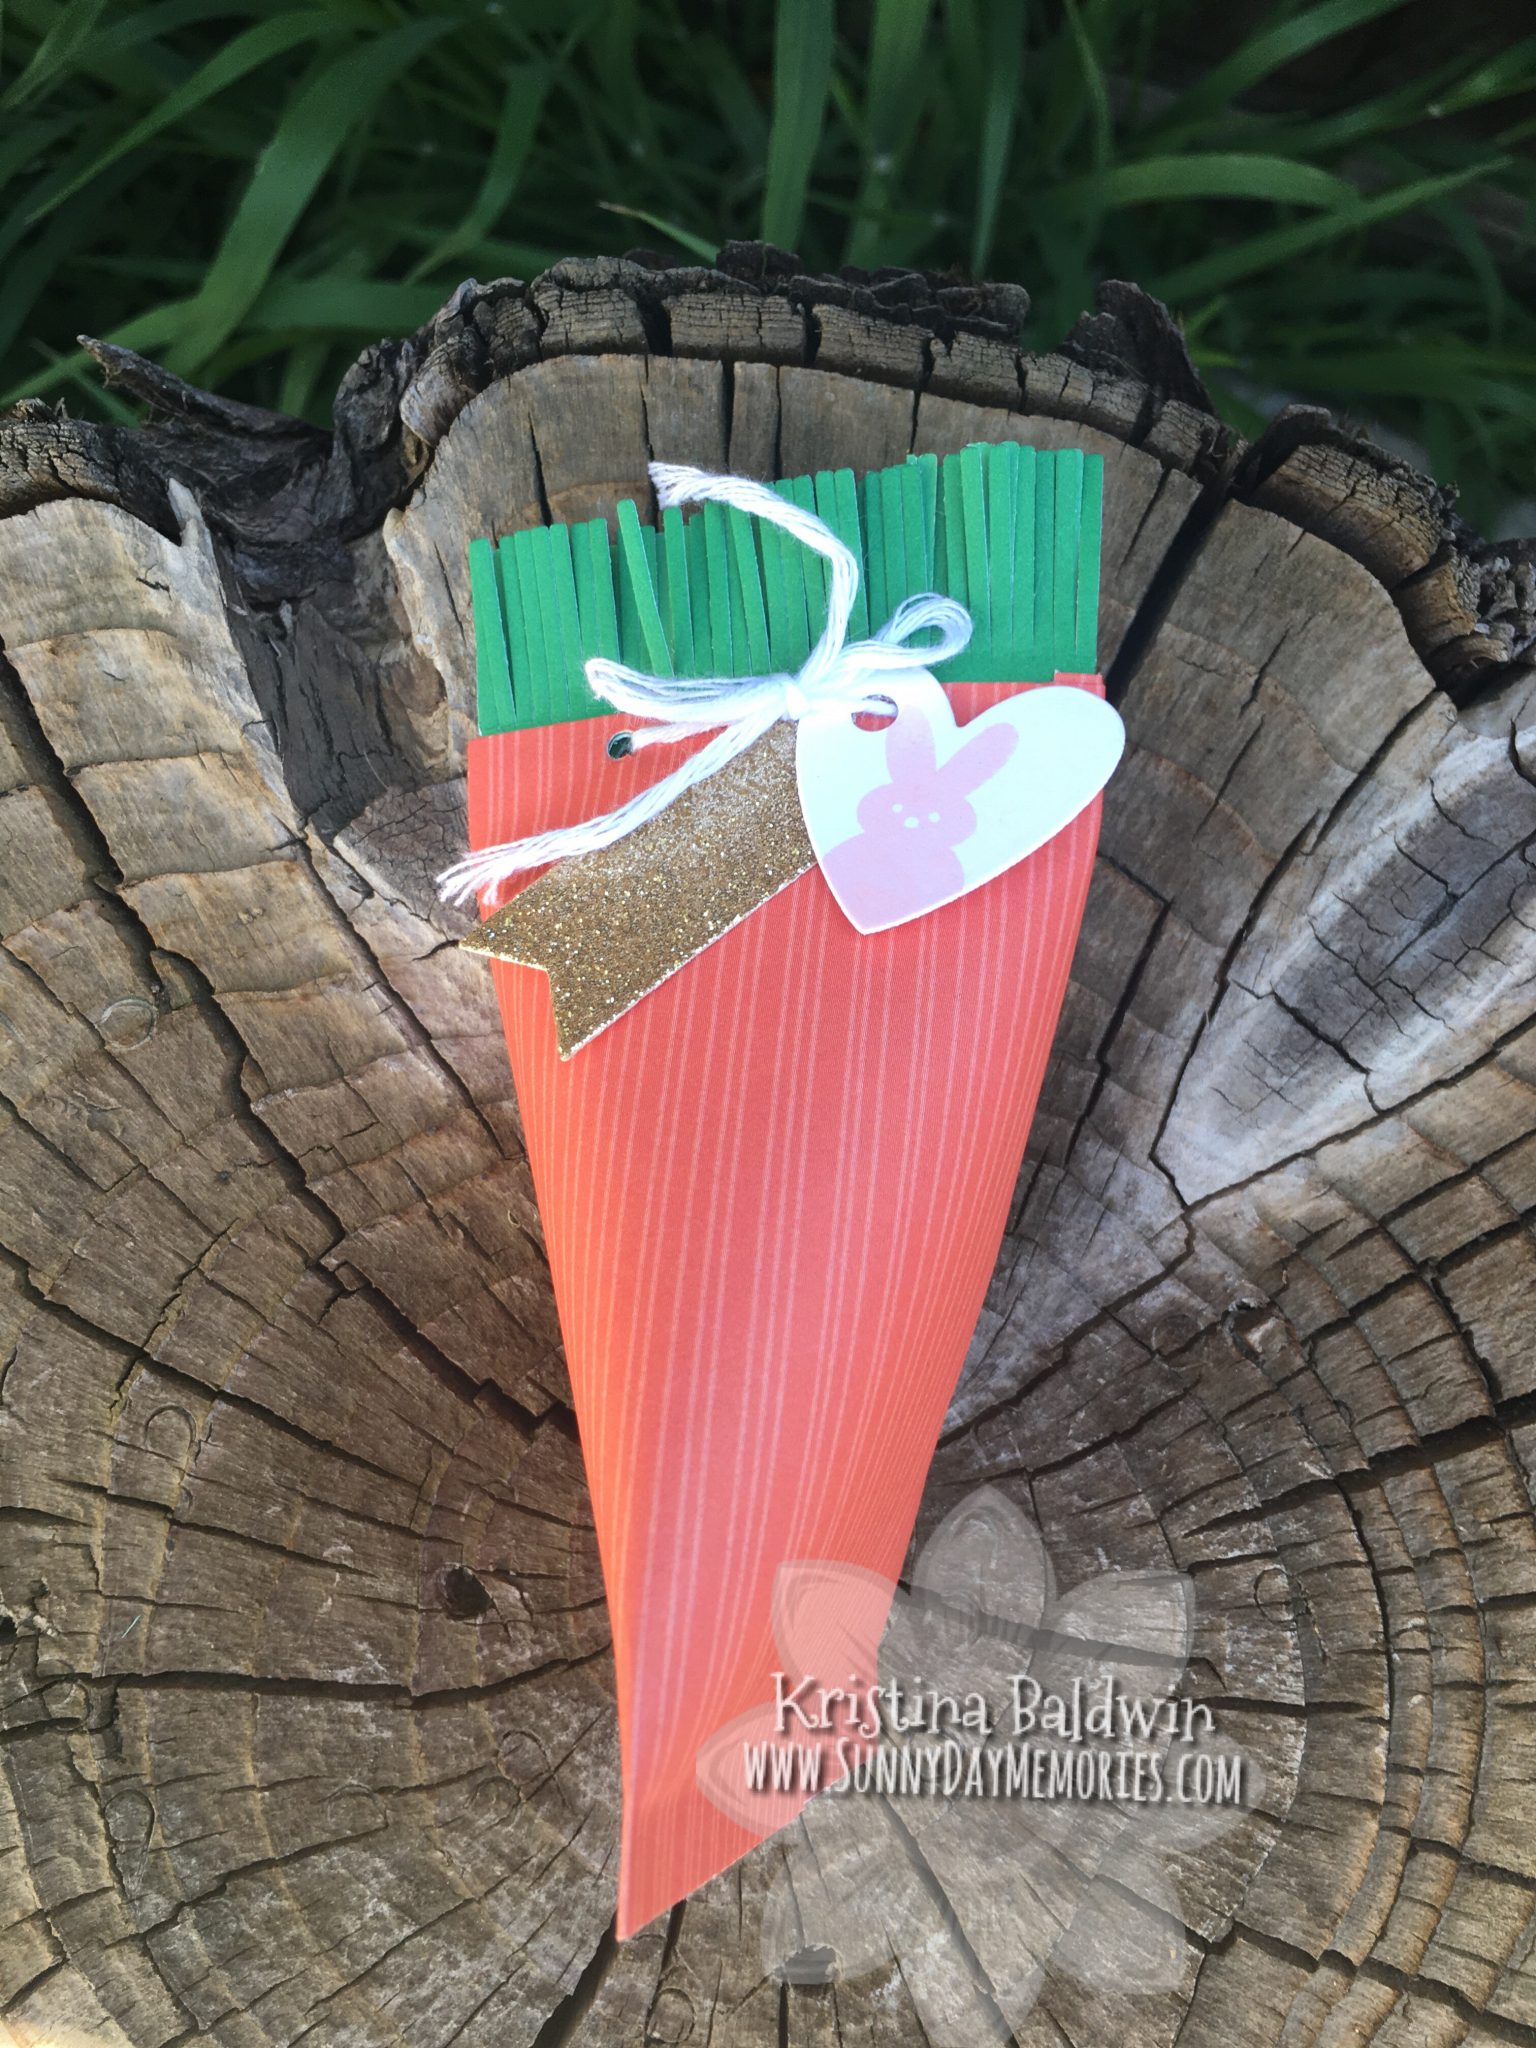
Today’s project is a super cute one! And it’s pretty darn easy to make, too. This is one of the projects we made at my Technique Time Class last month and it’s perfect for creating a bunch up quickly.
The basic design for this Easter Carrot is creating what many in the crafting world call a “sour cream container.” It’s been some time since sour cream came in containers like this, but back in the day, this was the common packaging for sour cream if you went out to a restaurant I guess. (I’ve also seen frozen popsicle-like treats come in a shape like this as well.)
Several years ago I made this video showing how to create one of these containers. For visual learners, like myself, a video is so much more useful than the written word describing the process. But for those of you who learn best by the written word, here is my tutorial on how you make this container:
STEP 1:
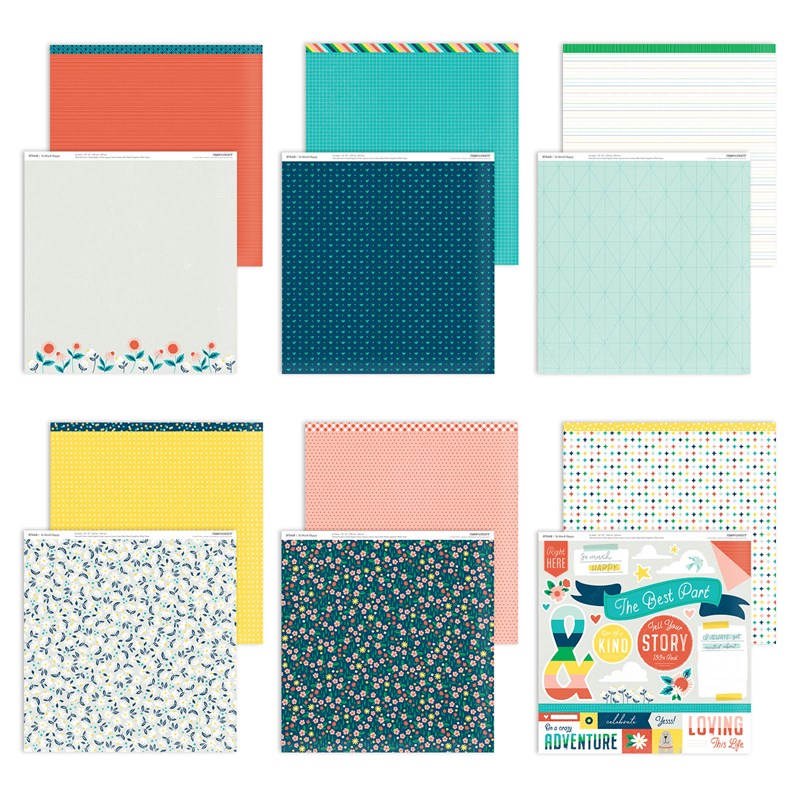
Start with a rectangular shape of cardstock or patterned paper. (I generally like to do 5-1/2″ x 4-1/4″–the standard card front size, but any size will work.) Apply adhesive along the edge of the width of your paper and bring the 2 edges together to create a tube shape. I used a pattern from our So Much Happy Paper Collection.
STEP 2:
Apply adhesive around one of the openings of the tube and then press the paper together to seal the tube closed.
STEP 3:
Put treat or gift inside container before sealing the 2nd end of the tube closed. You can use the same process of using adhesive and press the ends together in the opposite direction that you sealed the other side closed (essentially one end’s seam will be horizontal and the other seam will be vertical.) Or you can punch holes and use ribbon or twine to seal it closed (this allows it to be opened and closed without ruining the container.)
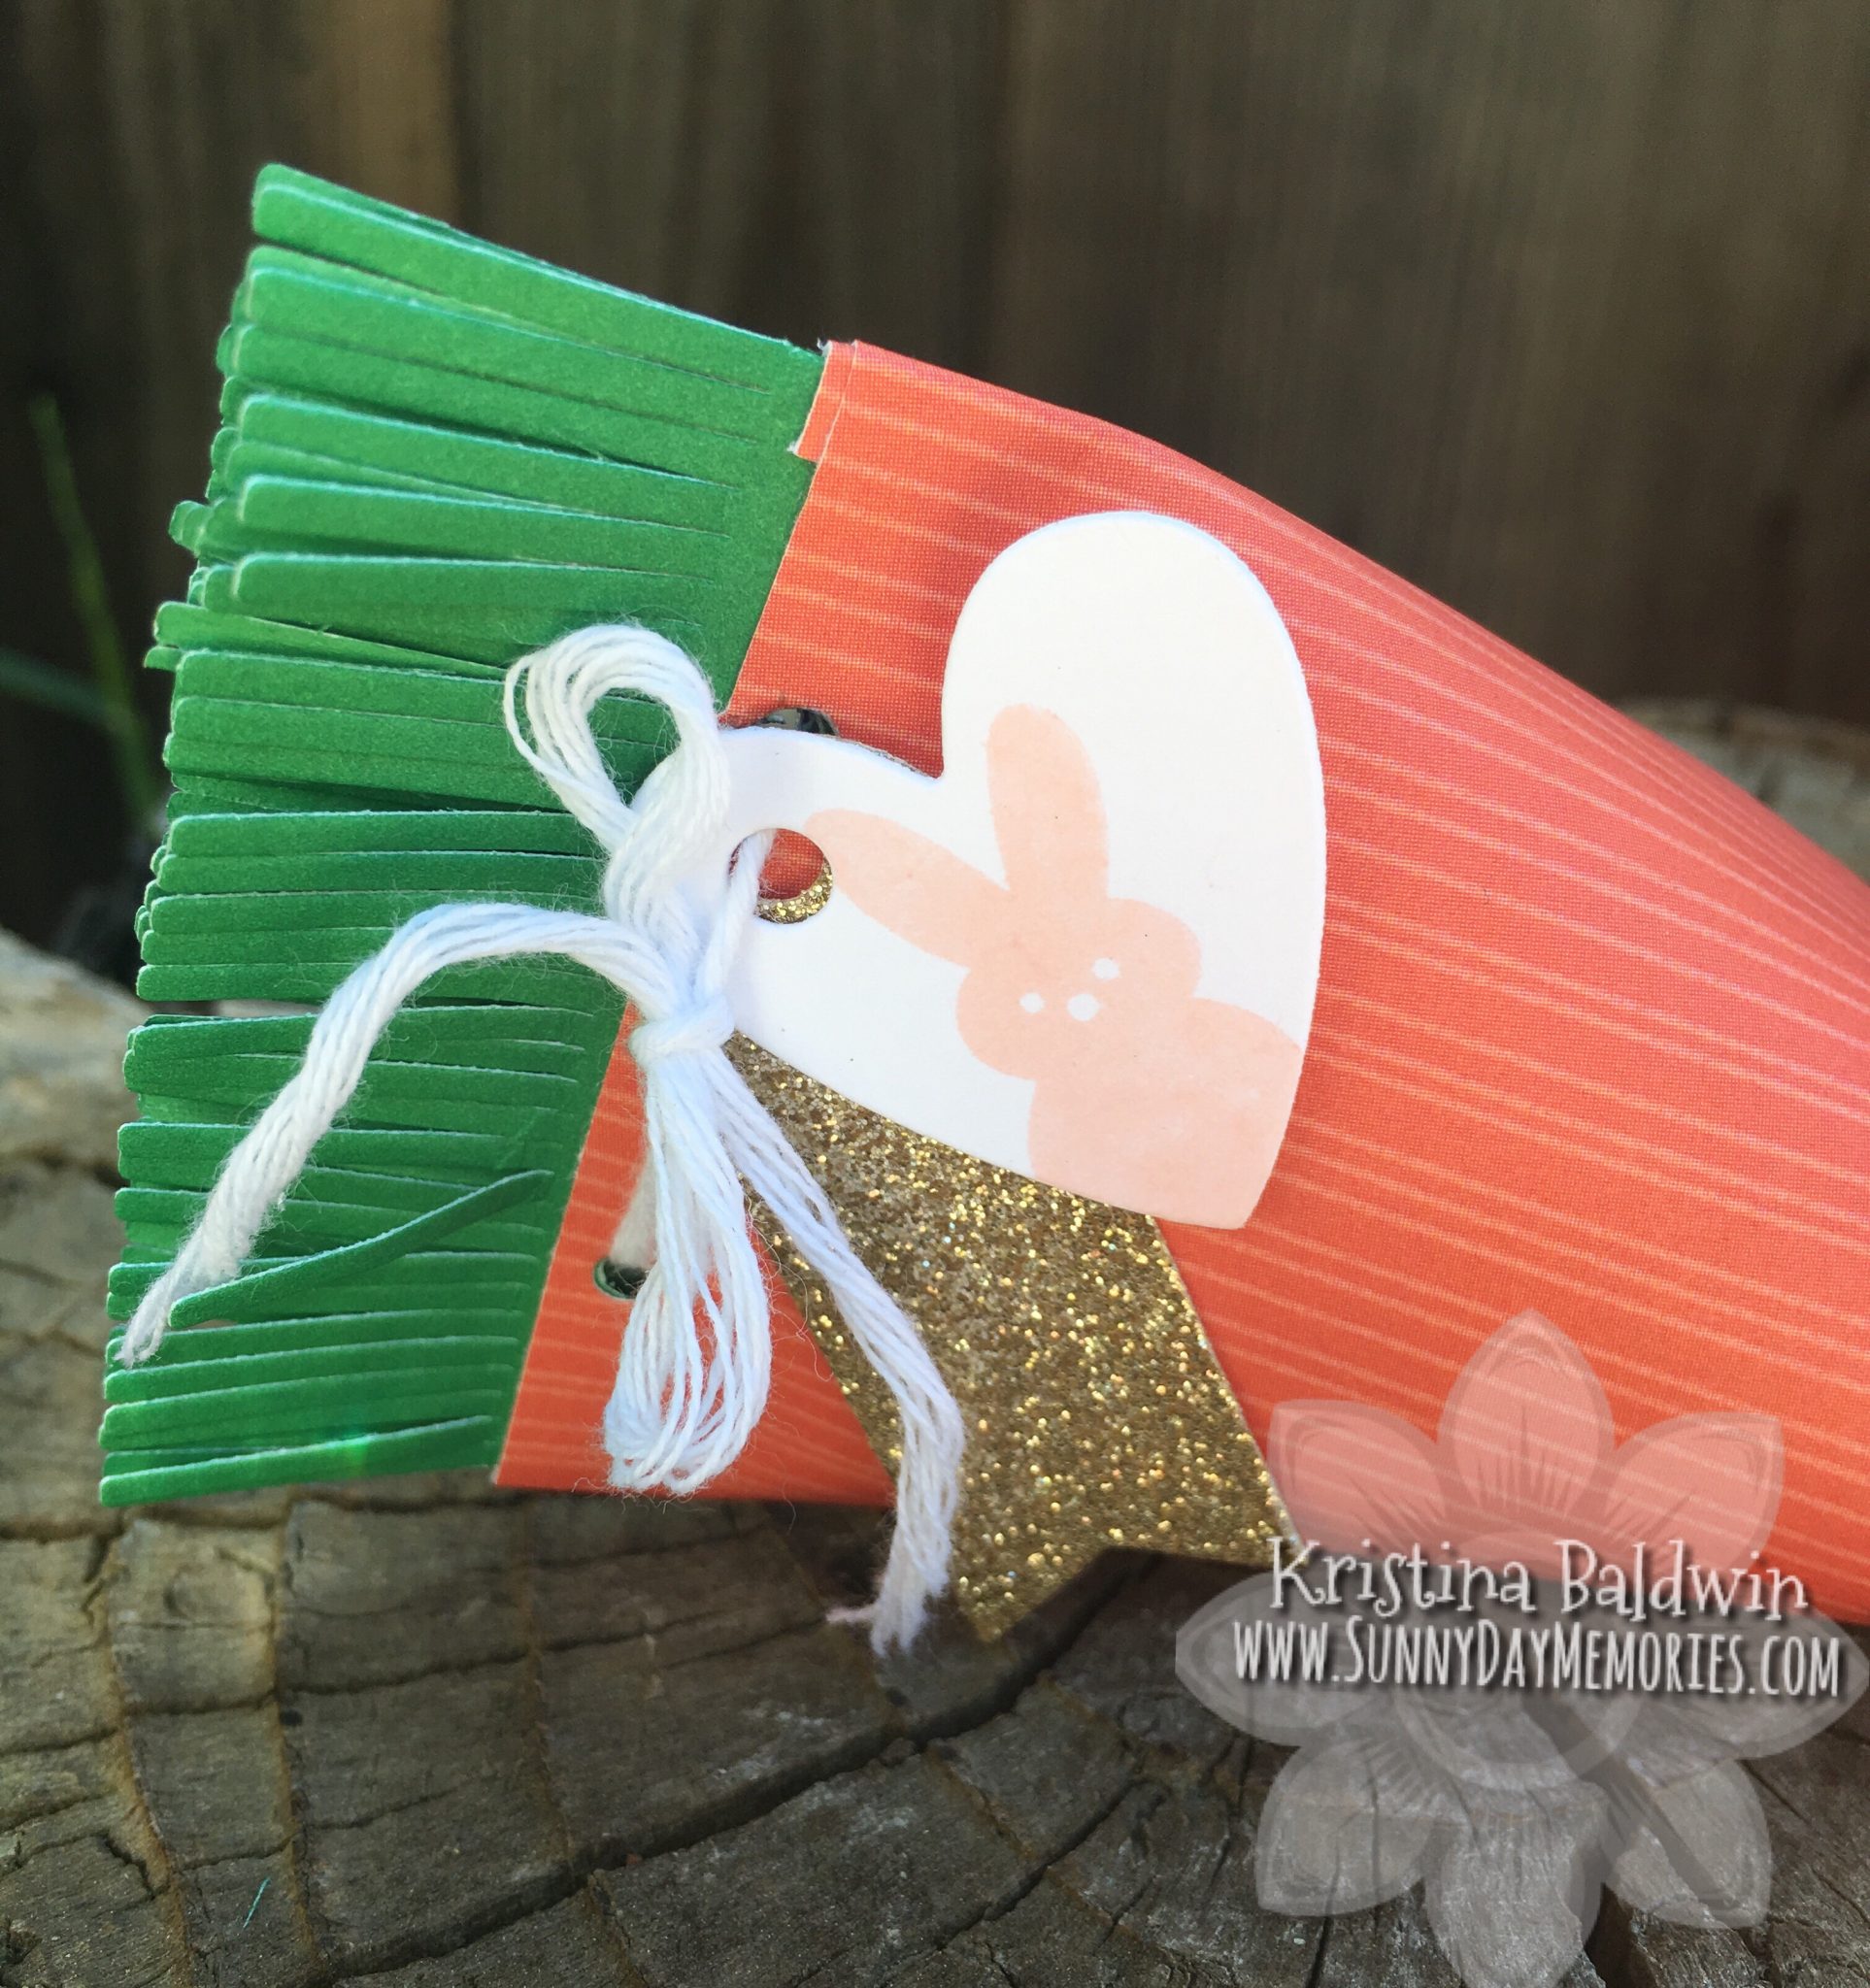
For my Easter Carrot, I wanted it to be able to be opened and closed without ruining it so I decided to use the method of sealing it closed with some twine. Before punching the holes and inserting the twine, I used our fringe die from our Decorative Borders Thin Cuts Dies to cut and create the top of my carrot.
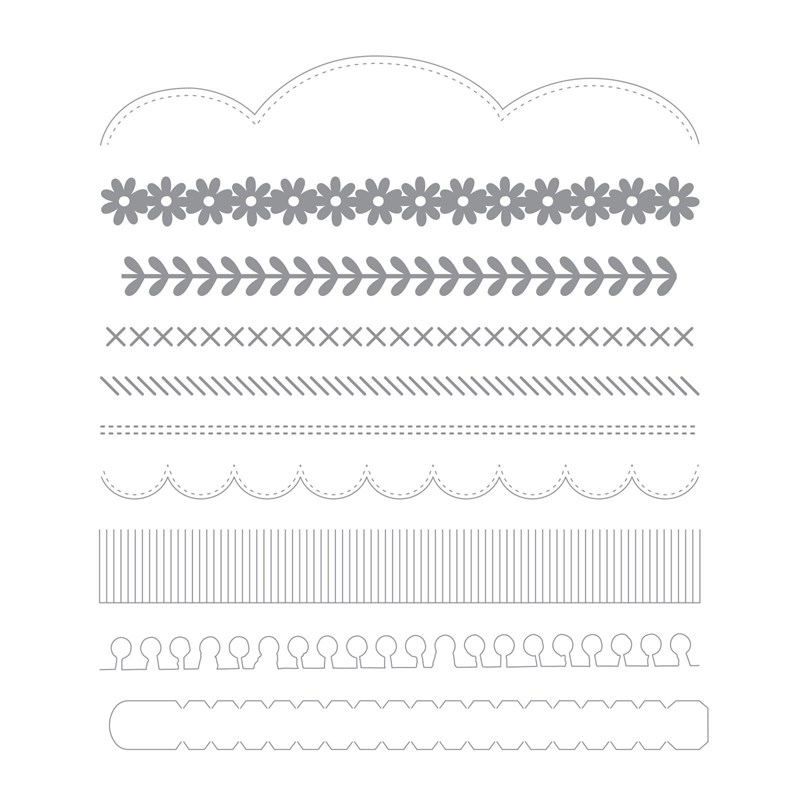
This set of dies is a “must-have” in my opinion. After cutting out my carrot top, I glued that part to the rim of the opening and then punched the holes to string my twine through. This kept the carrot top glued to the container allowing it to be opened and closed without ruining the container (or the cute design!)
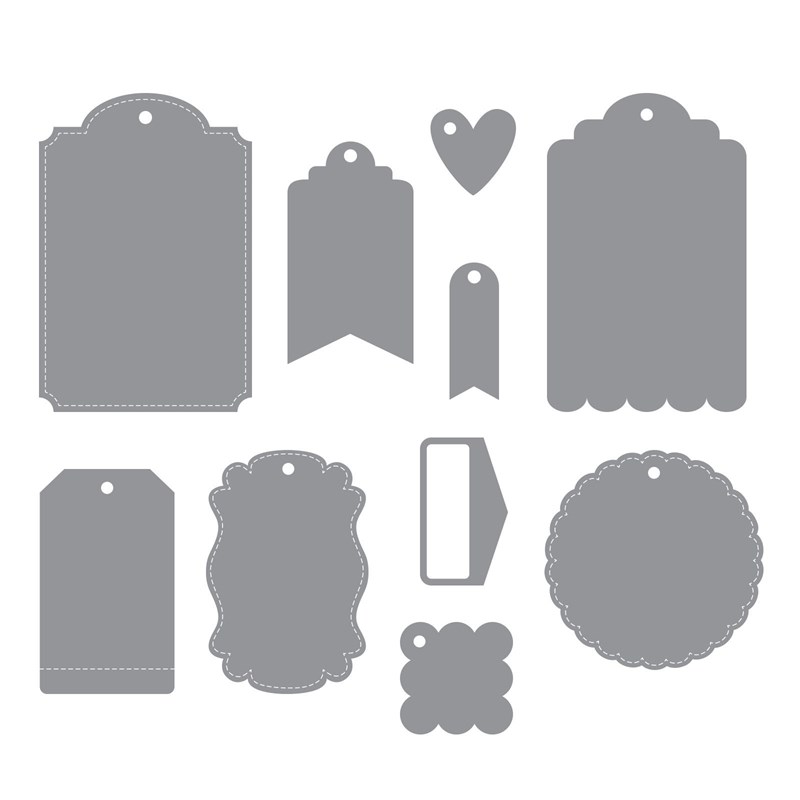
I cut out a couple of tags from our Fancy Tags Thin Cuts Dies (another “must-have” in your collection of dies!)
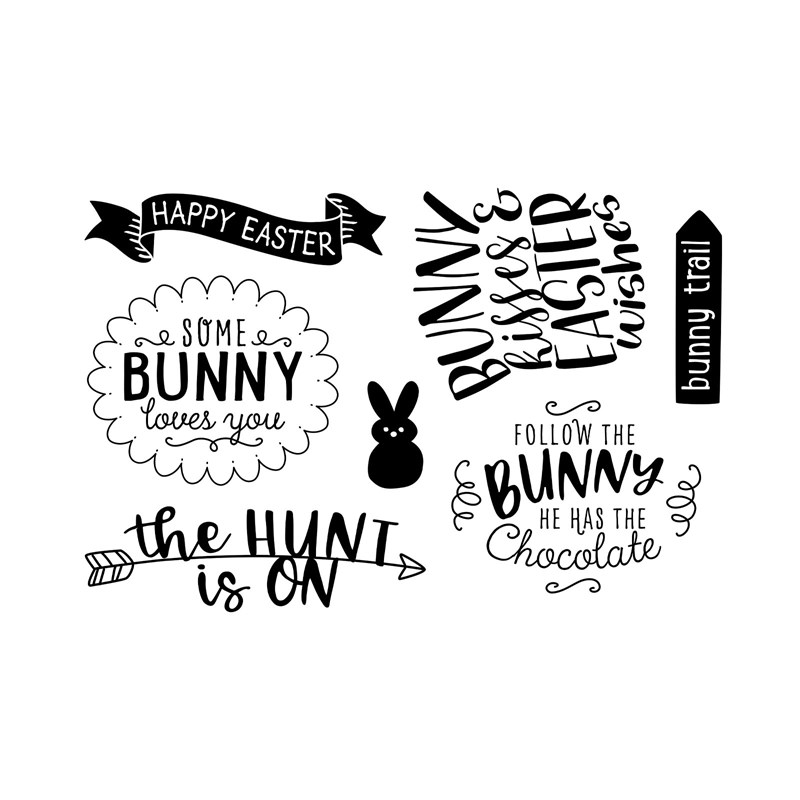
I stamped the darling Peep Bunny in Peach ink using the Bunny Trail Stamp Set. Here’s a simple tip to remember: it’s okay to only use part of a stamp image on your project. Notice how my bunny is stamped off the tag–the image was larger than what I had space for on my tag. That’s completely okay!
A cute project and one that is simple to duplicate! You can add more embellishments or even more stamping to it. It’s up to you how you want to personalize it!
If you need some supplies to create your own sour cream containers/Easter Carrot Containers, visit my ONLINE CTMH STORE.
