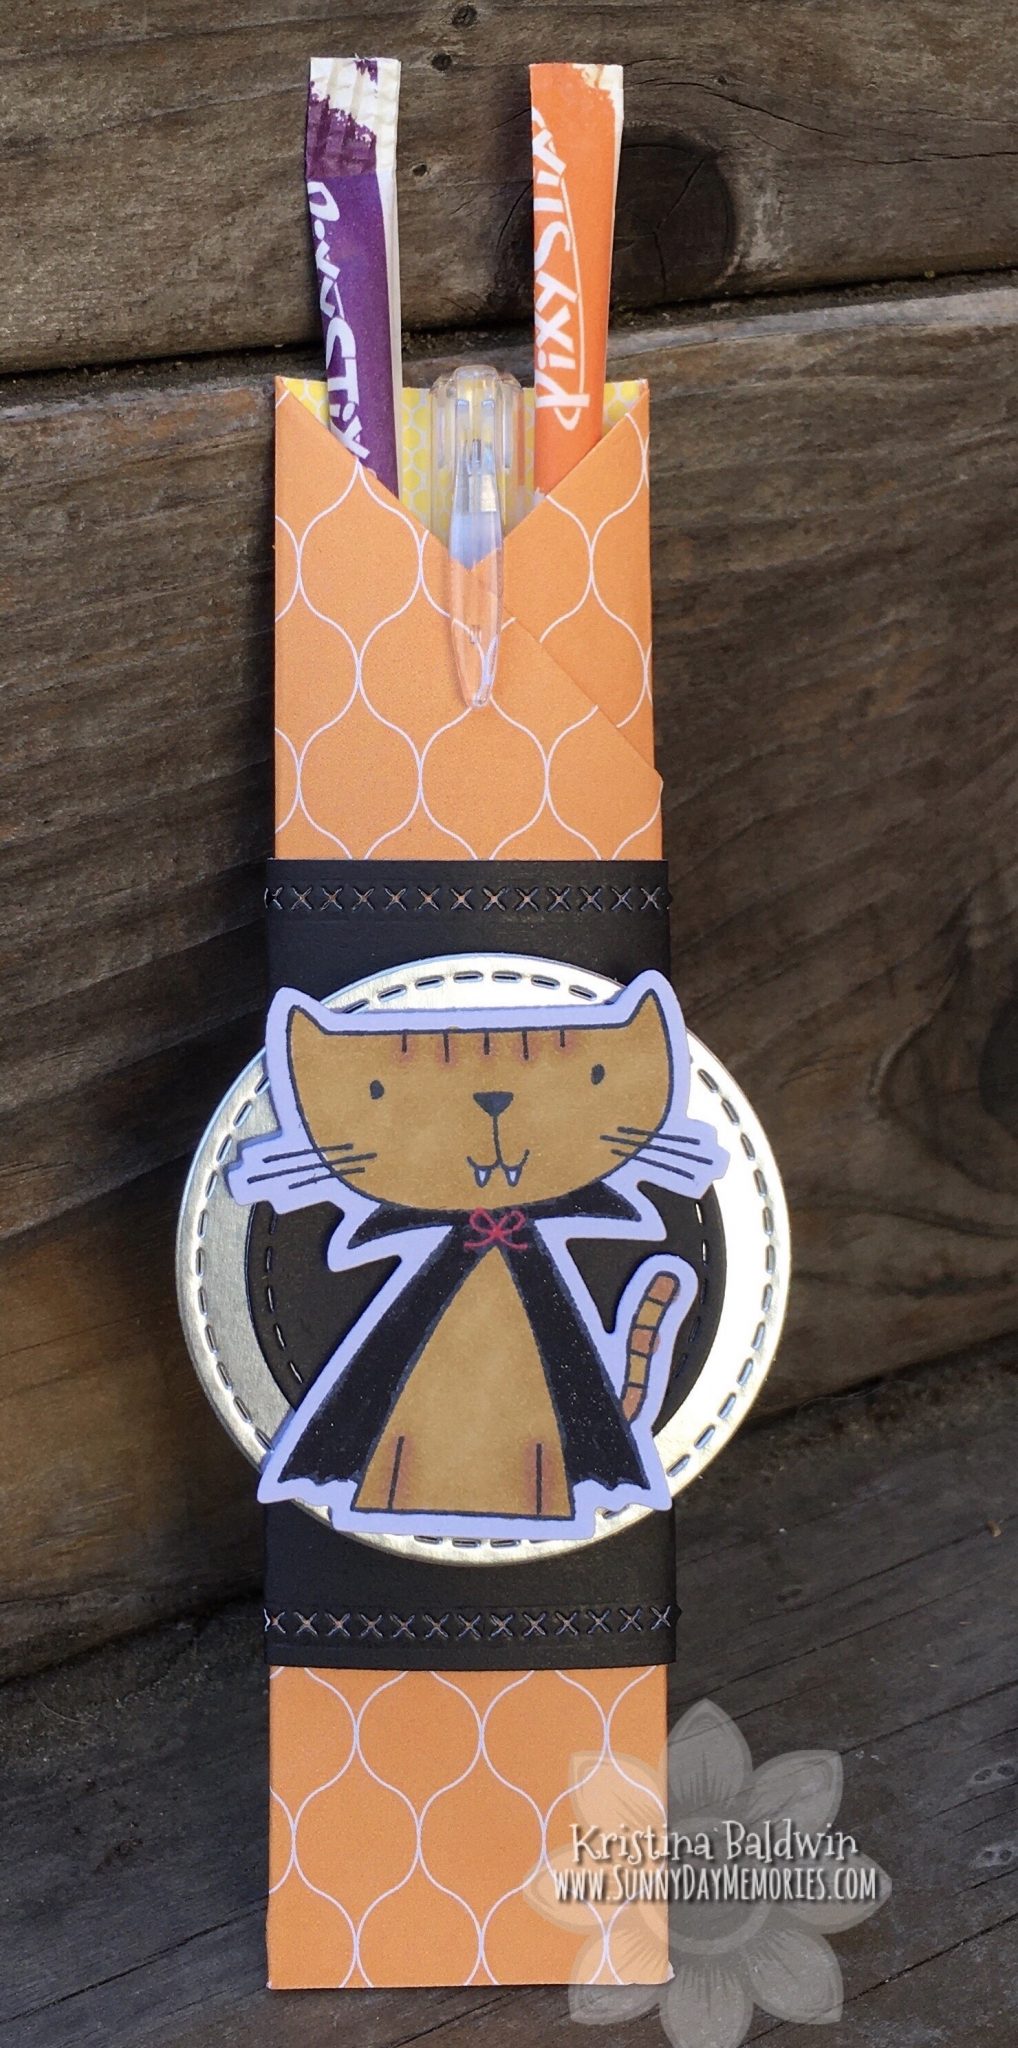
Happy Halloween! Today there are no tricks, just treats for you! I’m going to show you how you can create these cute (and easy) Tall Treat Pouches. While my sample today is Halloween themed, I can easily see this project duplicated for Christmas and filled with candy canes or other tall treats for the holiday. Grab your favorite patterned paper, your Paper Trimmer, some strong double-sided adhesive and a Bone Folder and let’s get started.
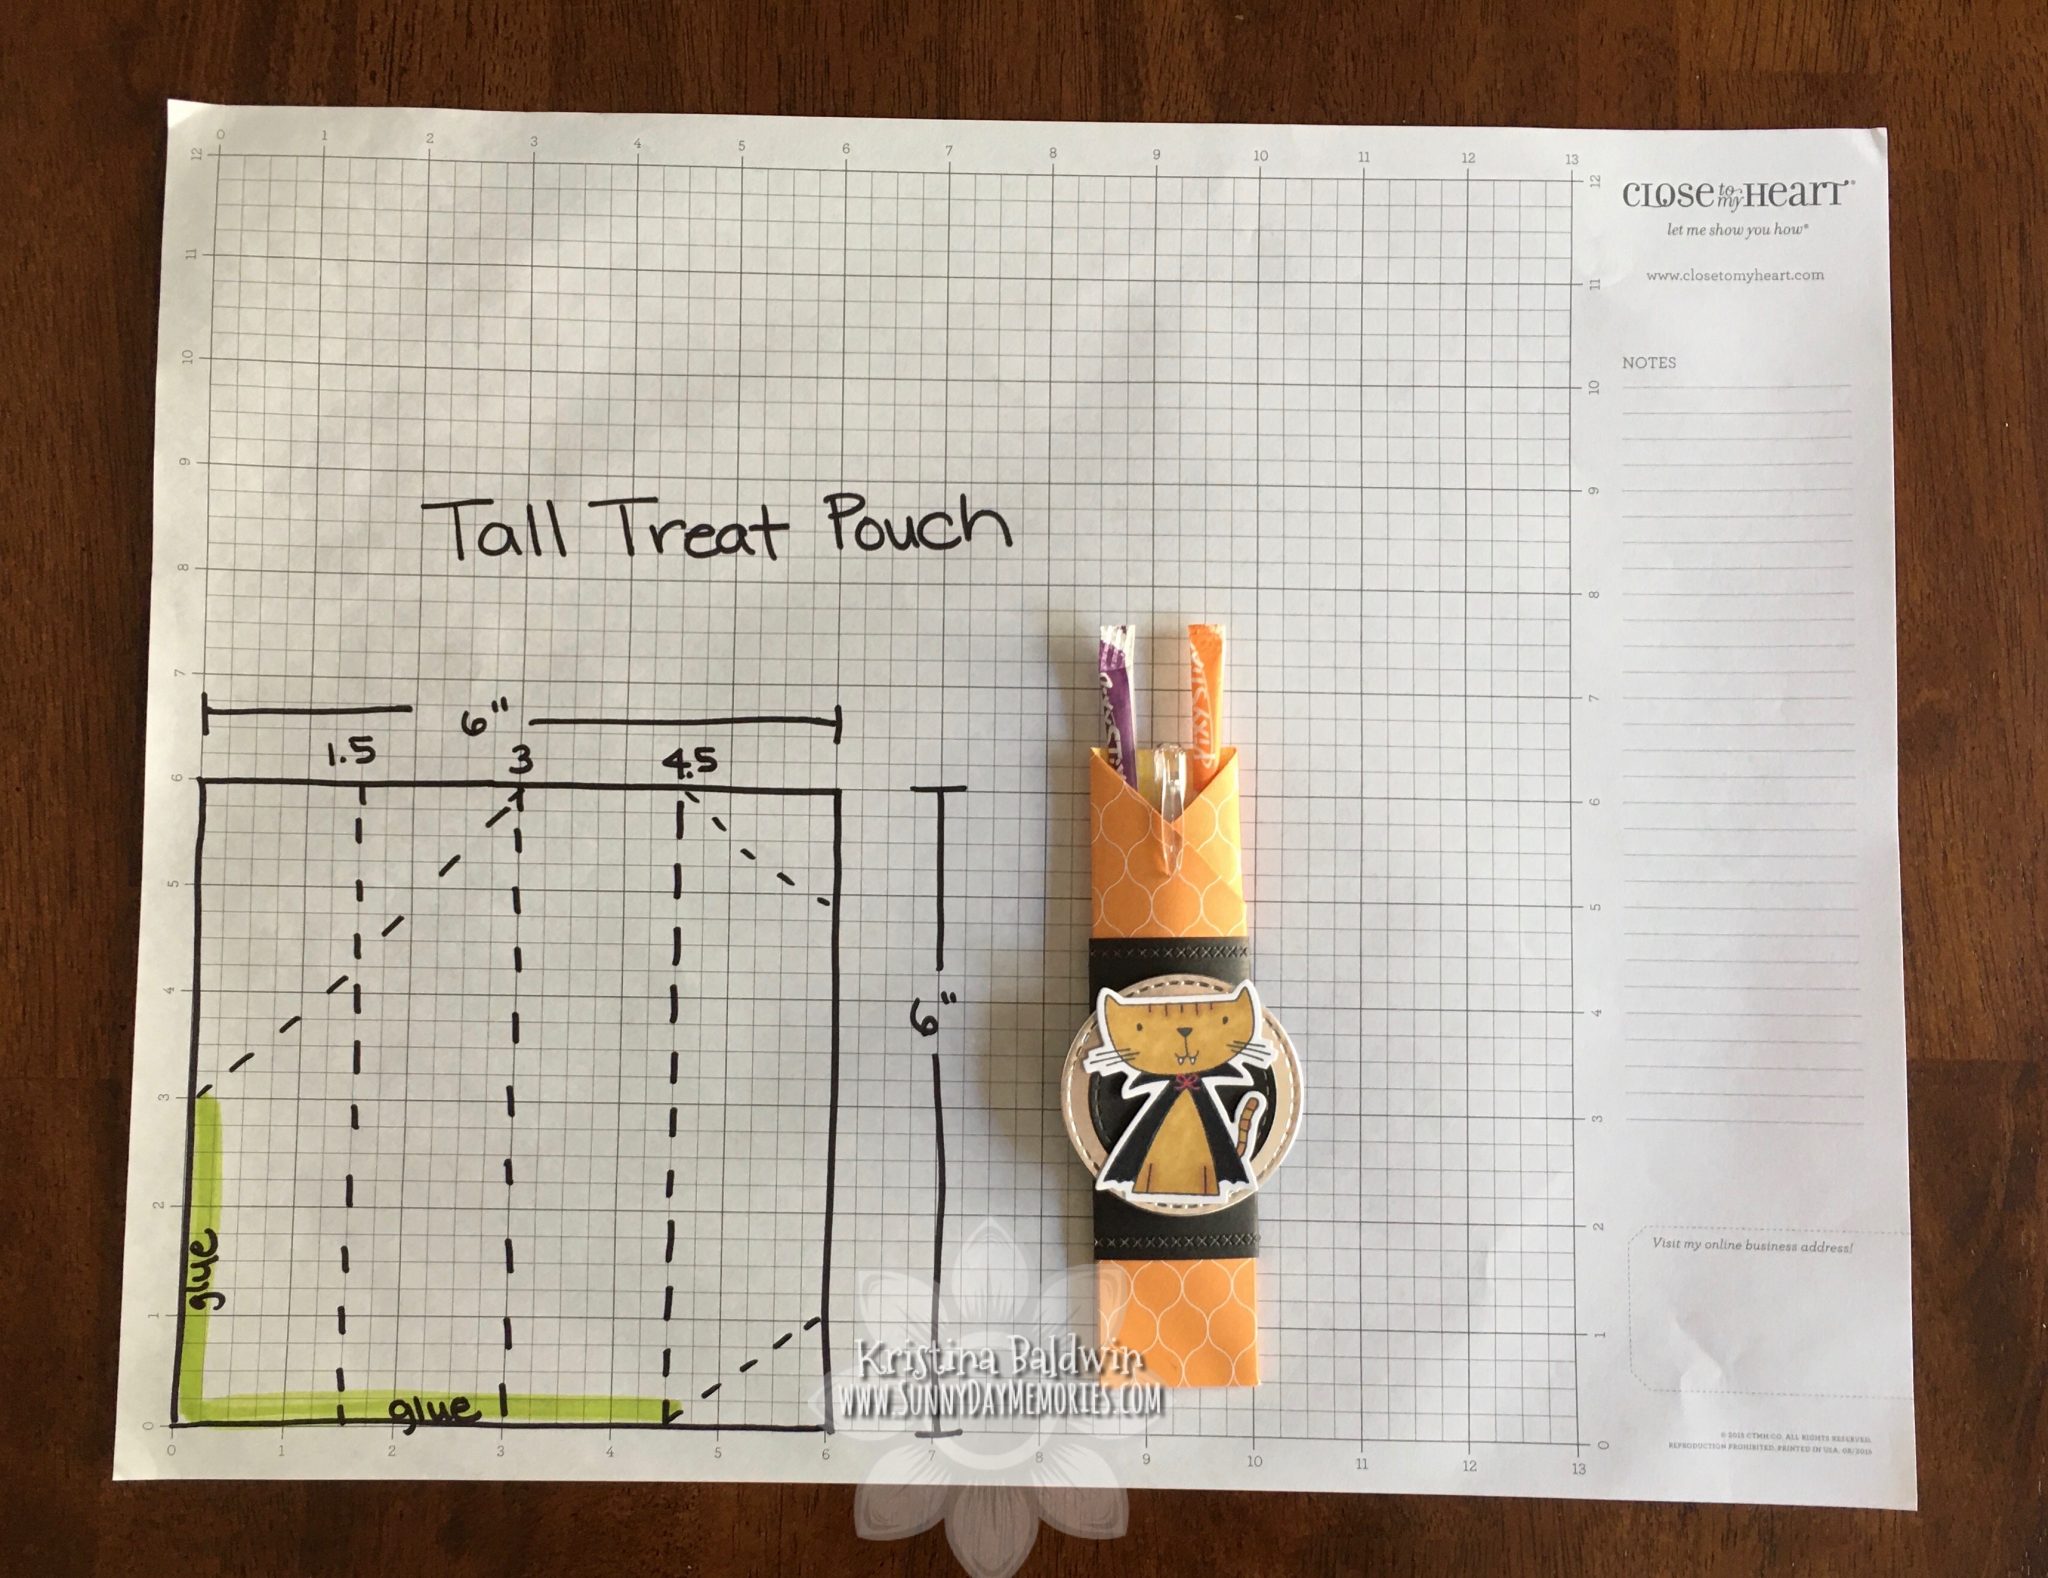
If you’re a visual learner like me, I’ve created this diagram to help visualize what we’re going to do. But I’m also going to walk you through the process just so it all makes sense. There are a couple of angled score lines that I think it’ll be so helpful to see the process step-by-step.
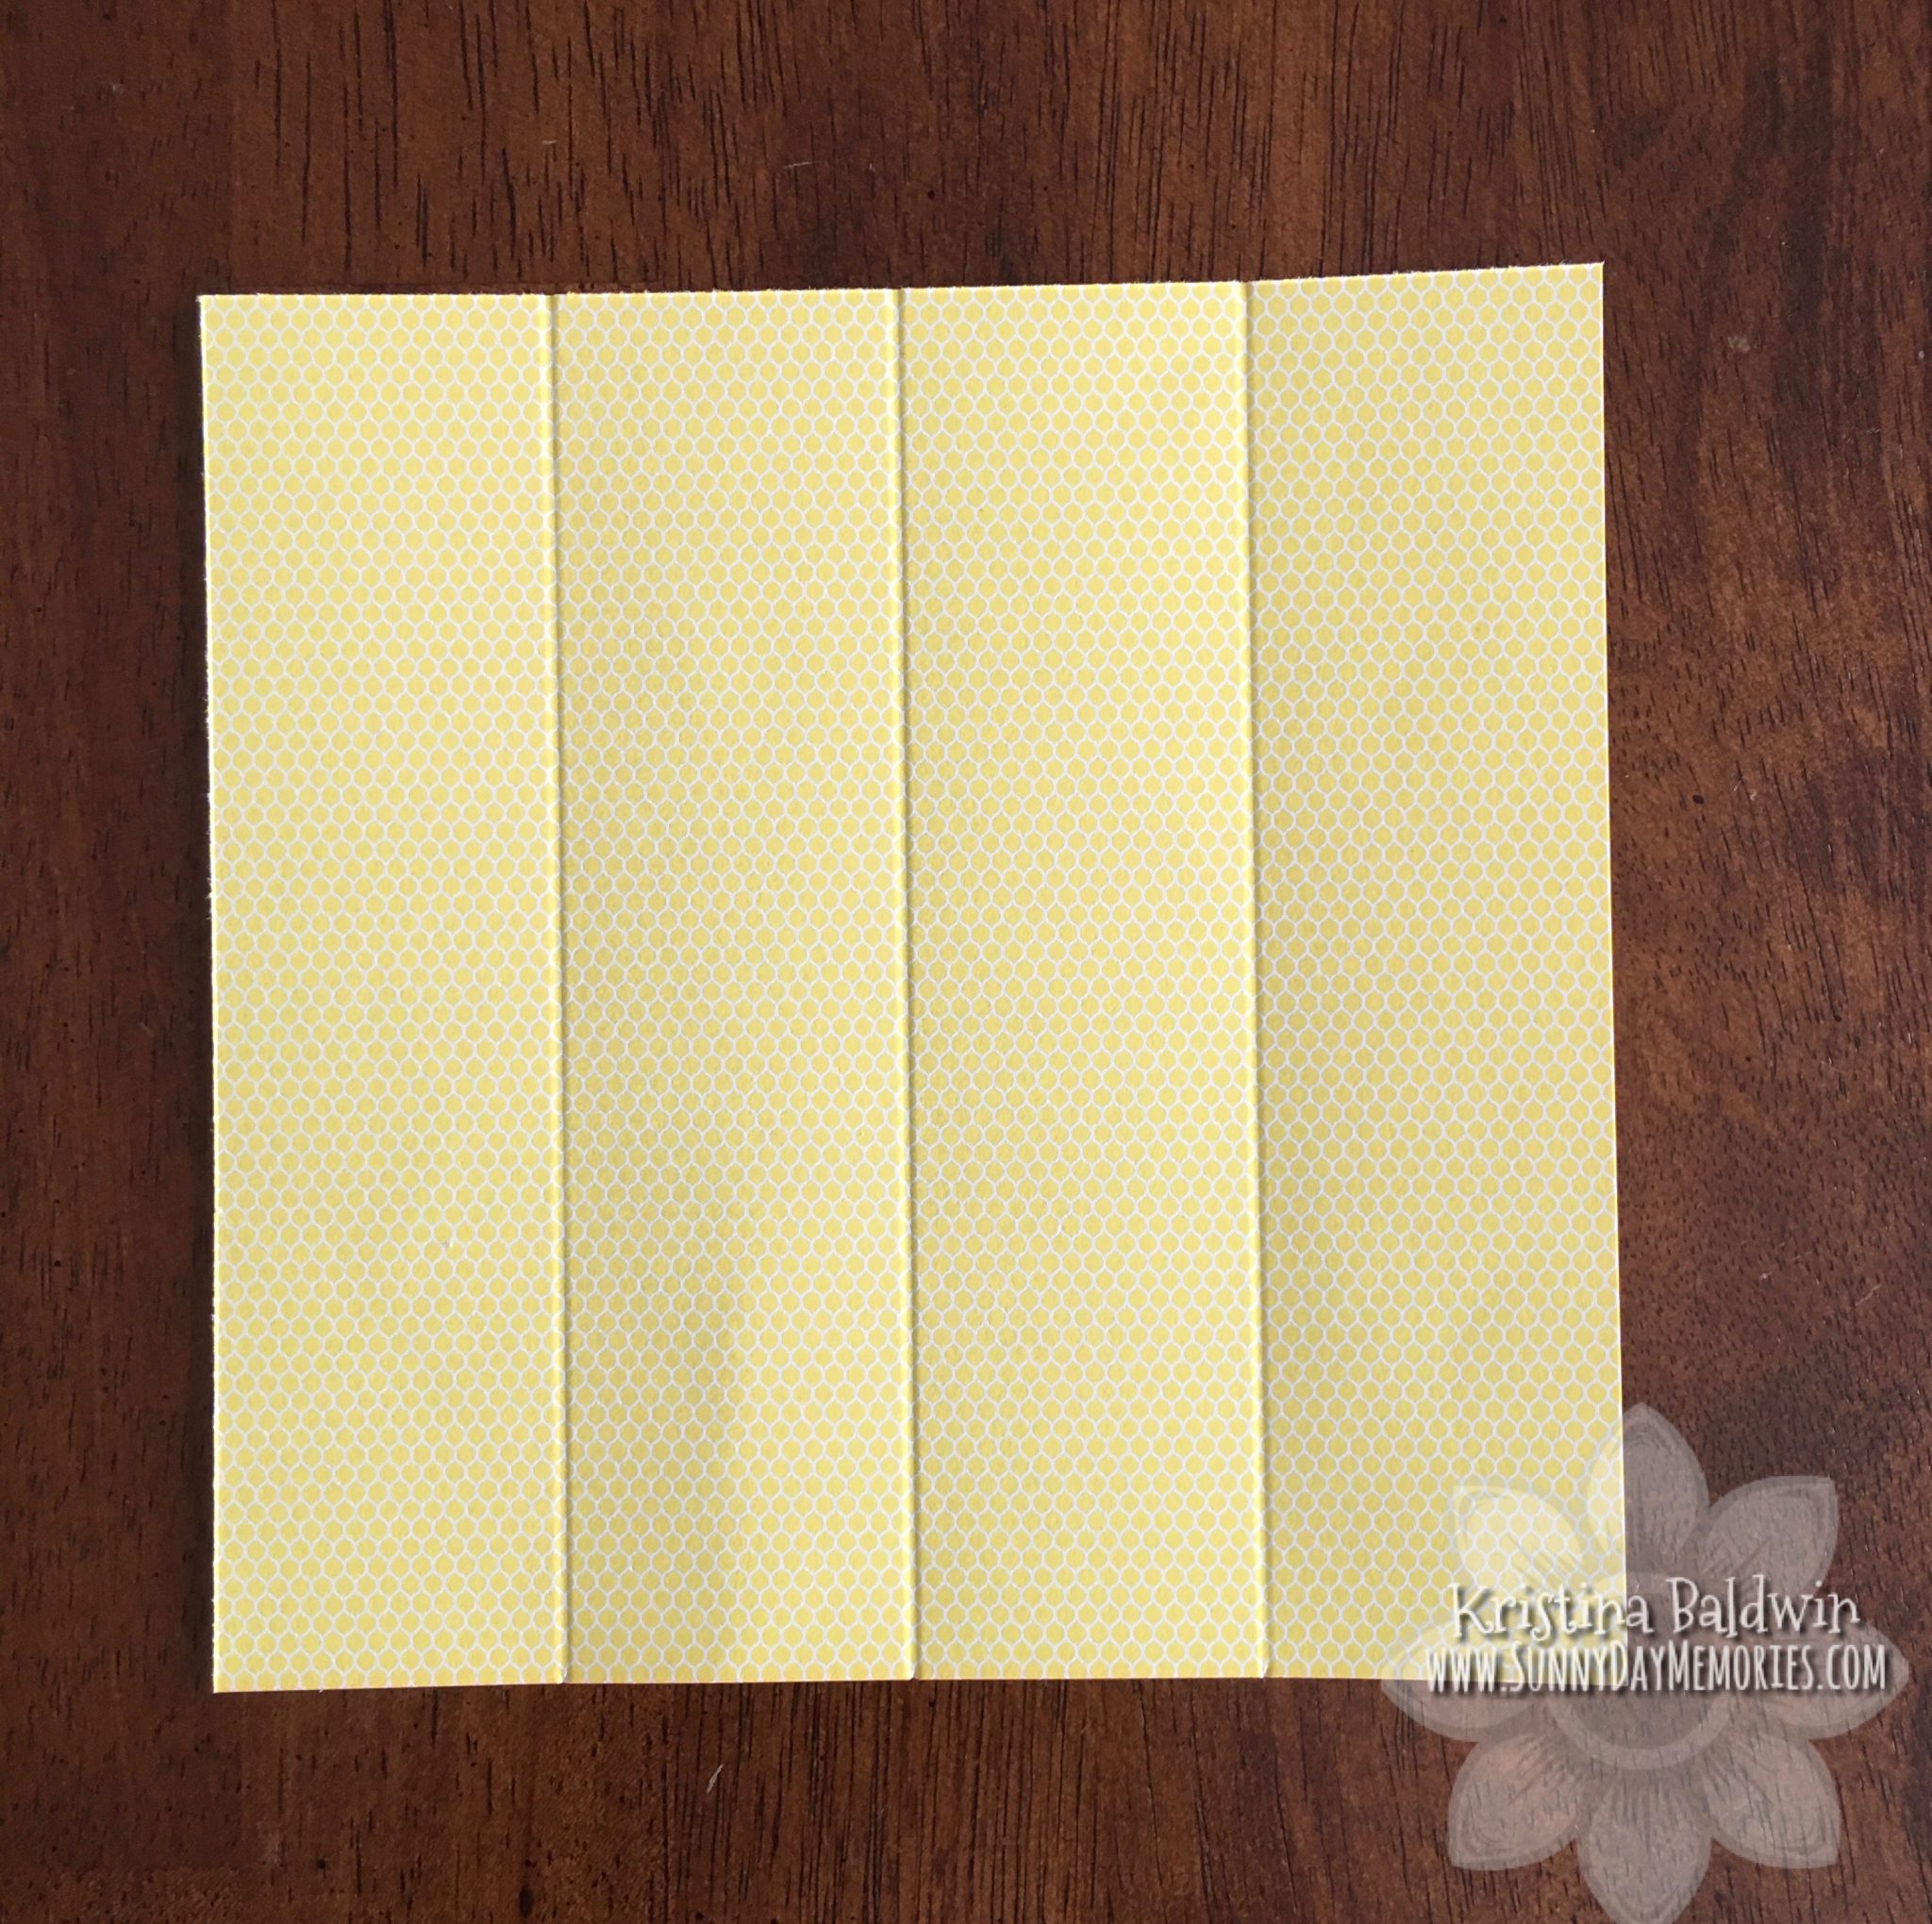
STEP 1:
First, you’ll take your 6″x 6″ paper and do some basic score lines at 1-1/2″, 3″ and 4-1/2″.
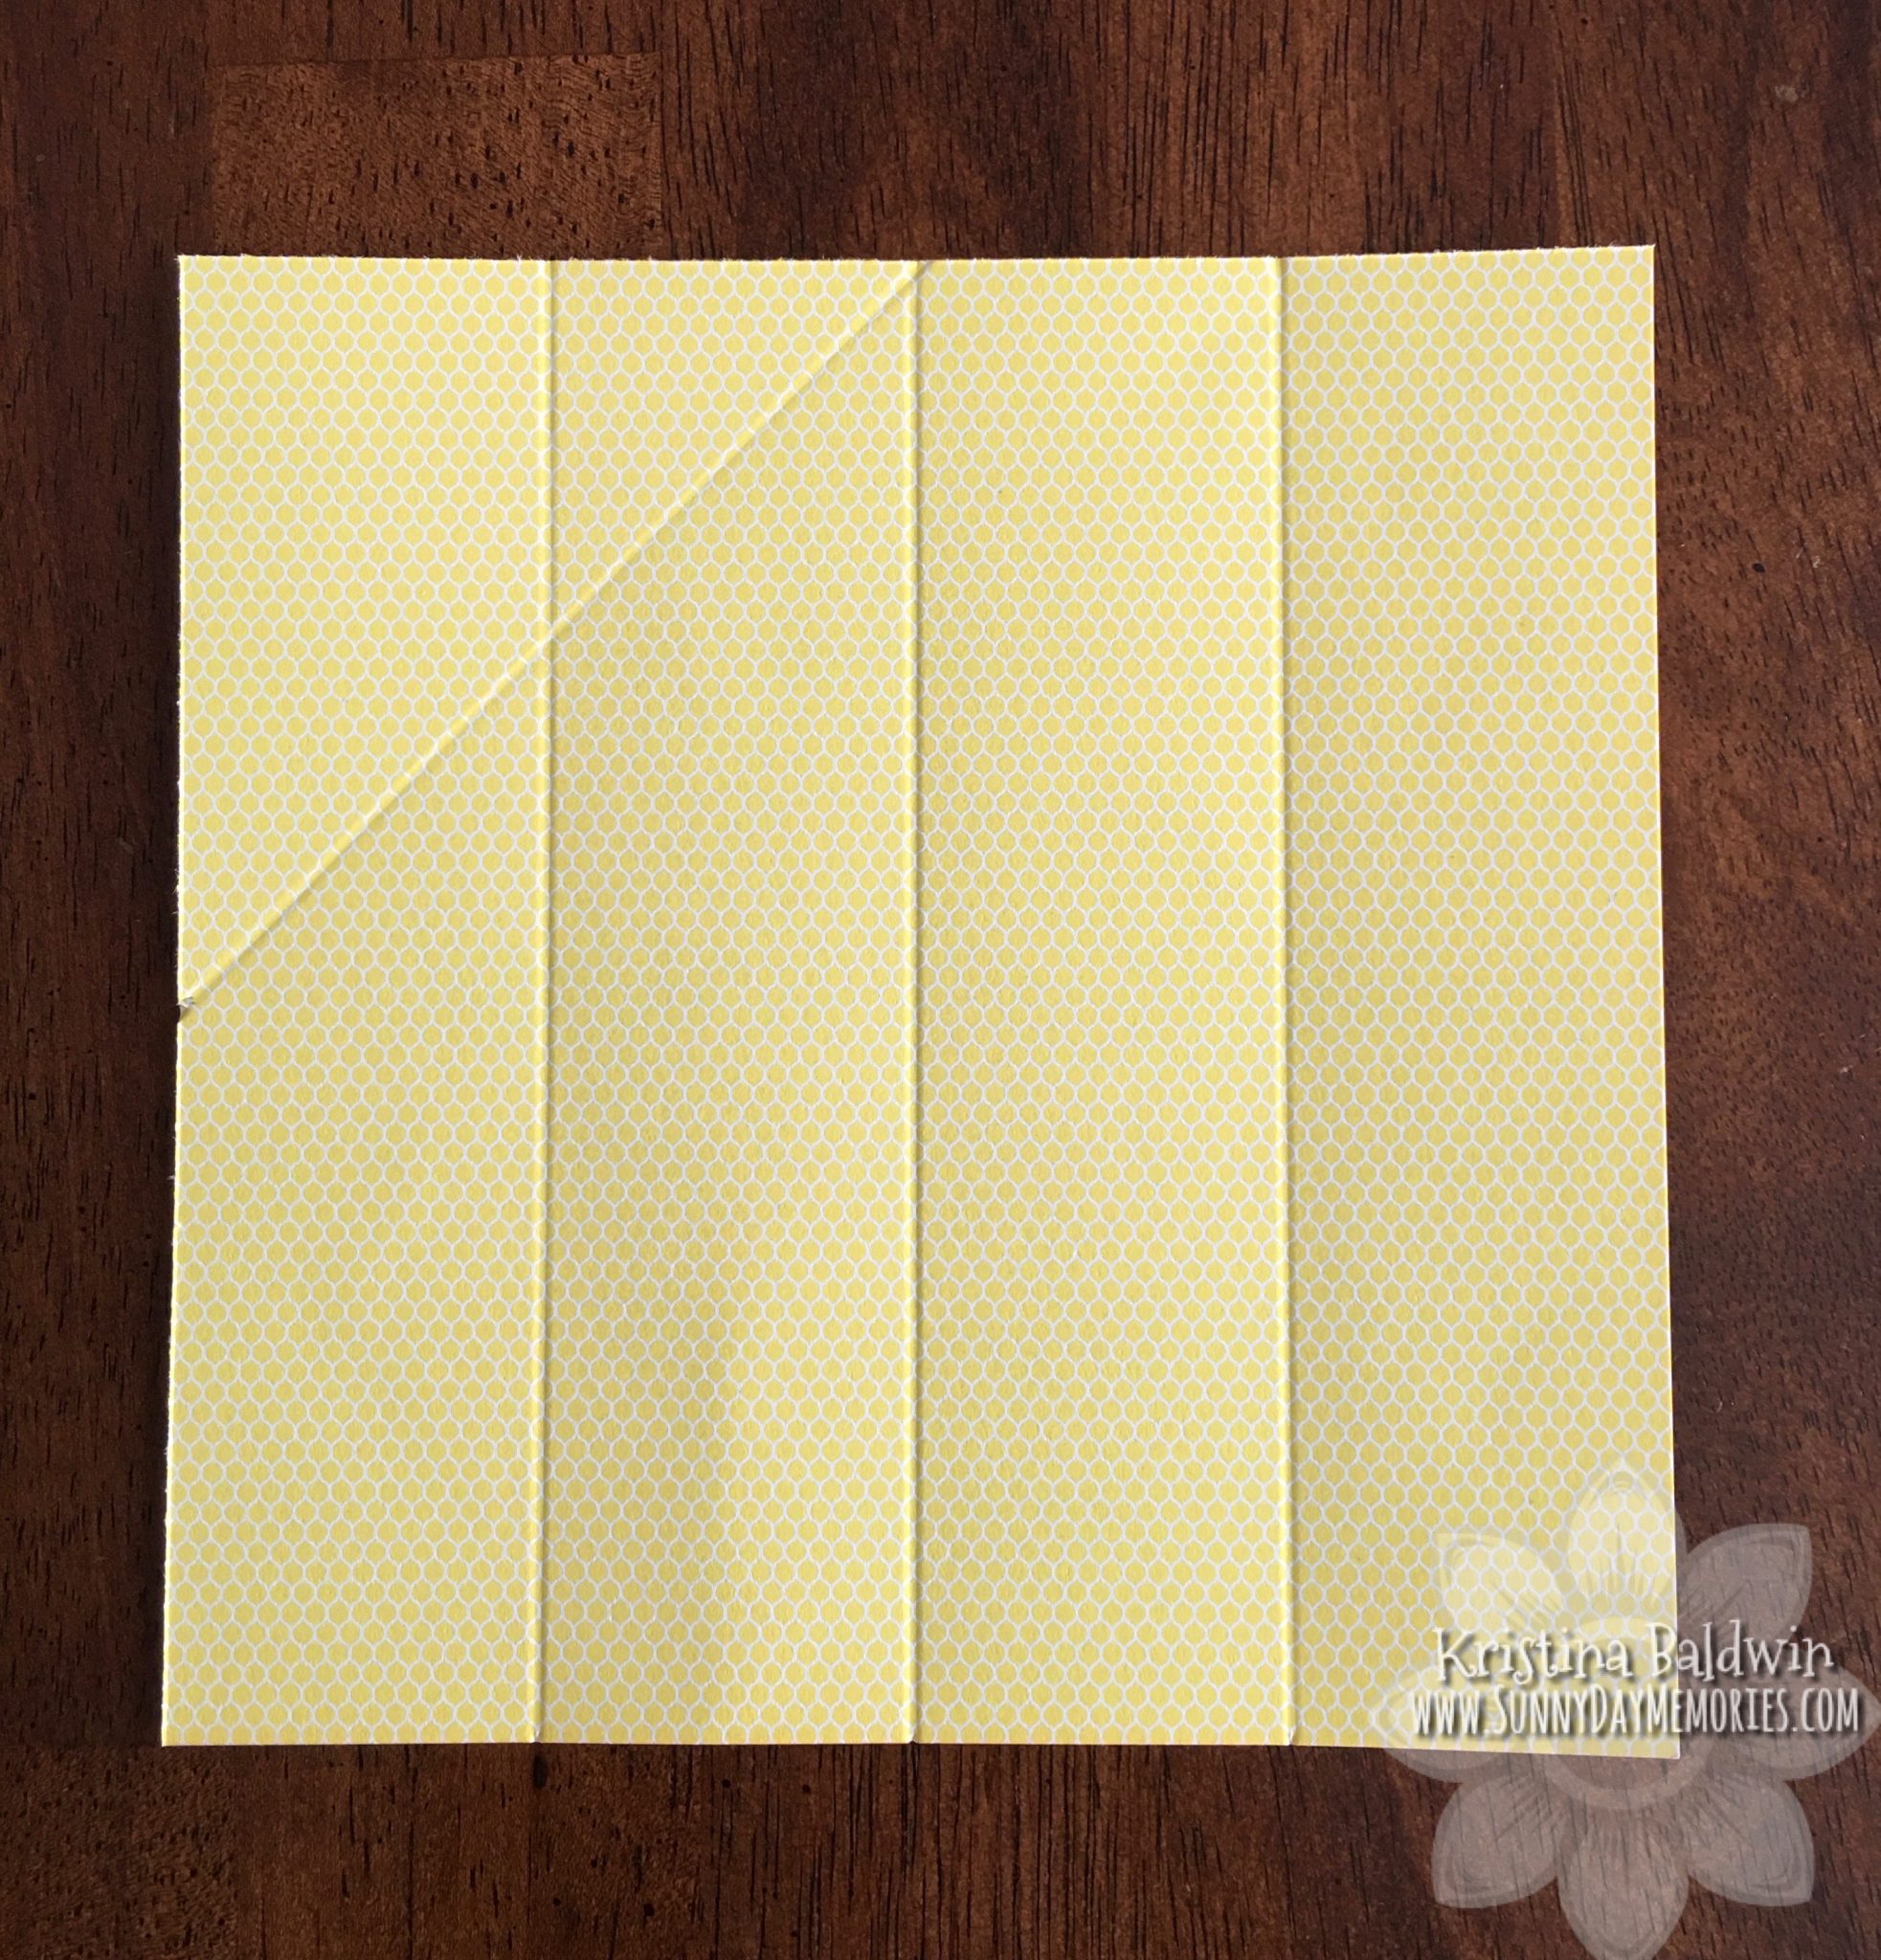
STEP 2:
Next, we’ll add a diagonal score line that begins at the halfway point of the left-hand side of the paper (at 3″ since it’s 6″ long/tall) and continues all the way to the 2nd score line (at 3″) we created in our 1st step.
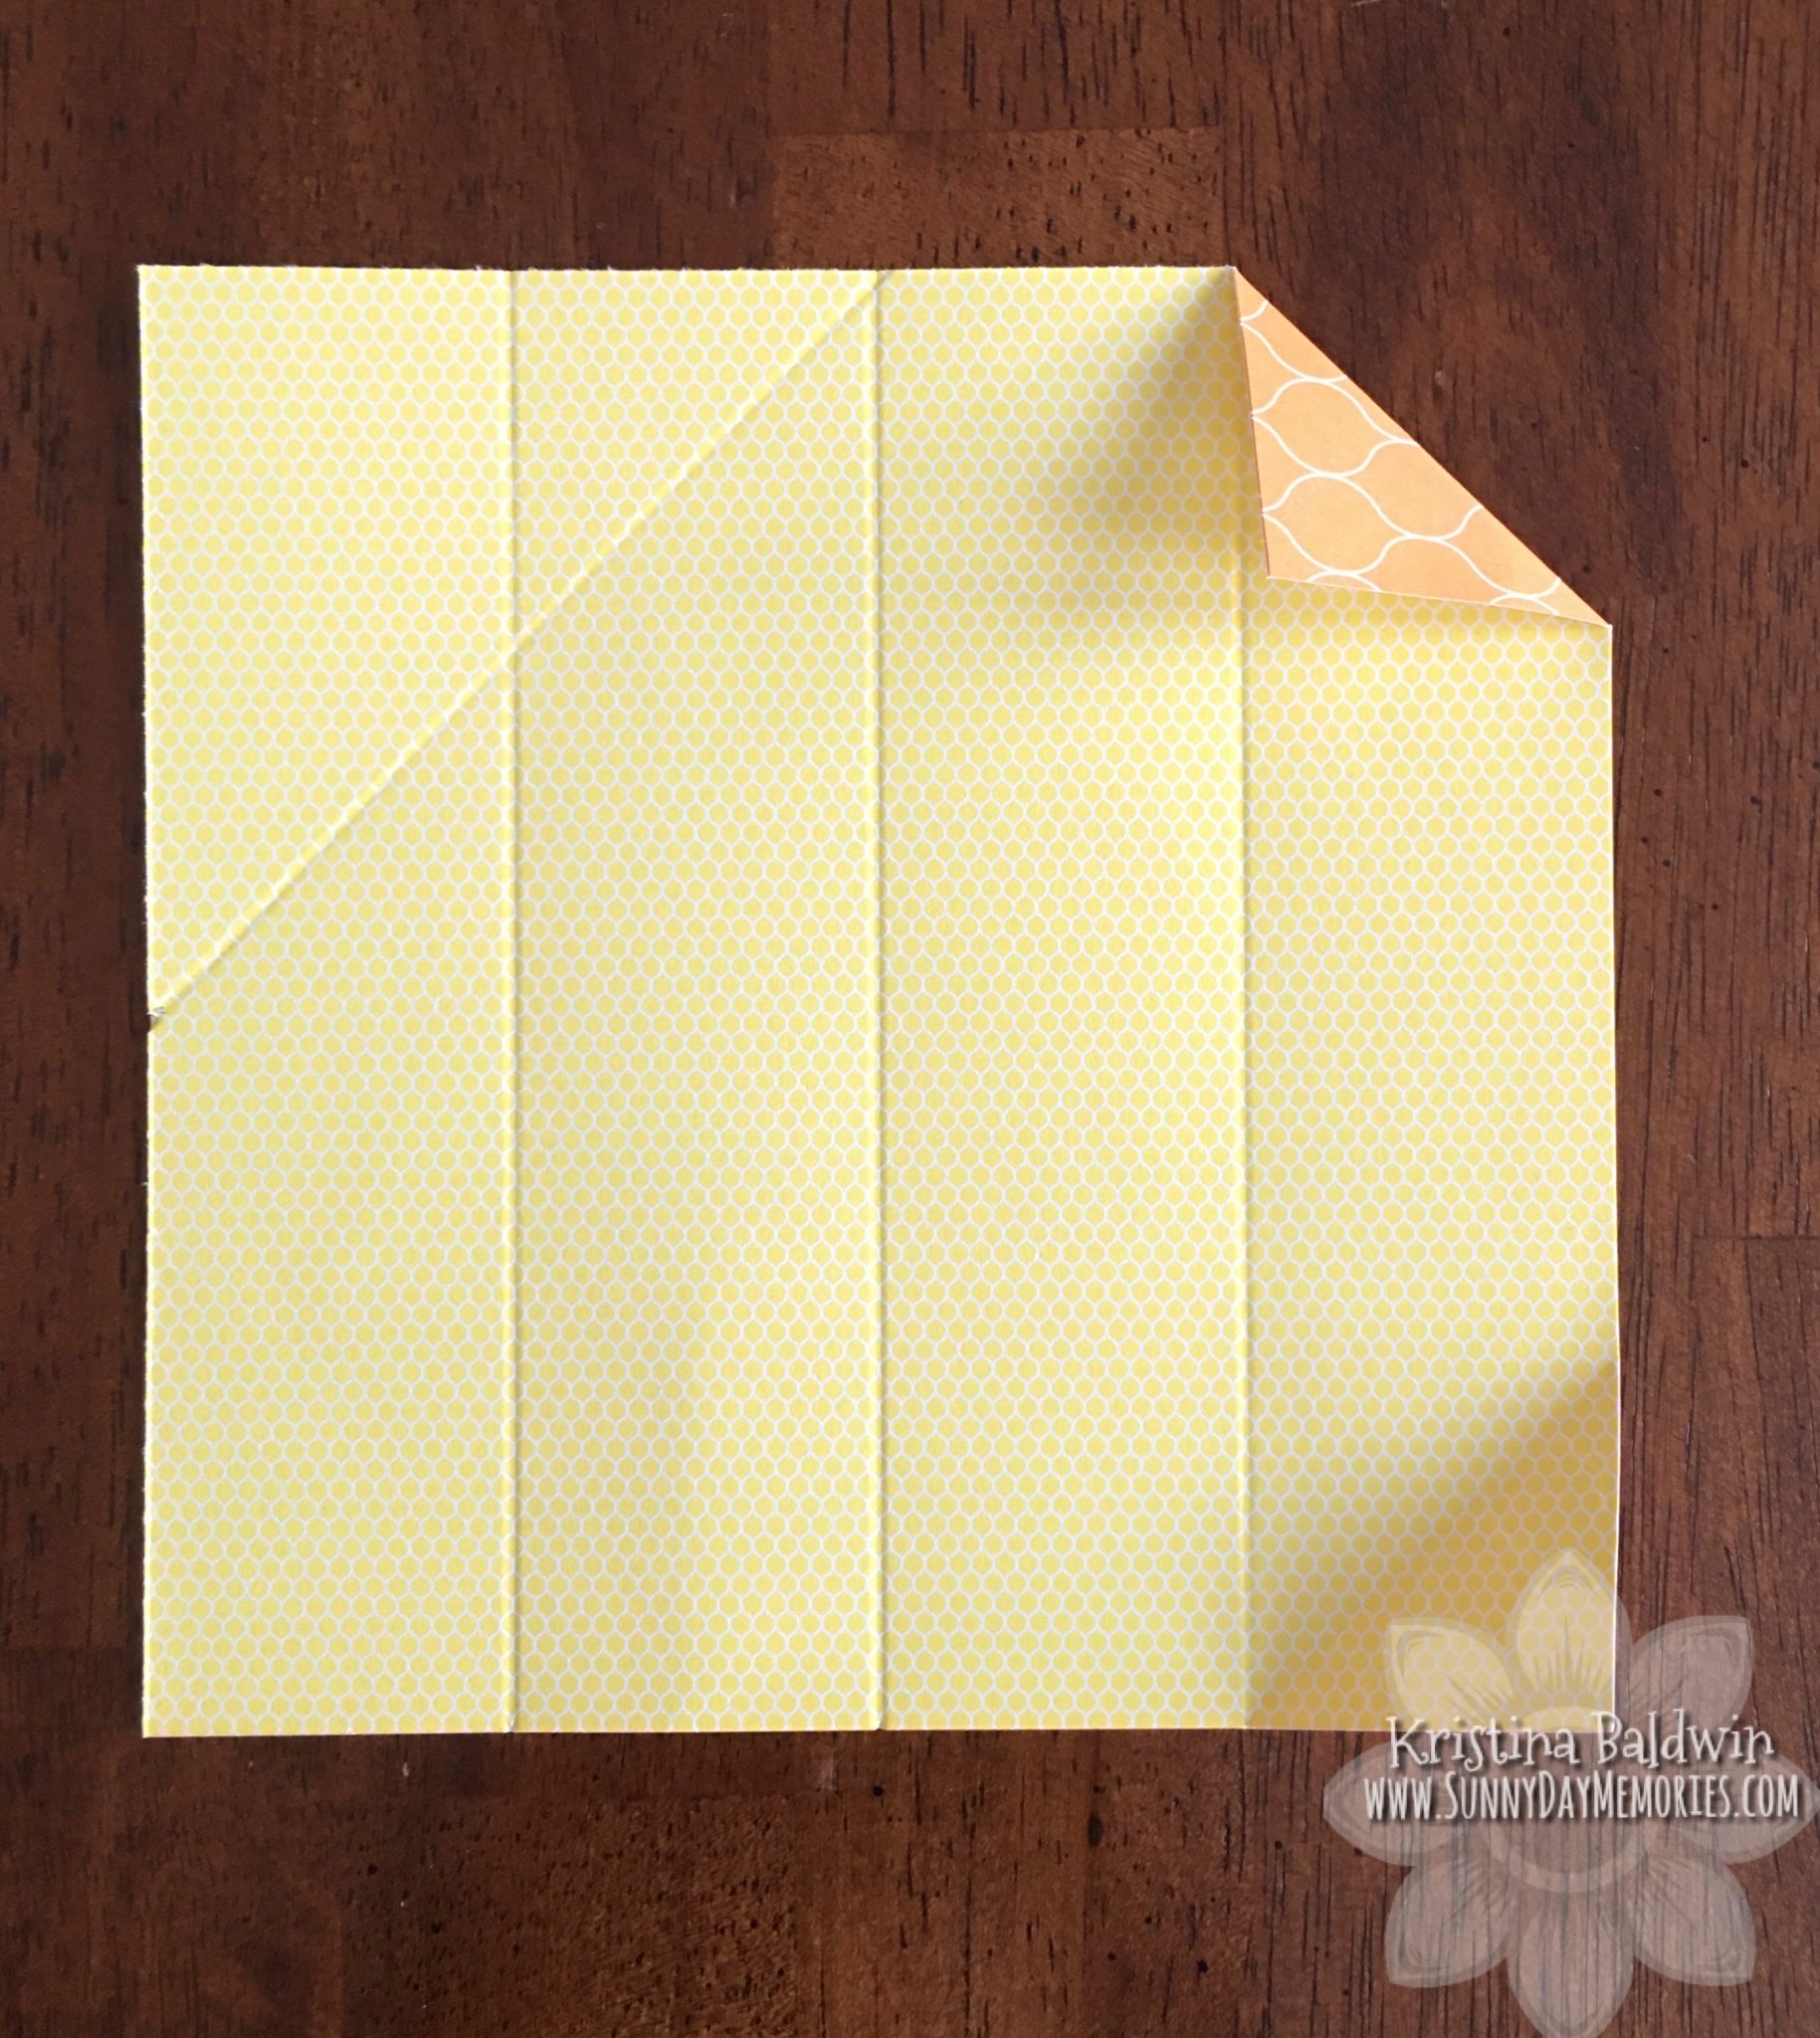
STEP 3:
It’ll be handy for you to have your Bone Folder for this step. We are going to fold the top right-hand and bottom right-hand corner until it reaches the closest score line. Make sure you get a nice crisp fold using your Bone Folder.
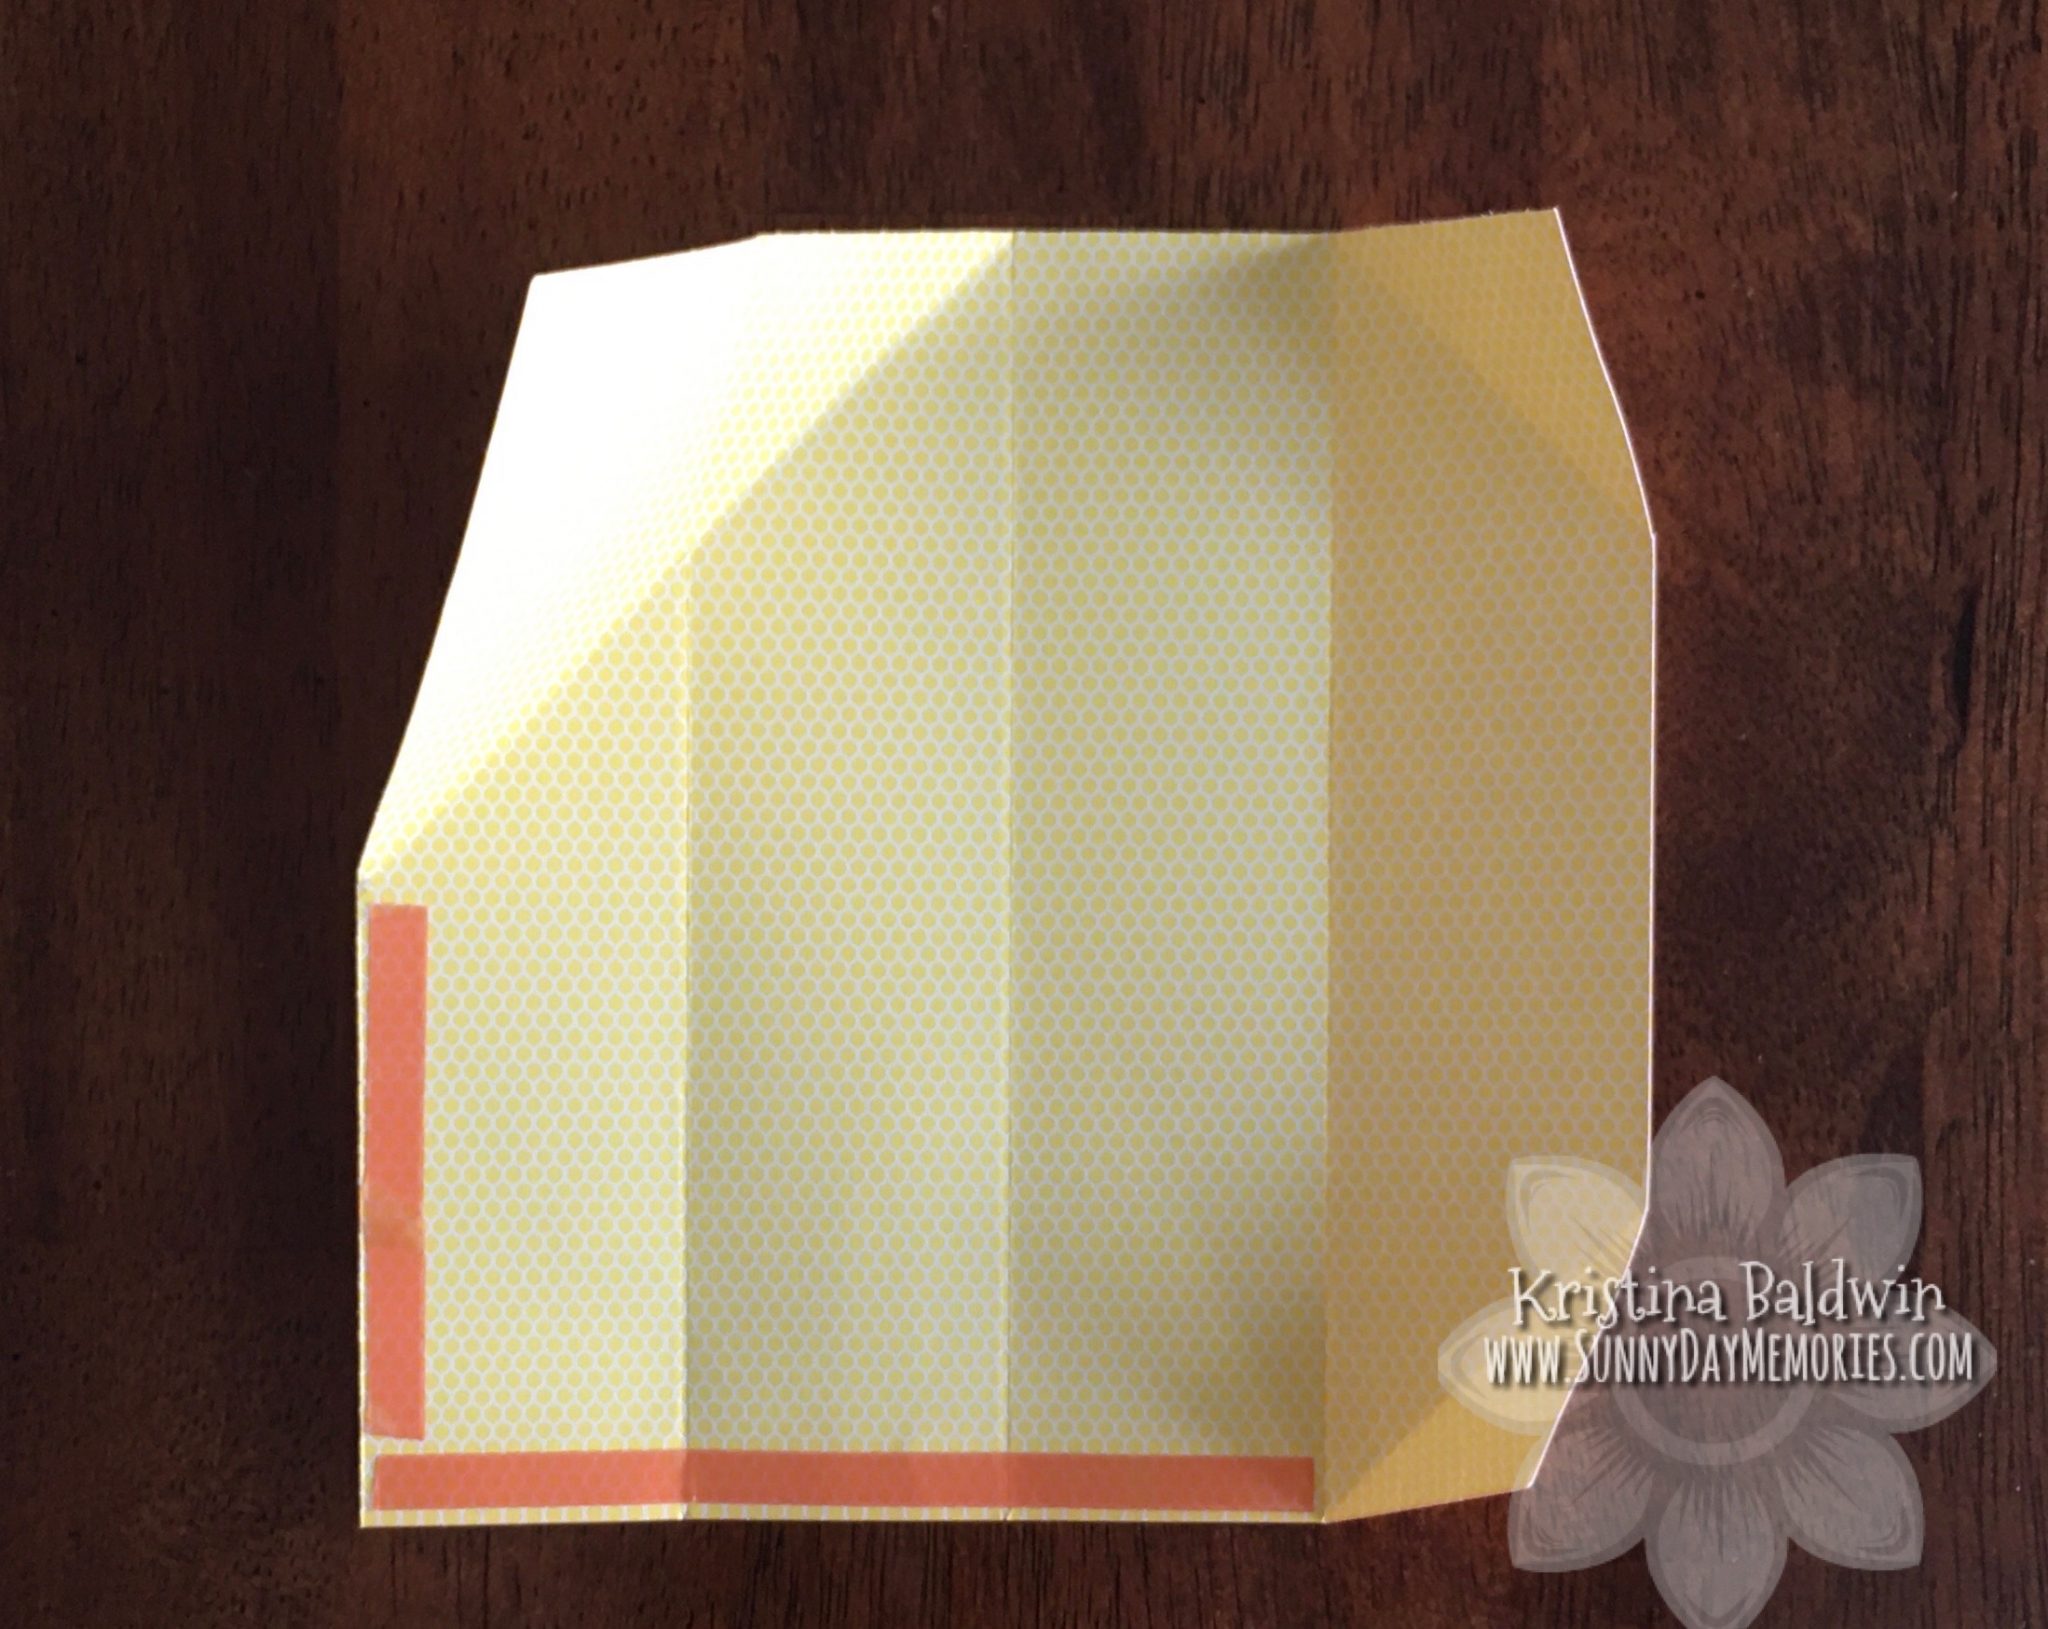
STEP 4:
Place your strong double-sided adhesive where shown. Before removing the backing to the adhesive, first fold all the score lines to get nice crisp folds which will make it easier to fold the pouch all together.
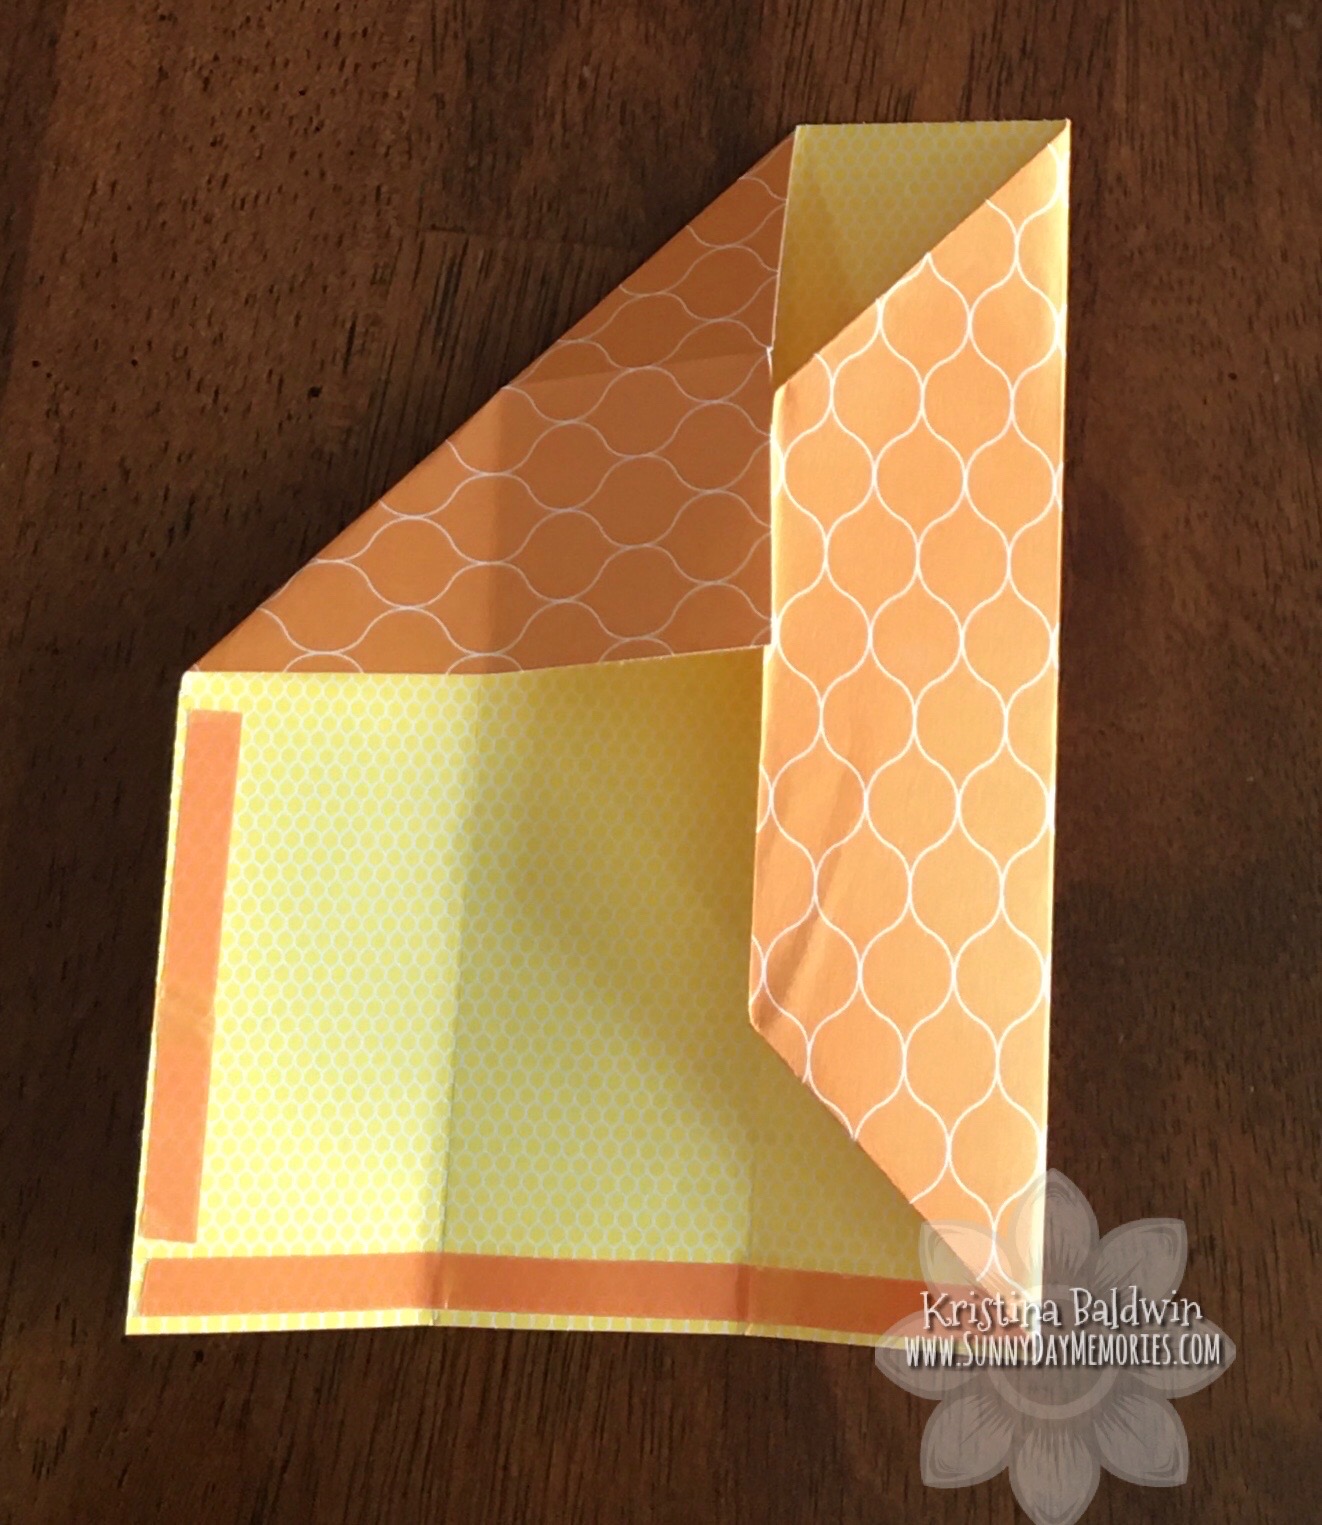
STEP 5:
Beginning on the right side of your paper, you’ll tuck the 2 small triangle folds you created in Step 3 inward and then fold it toward the center score line.
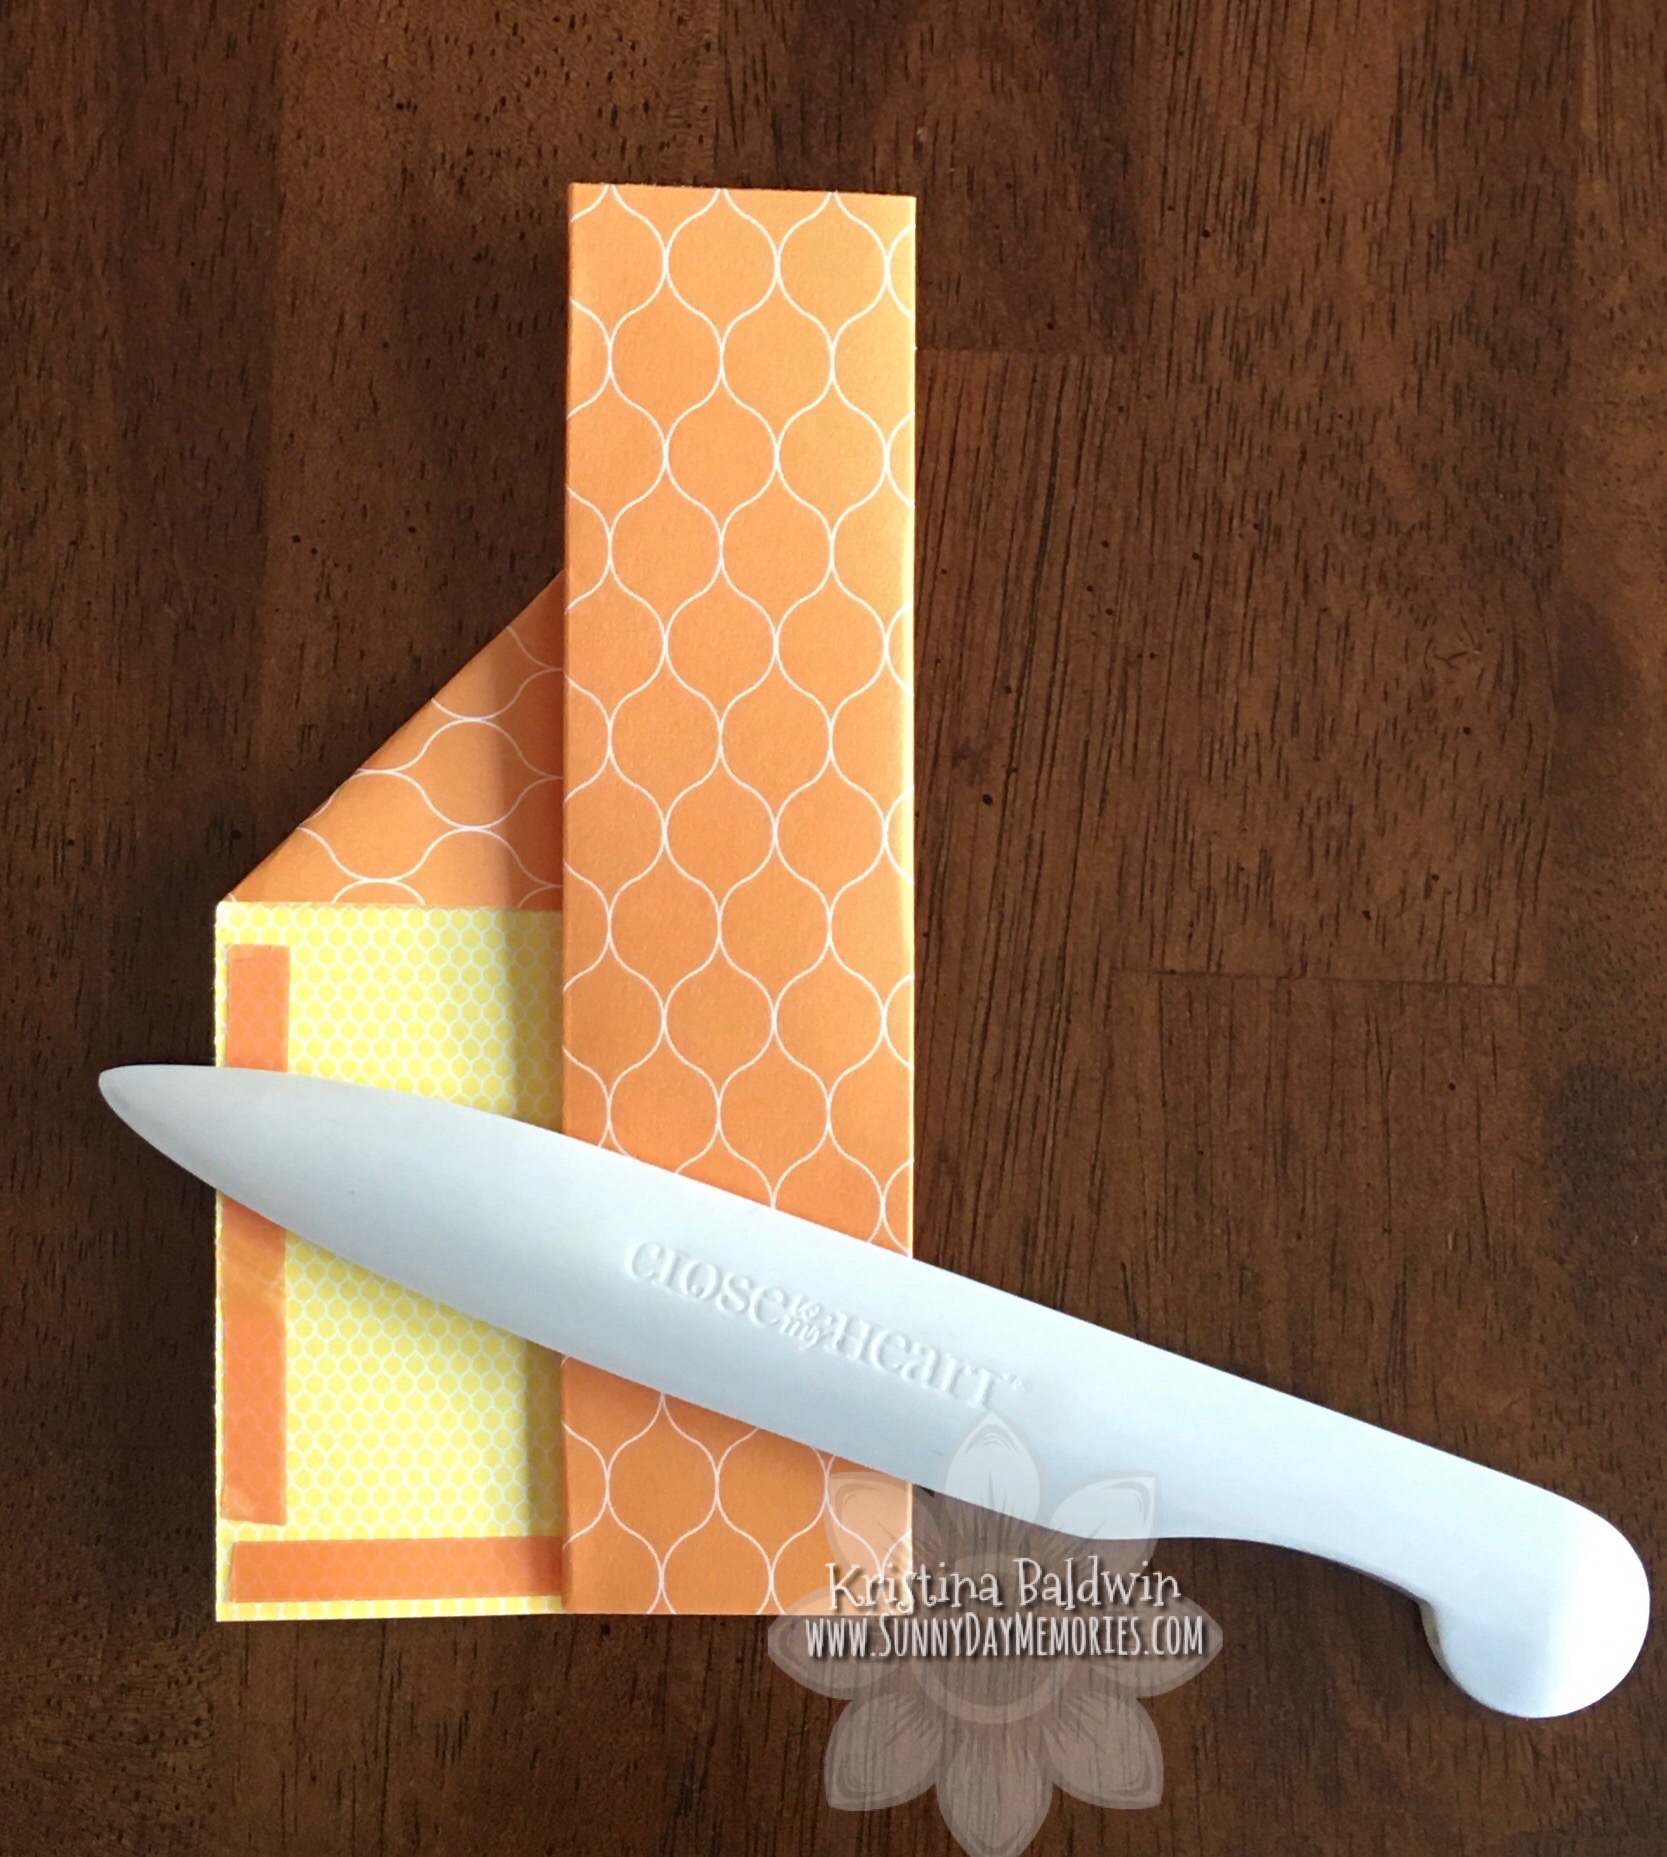
STEP 6:
With the upper left-hand corner tucked in, you’ll fold again toward the final score line. *Continue using your Bone Folder to ensure the pouch doesn’t buckle up due to folds that aren’t as crisp.
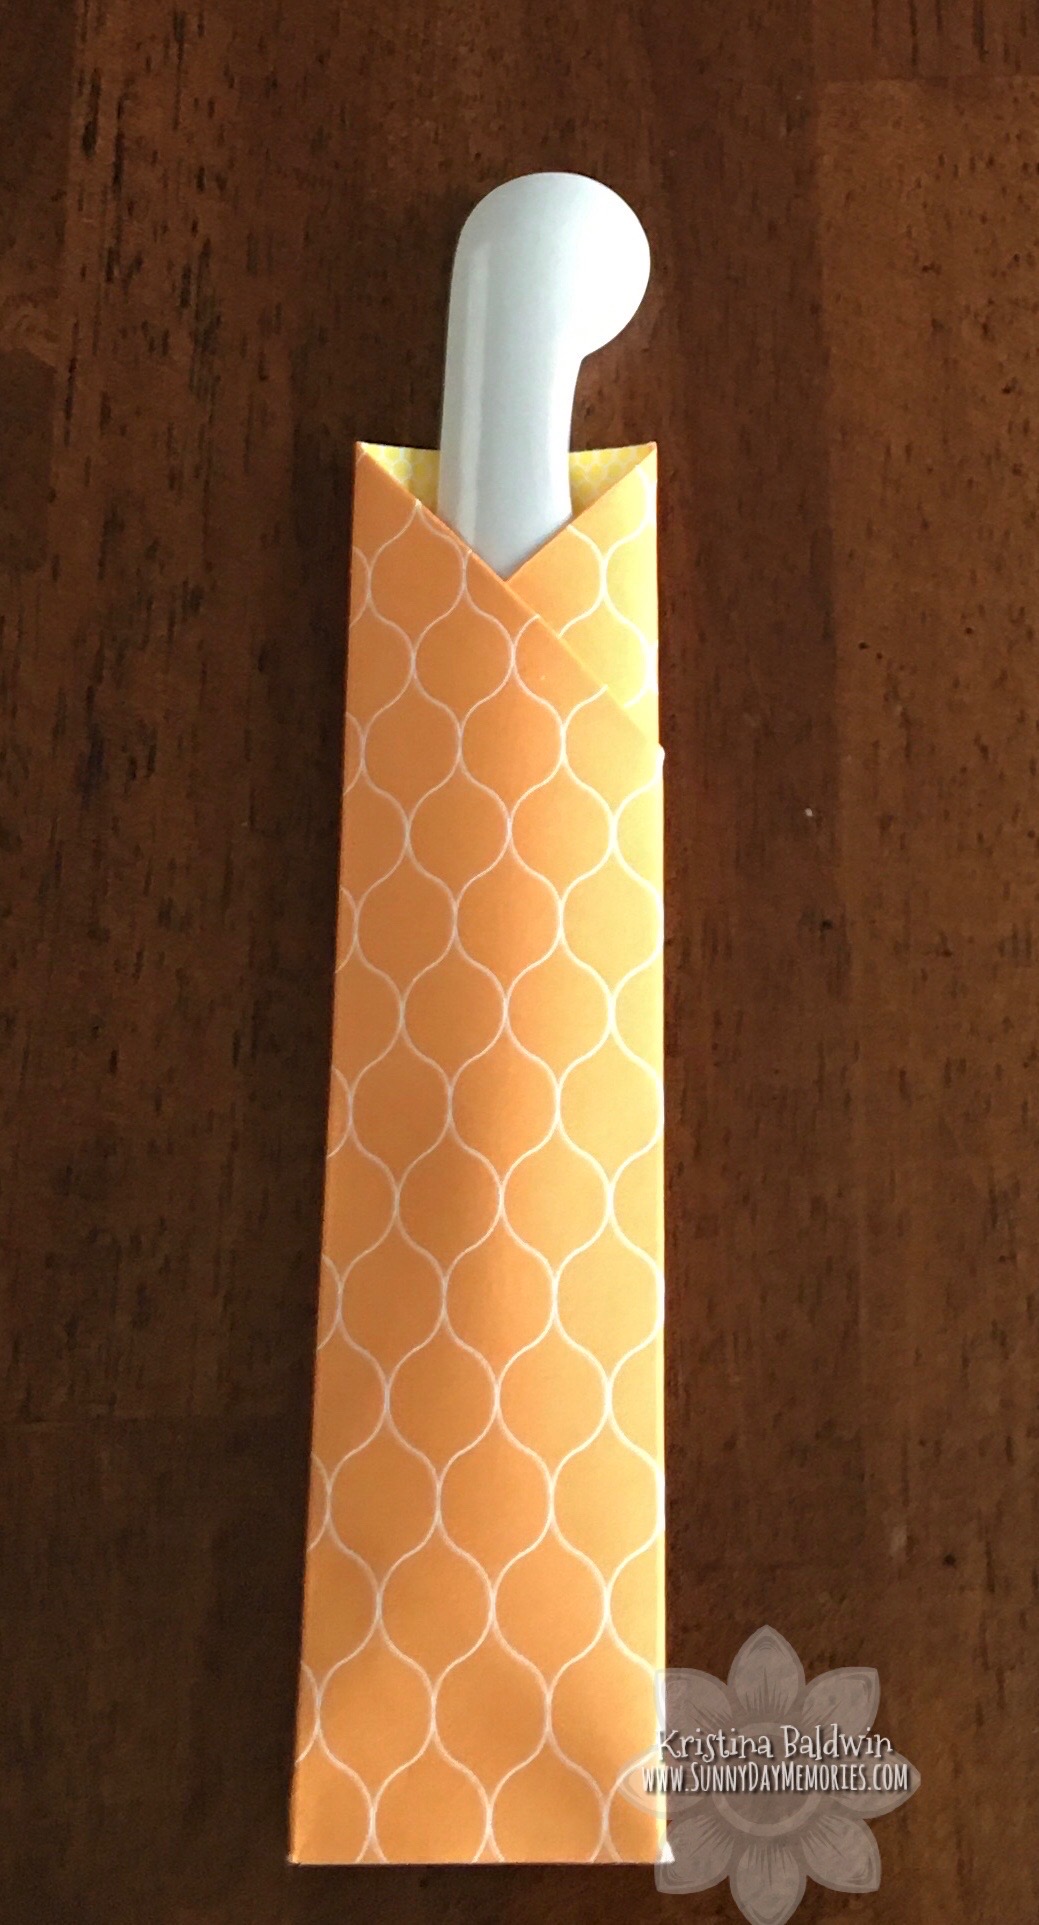
STEP 7:
Fold the final section to seal the pouch completely. The final fold will be on the backside of the pouch.

STEP 8:
Decorate your Tall Treat Pouch as desired. I did a Belly Band (3″ x 4″) around the center and then added my focal point using our Stitched Circle Dies and Frightful Friends Stamp Set & Dies (this Spooktacular Special–both the papers & Stamp Set–ends today!) Finally, fill it up with some kind of treat and give it away!
If you need to shop for any supplies to create your own Tall Treat Pouches, visit my ONLINE CTMH STORE. I definitely see myself making some up for Christmas. Maybe as little teacher gifts before holiday break. Enjoy your Halloween!
