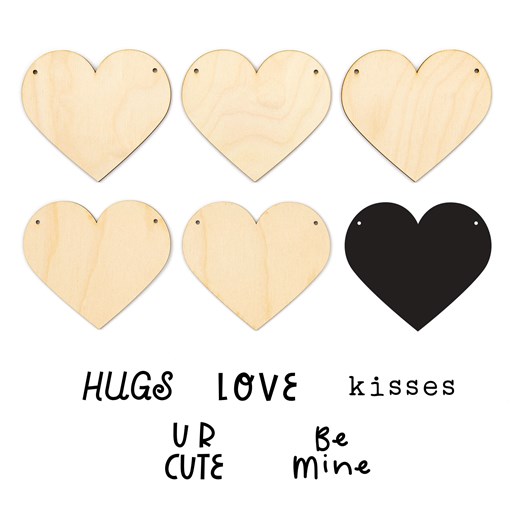
Close To My Heart currently has this super fun Wooden Heart Banner Kit available. It’s called the Be Mine Kit. While it most definitely makes an adorable banner, I saw another wonderful possibility that I want to share with you today!
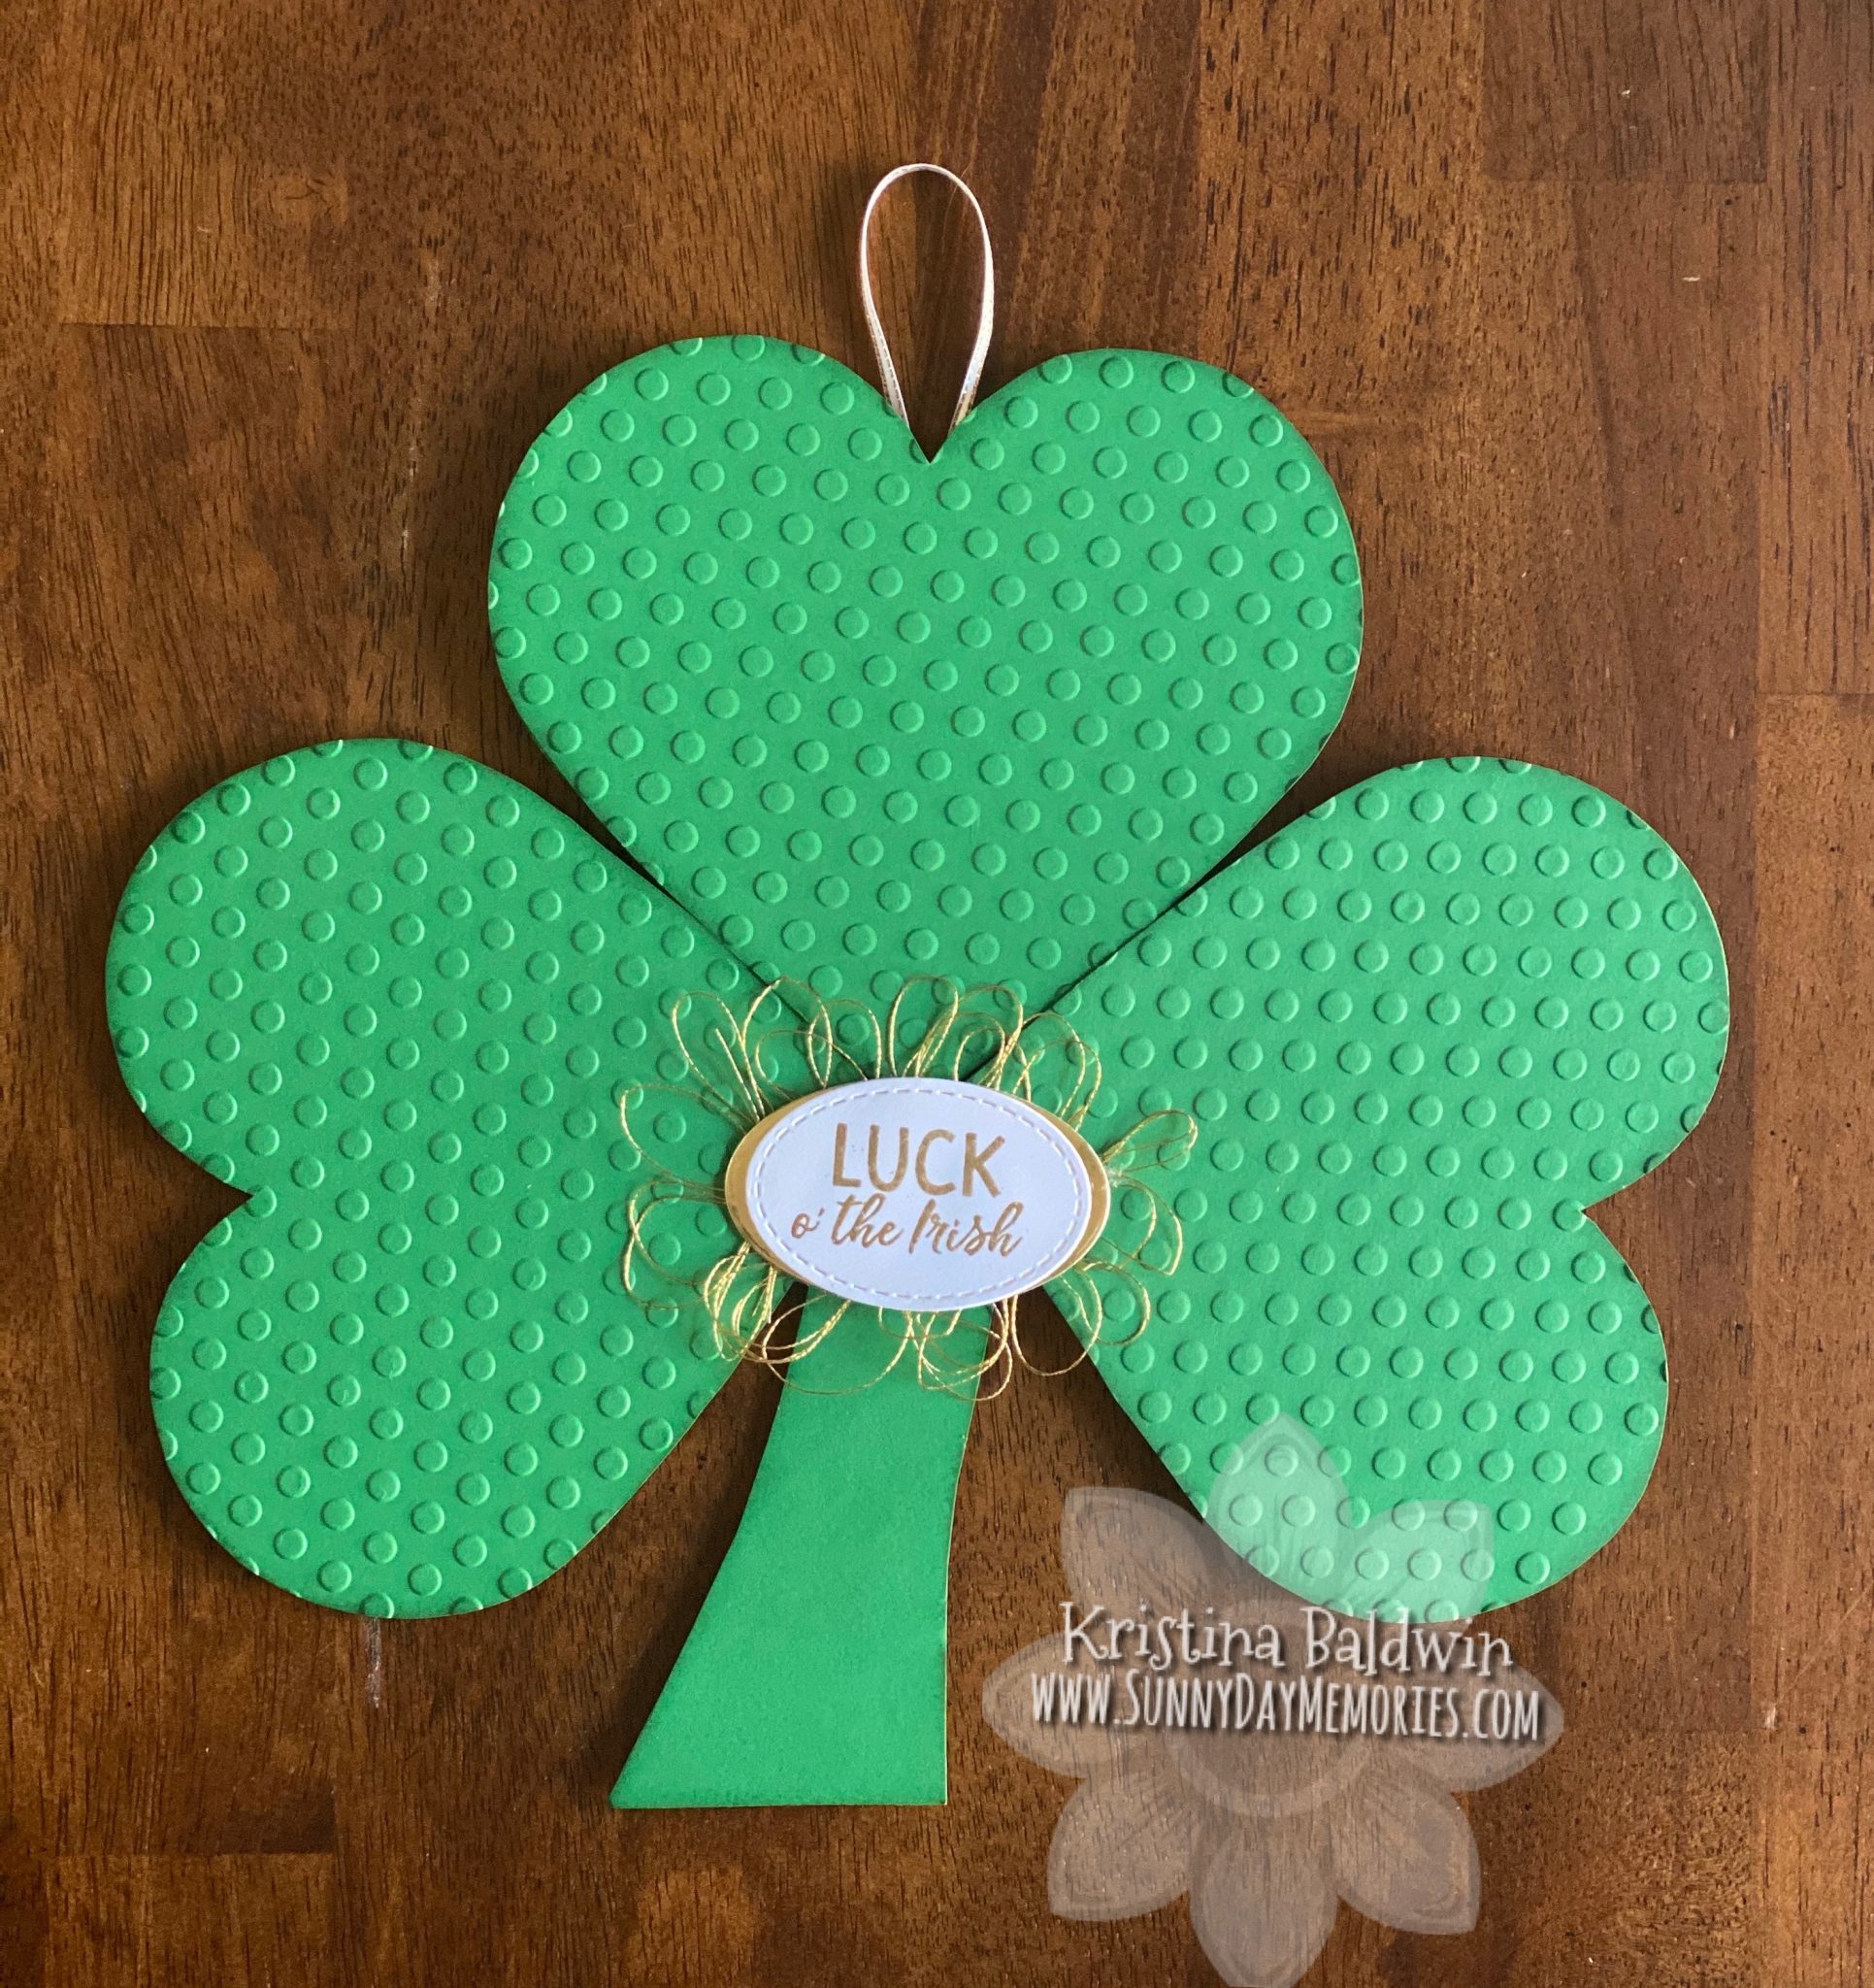
I used 3 of the wooden hearts from the kit to create this fun and festive Shamrock Wall Hanging. Want to make one for yourself? It’s not hard at all. Here are the supplies you’ll want to gather:
- Be Mine Heart Banner Kit (CC12021)
- favorite adhesive (I used Bonding Memories Glue)
- Green Cardstock (I used Clover)
- Embossing Folder (optional)
- Chipboard
- Ribbon (I used White & Gold Skinny Ribbon) (Z4194)
- Hot Glue Gun or strong adhesive
- Gold Embellishing Thread (Z4054; optional)
- Gold Foil Paper (Z3365; optional)
- White Daisy Cardstock (1385; optional)
- Round Sponge (Z697; optional)
- Clover Stamp Pad (Z6507; optional)
- VersaMark Ink Pad (Z891; optional)
- Gold Embossing Powder (Z2066; optional)
- Stitched Ovals Thin Cuts Dies (Z4187; optional)
- Mini Glue Dots (Z341; optional)
- 3-D Foam Tape (Z1151; optional)
STEP 1:
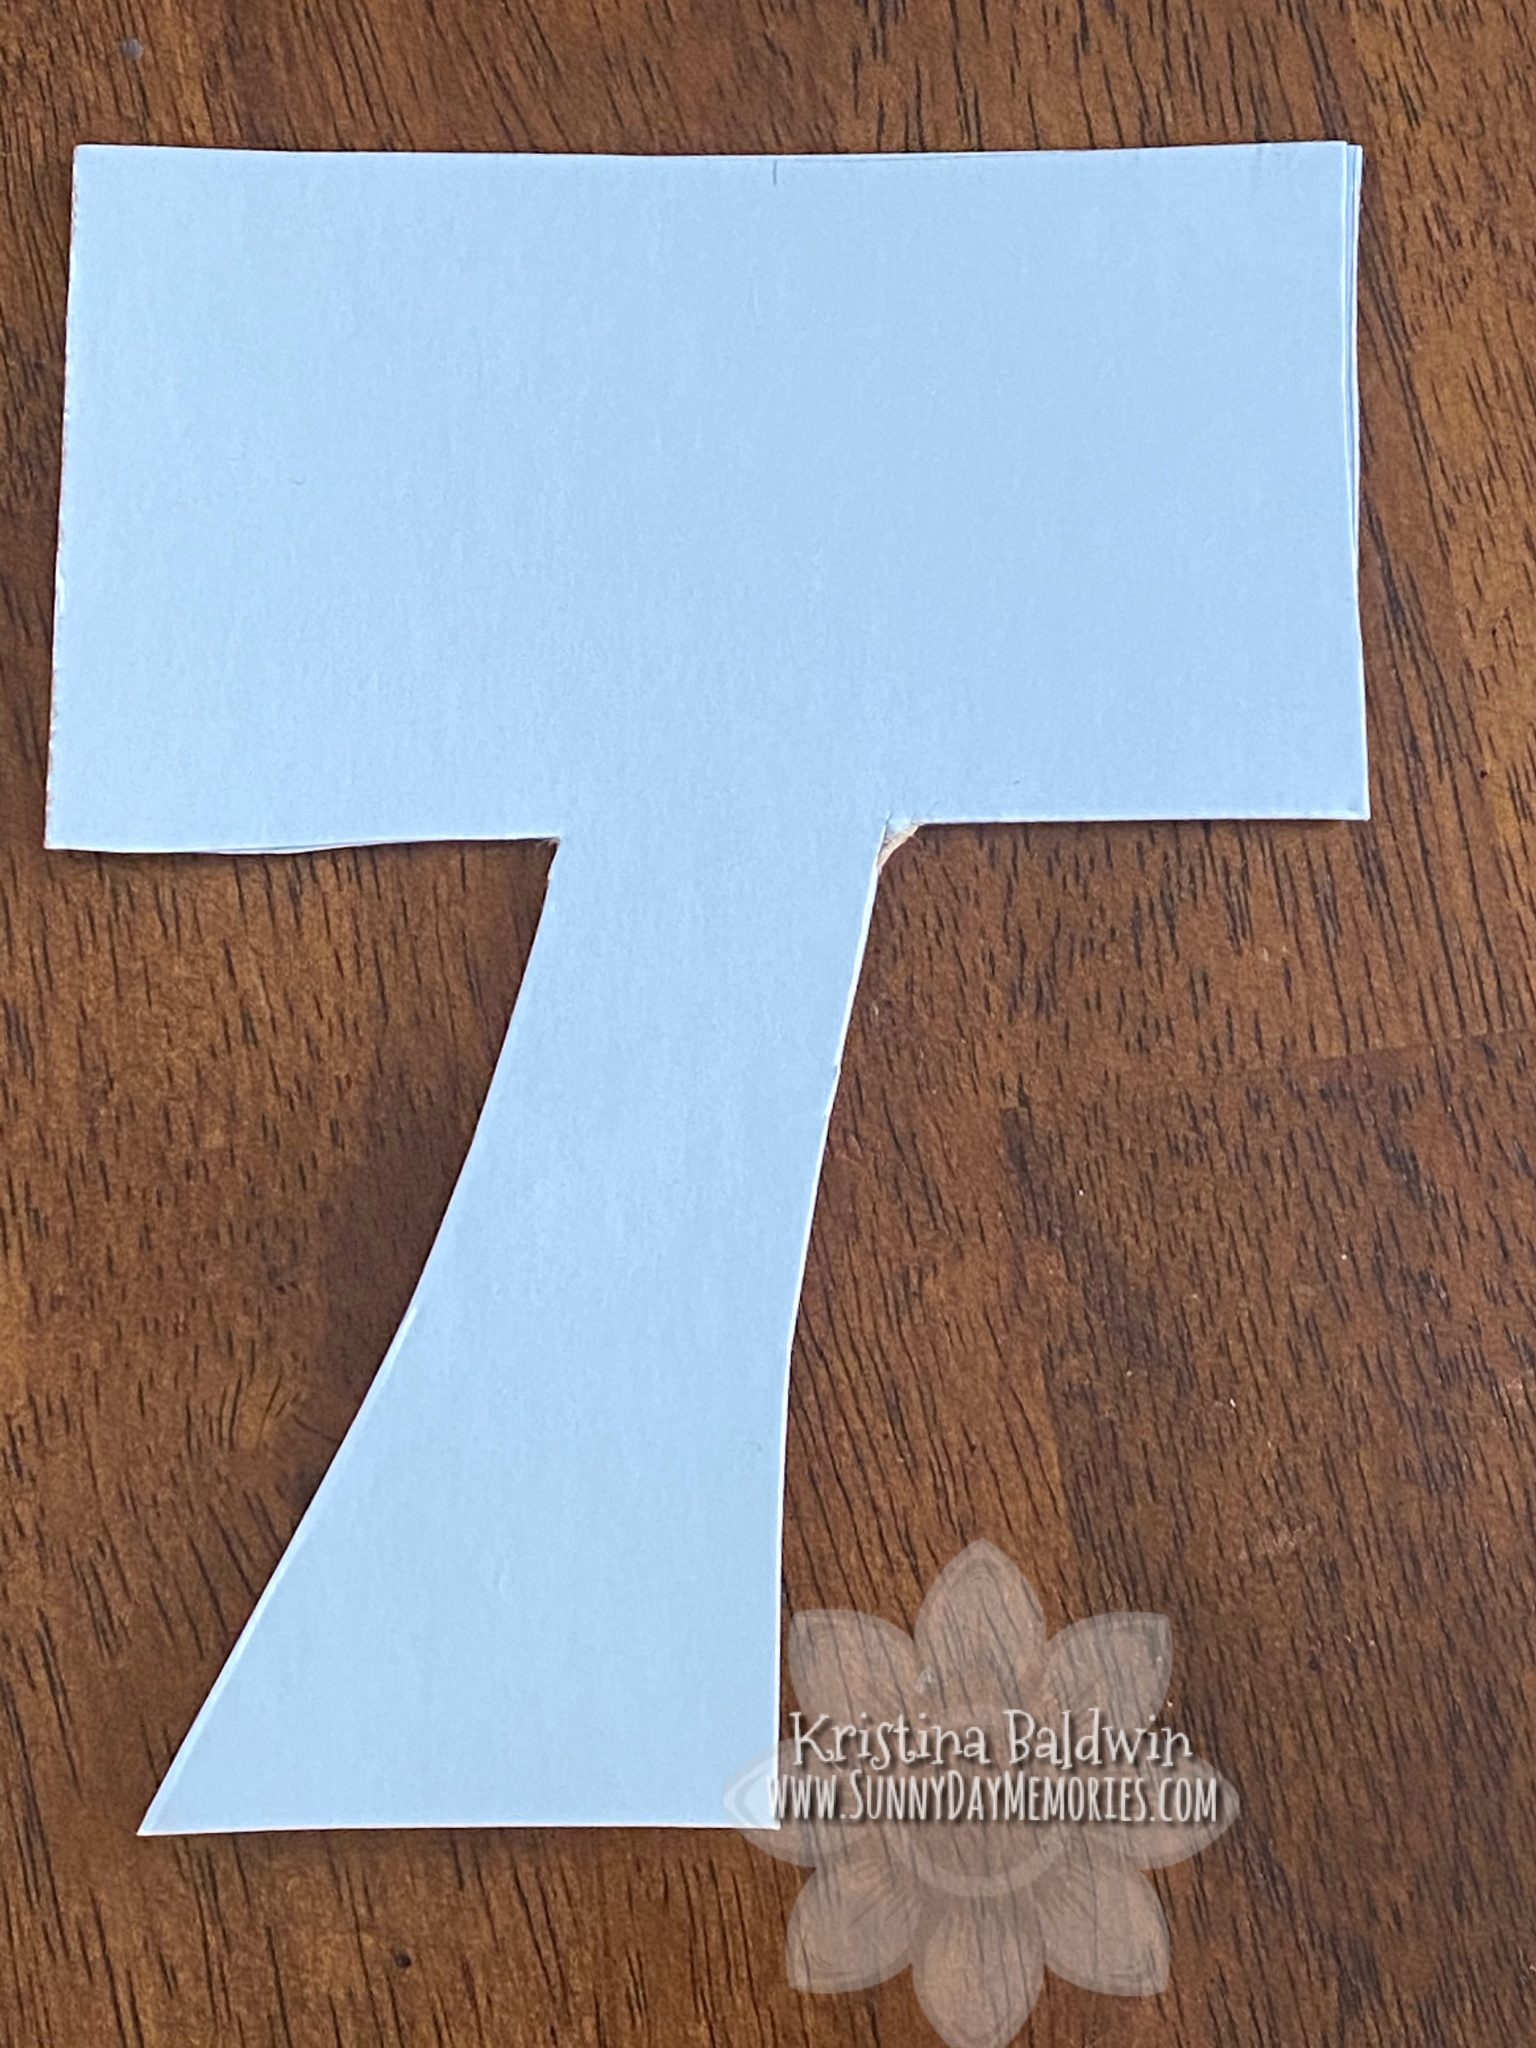
Cut out an upper-case “T” shape from some chipboard. I used my leftover chipboard from my All Around Creativity Kit. I cut it out twice and glued them together using Bonding Memories for added stability. They don’t need to be perfect! Since the wooden hearts are about 6″, I tried to do my “T” about that same size for consistency.
STEP 2:
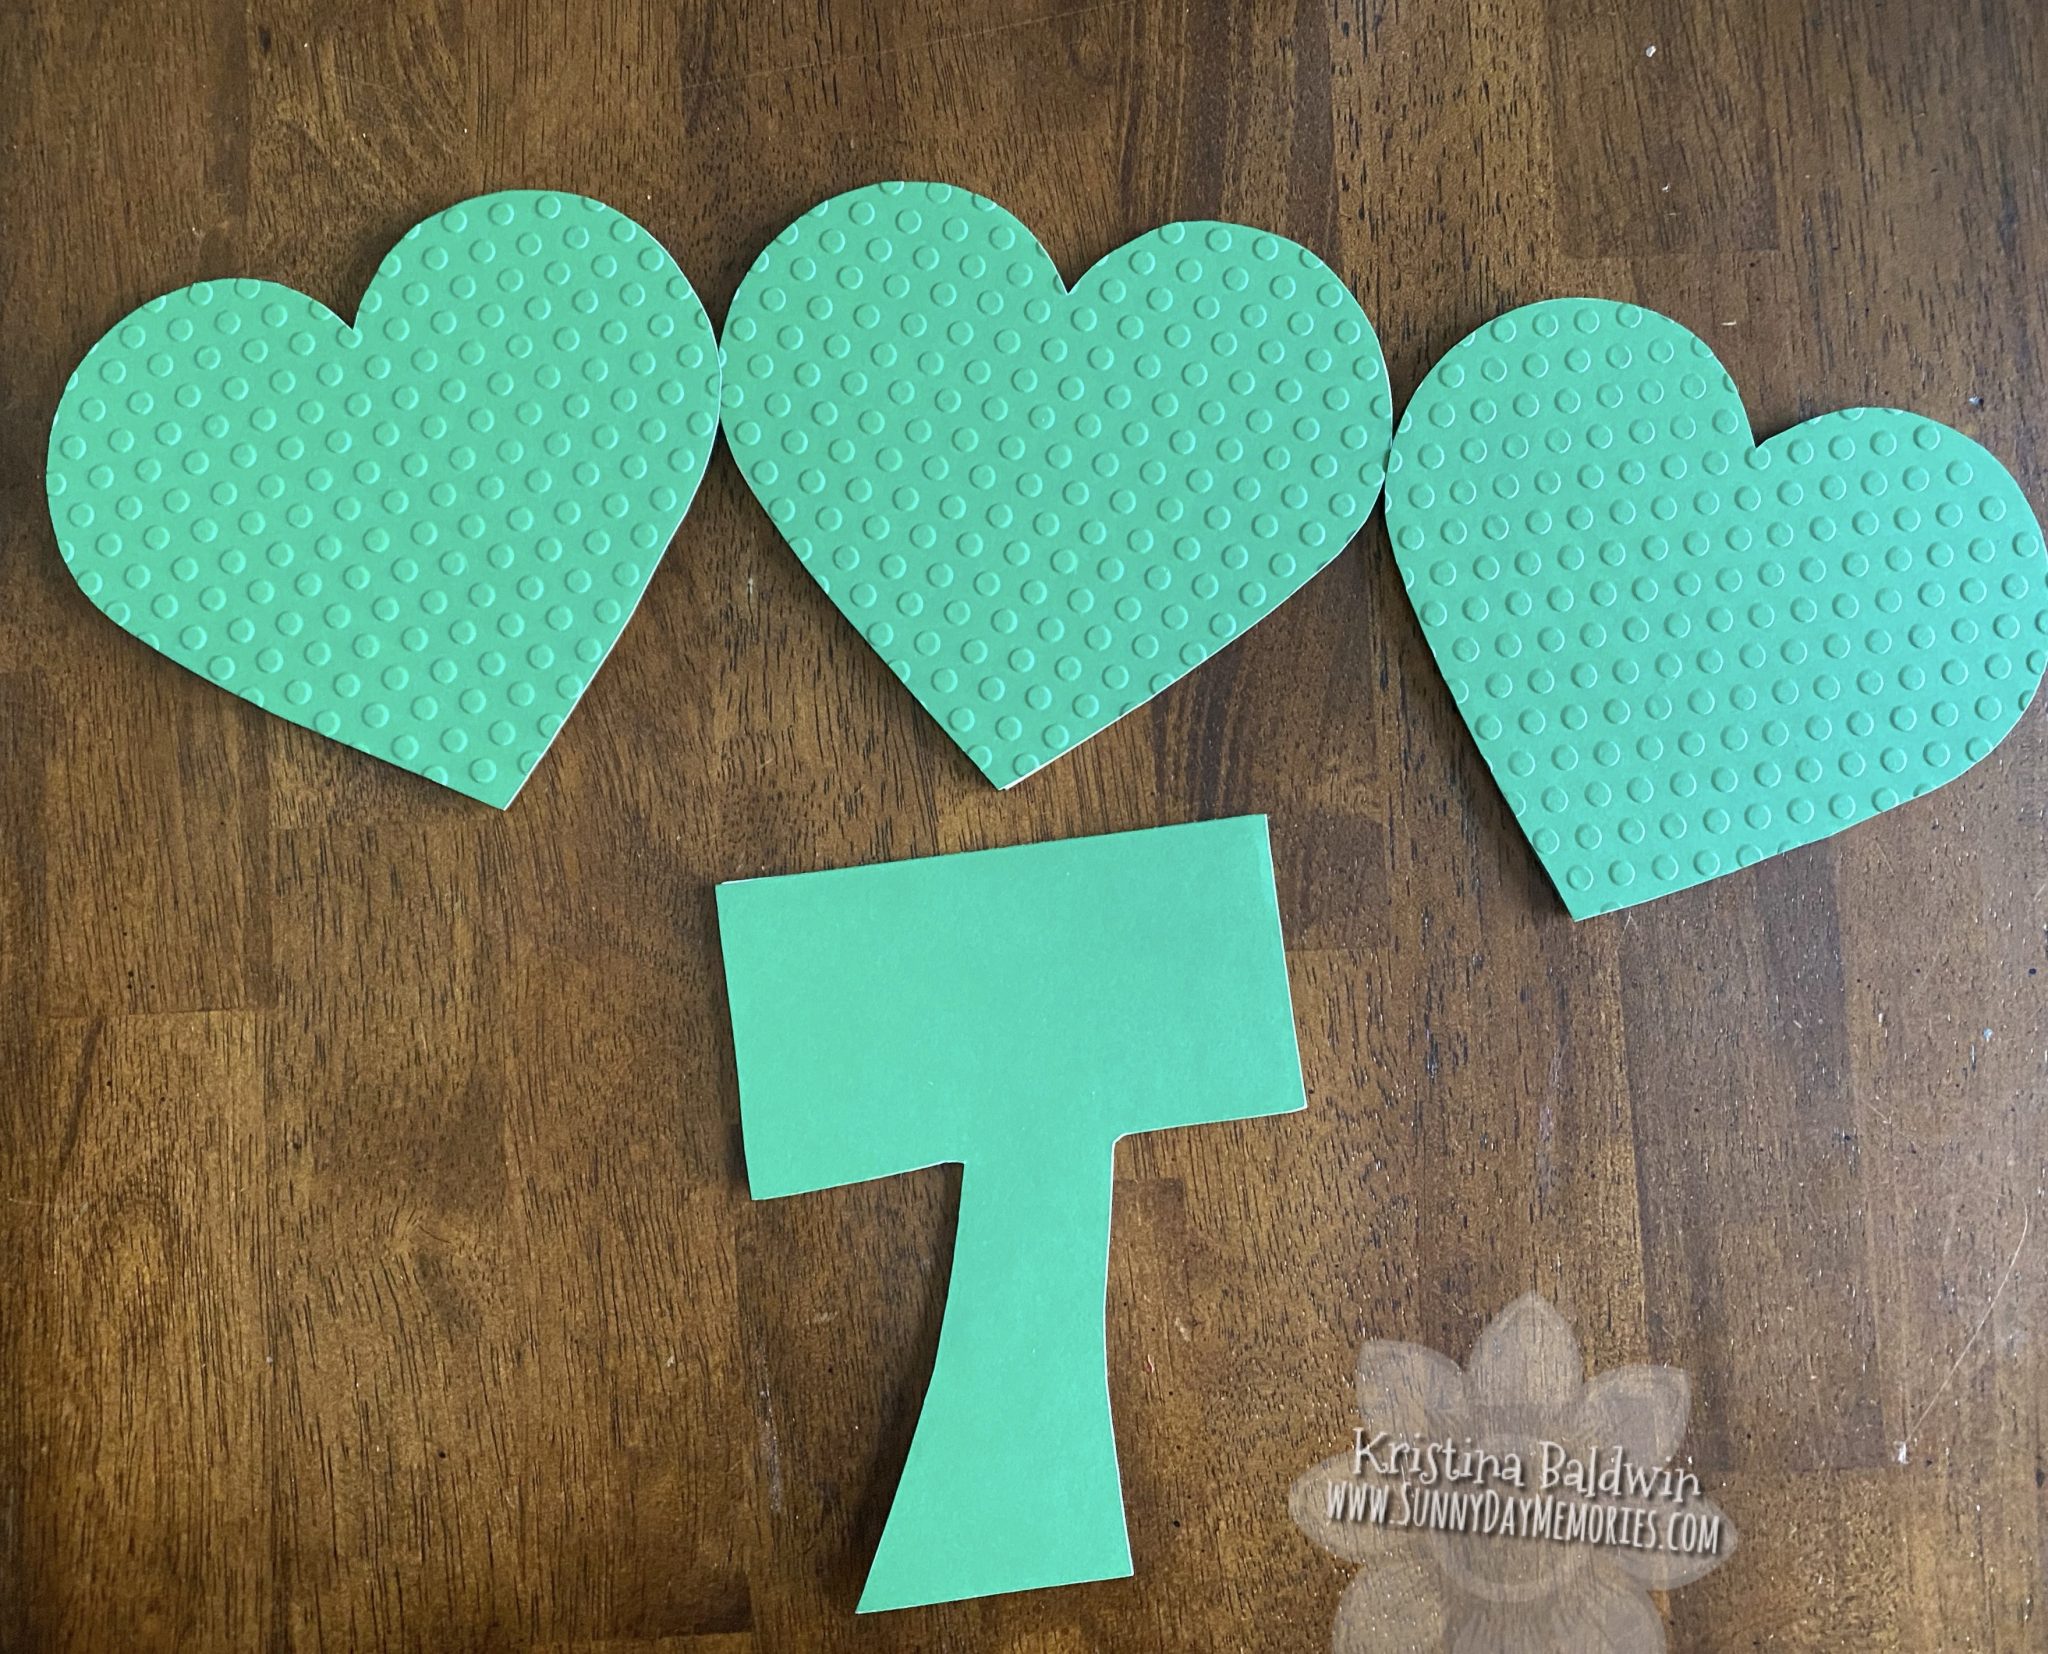
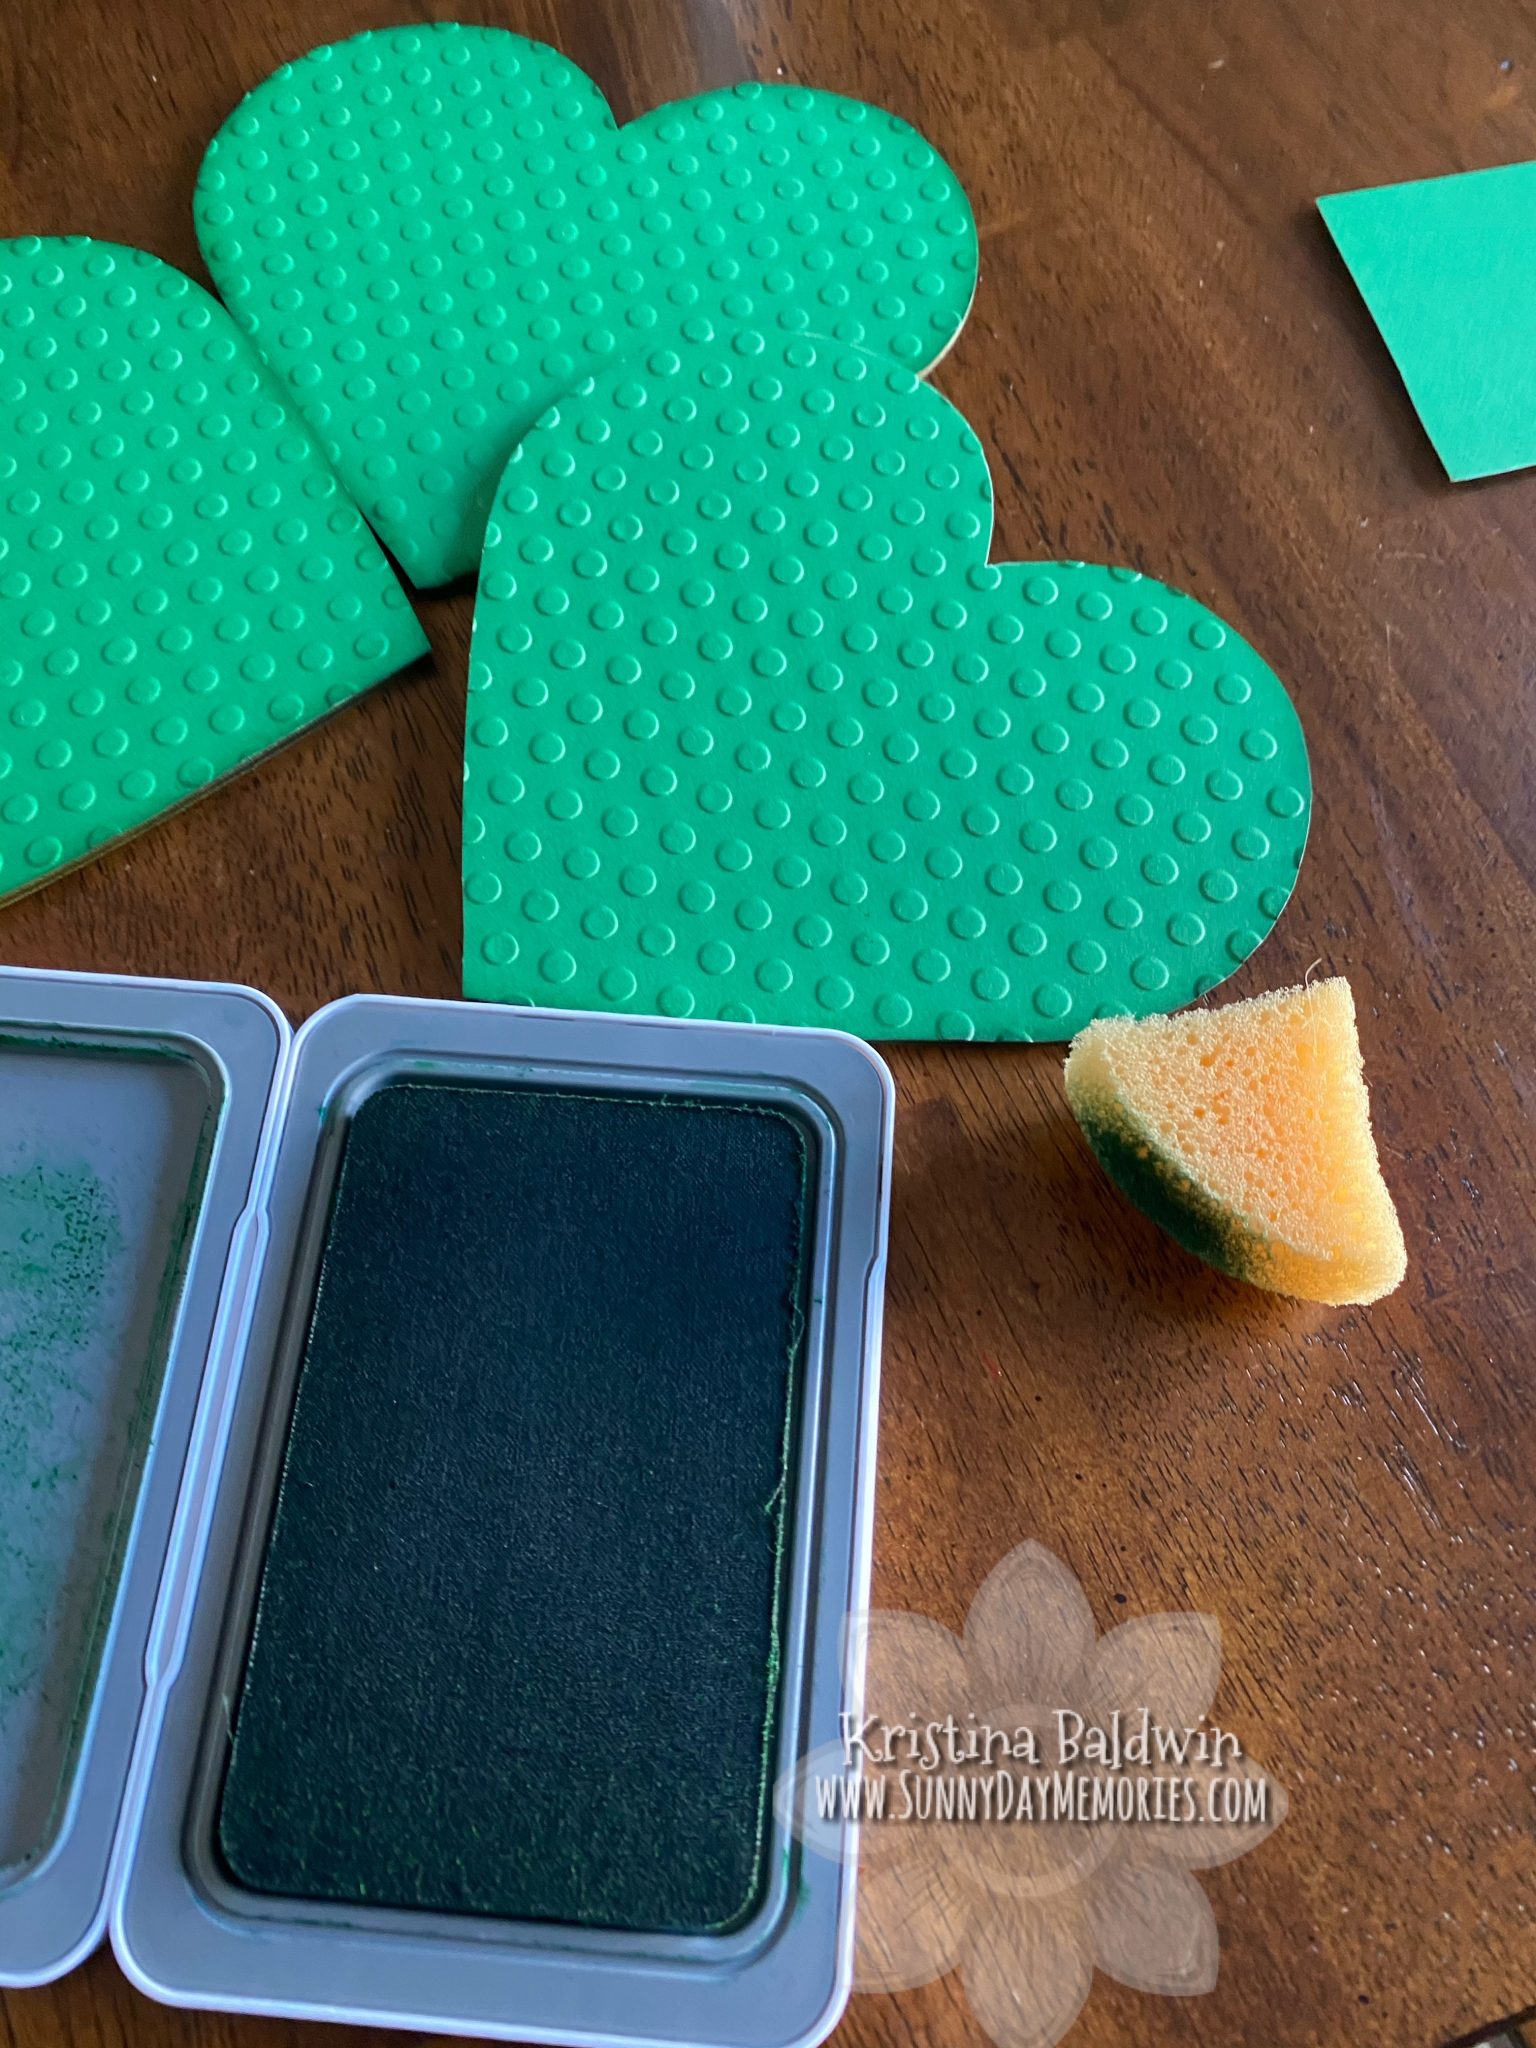
Cut out 3 heart shapes in Green Cardstock (either using the included digital file OR simply trace with a pencil and cut out by hand.) Trace and cut out the “T” shape. Emboss 3 hearts, if desired. Adhere Green Heart cutouts to Wooden Hearts and Green “T” to front of “T” Chipboard piece.
STEP 3:
If desired, add some dimension by sponging the edges of the Wooden Hearts and “T” image with Clover ink and Round Sponge. (Tip: cut your sponge into 4 wedges to get more use from it!)
STEP 4:
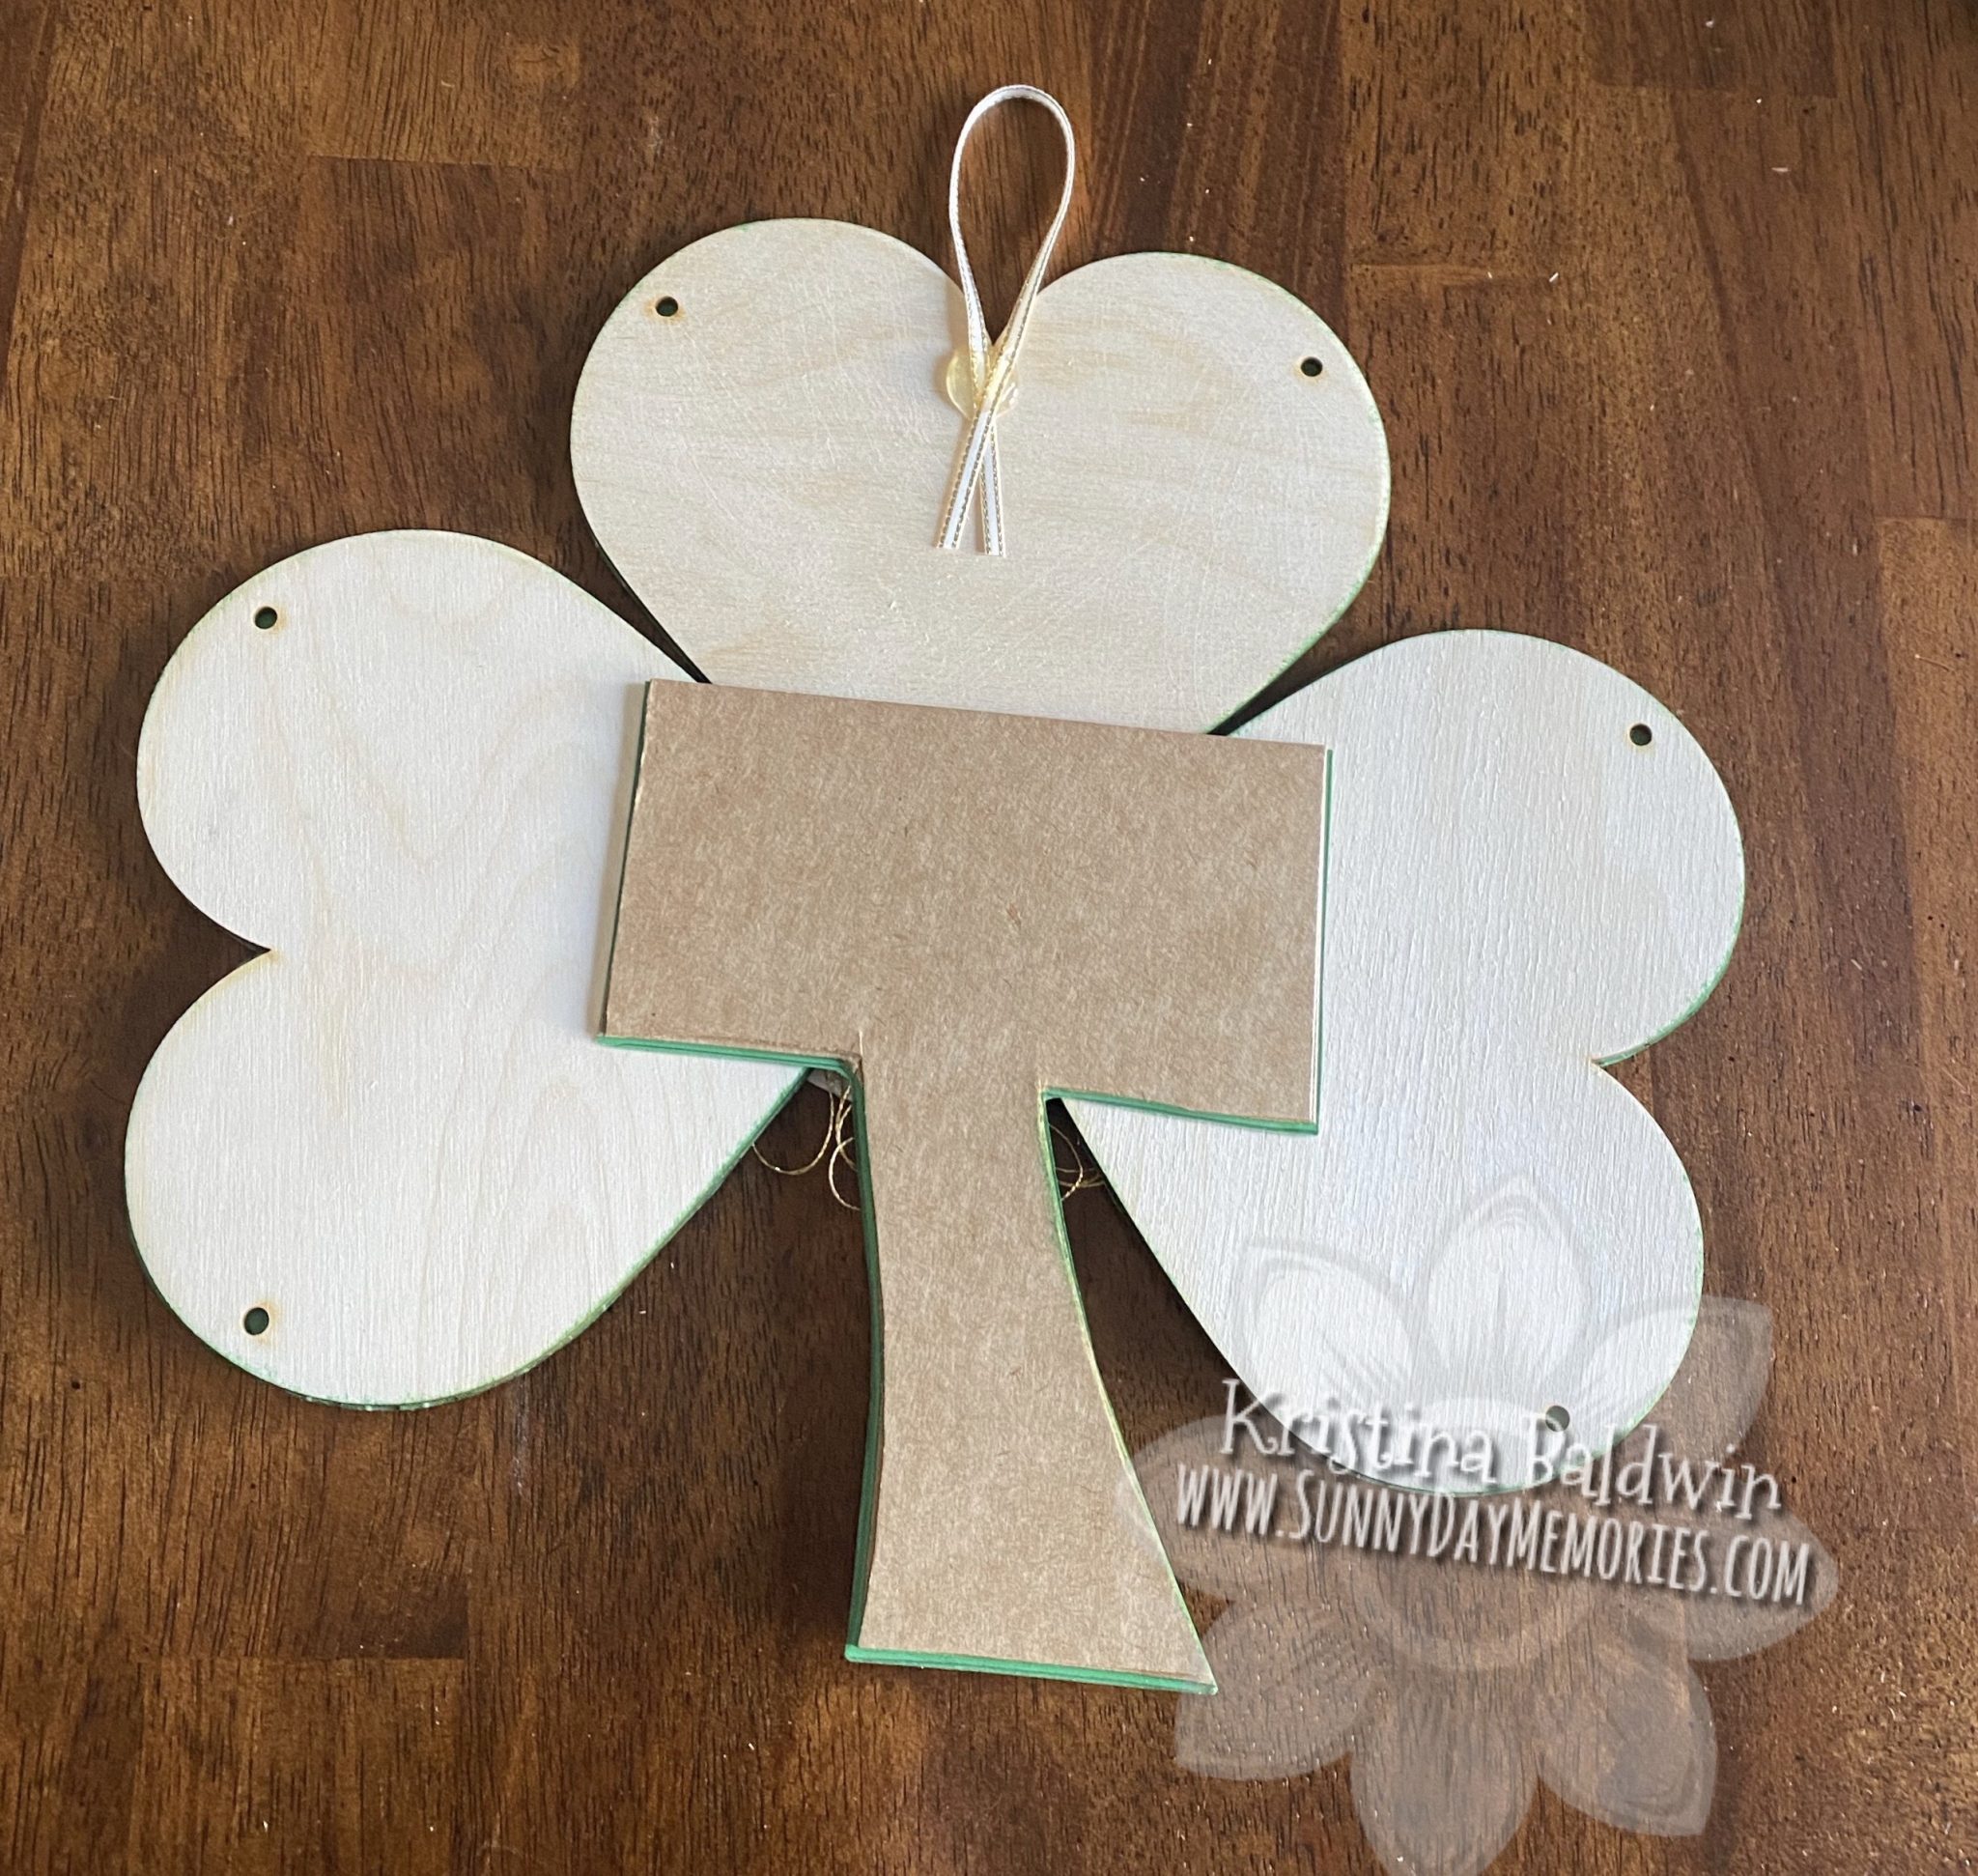
Using Hot Glue Gun or really strong adhesive, adhere Wooden Hearts to rectangle portion of your “T” making sure the hearts stay flush against each other. Loop a piece of ribbon and affix to top of your Shamrock for hanging.

STEP 5:
Cut out stitched ovals in White Daisy and Gold Foil Paper. Stamp & emboss sentiment as desired. Adhere ovals together. Loop Gold Embellishing Thread and adhere around backside of gold oval diecut. Adhere to center of Shamrock with 3-D Foam Tape (I doubled up my Foam Tape so the sentiment was raised a little higher; otherwise it will be in line with the Wooden Hearts.)
That’s it! Pretty easy, right? Be sure to pick up your own Be Mine Kit and create your very own Shamrock for St. Patrick’s Day before it’s too late. You can find the Be Mine Kits as well as all the other Close To My Heart products I used for this project on my ONLINE CTMH STORE.
