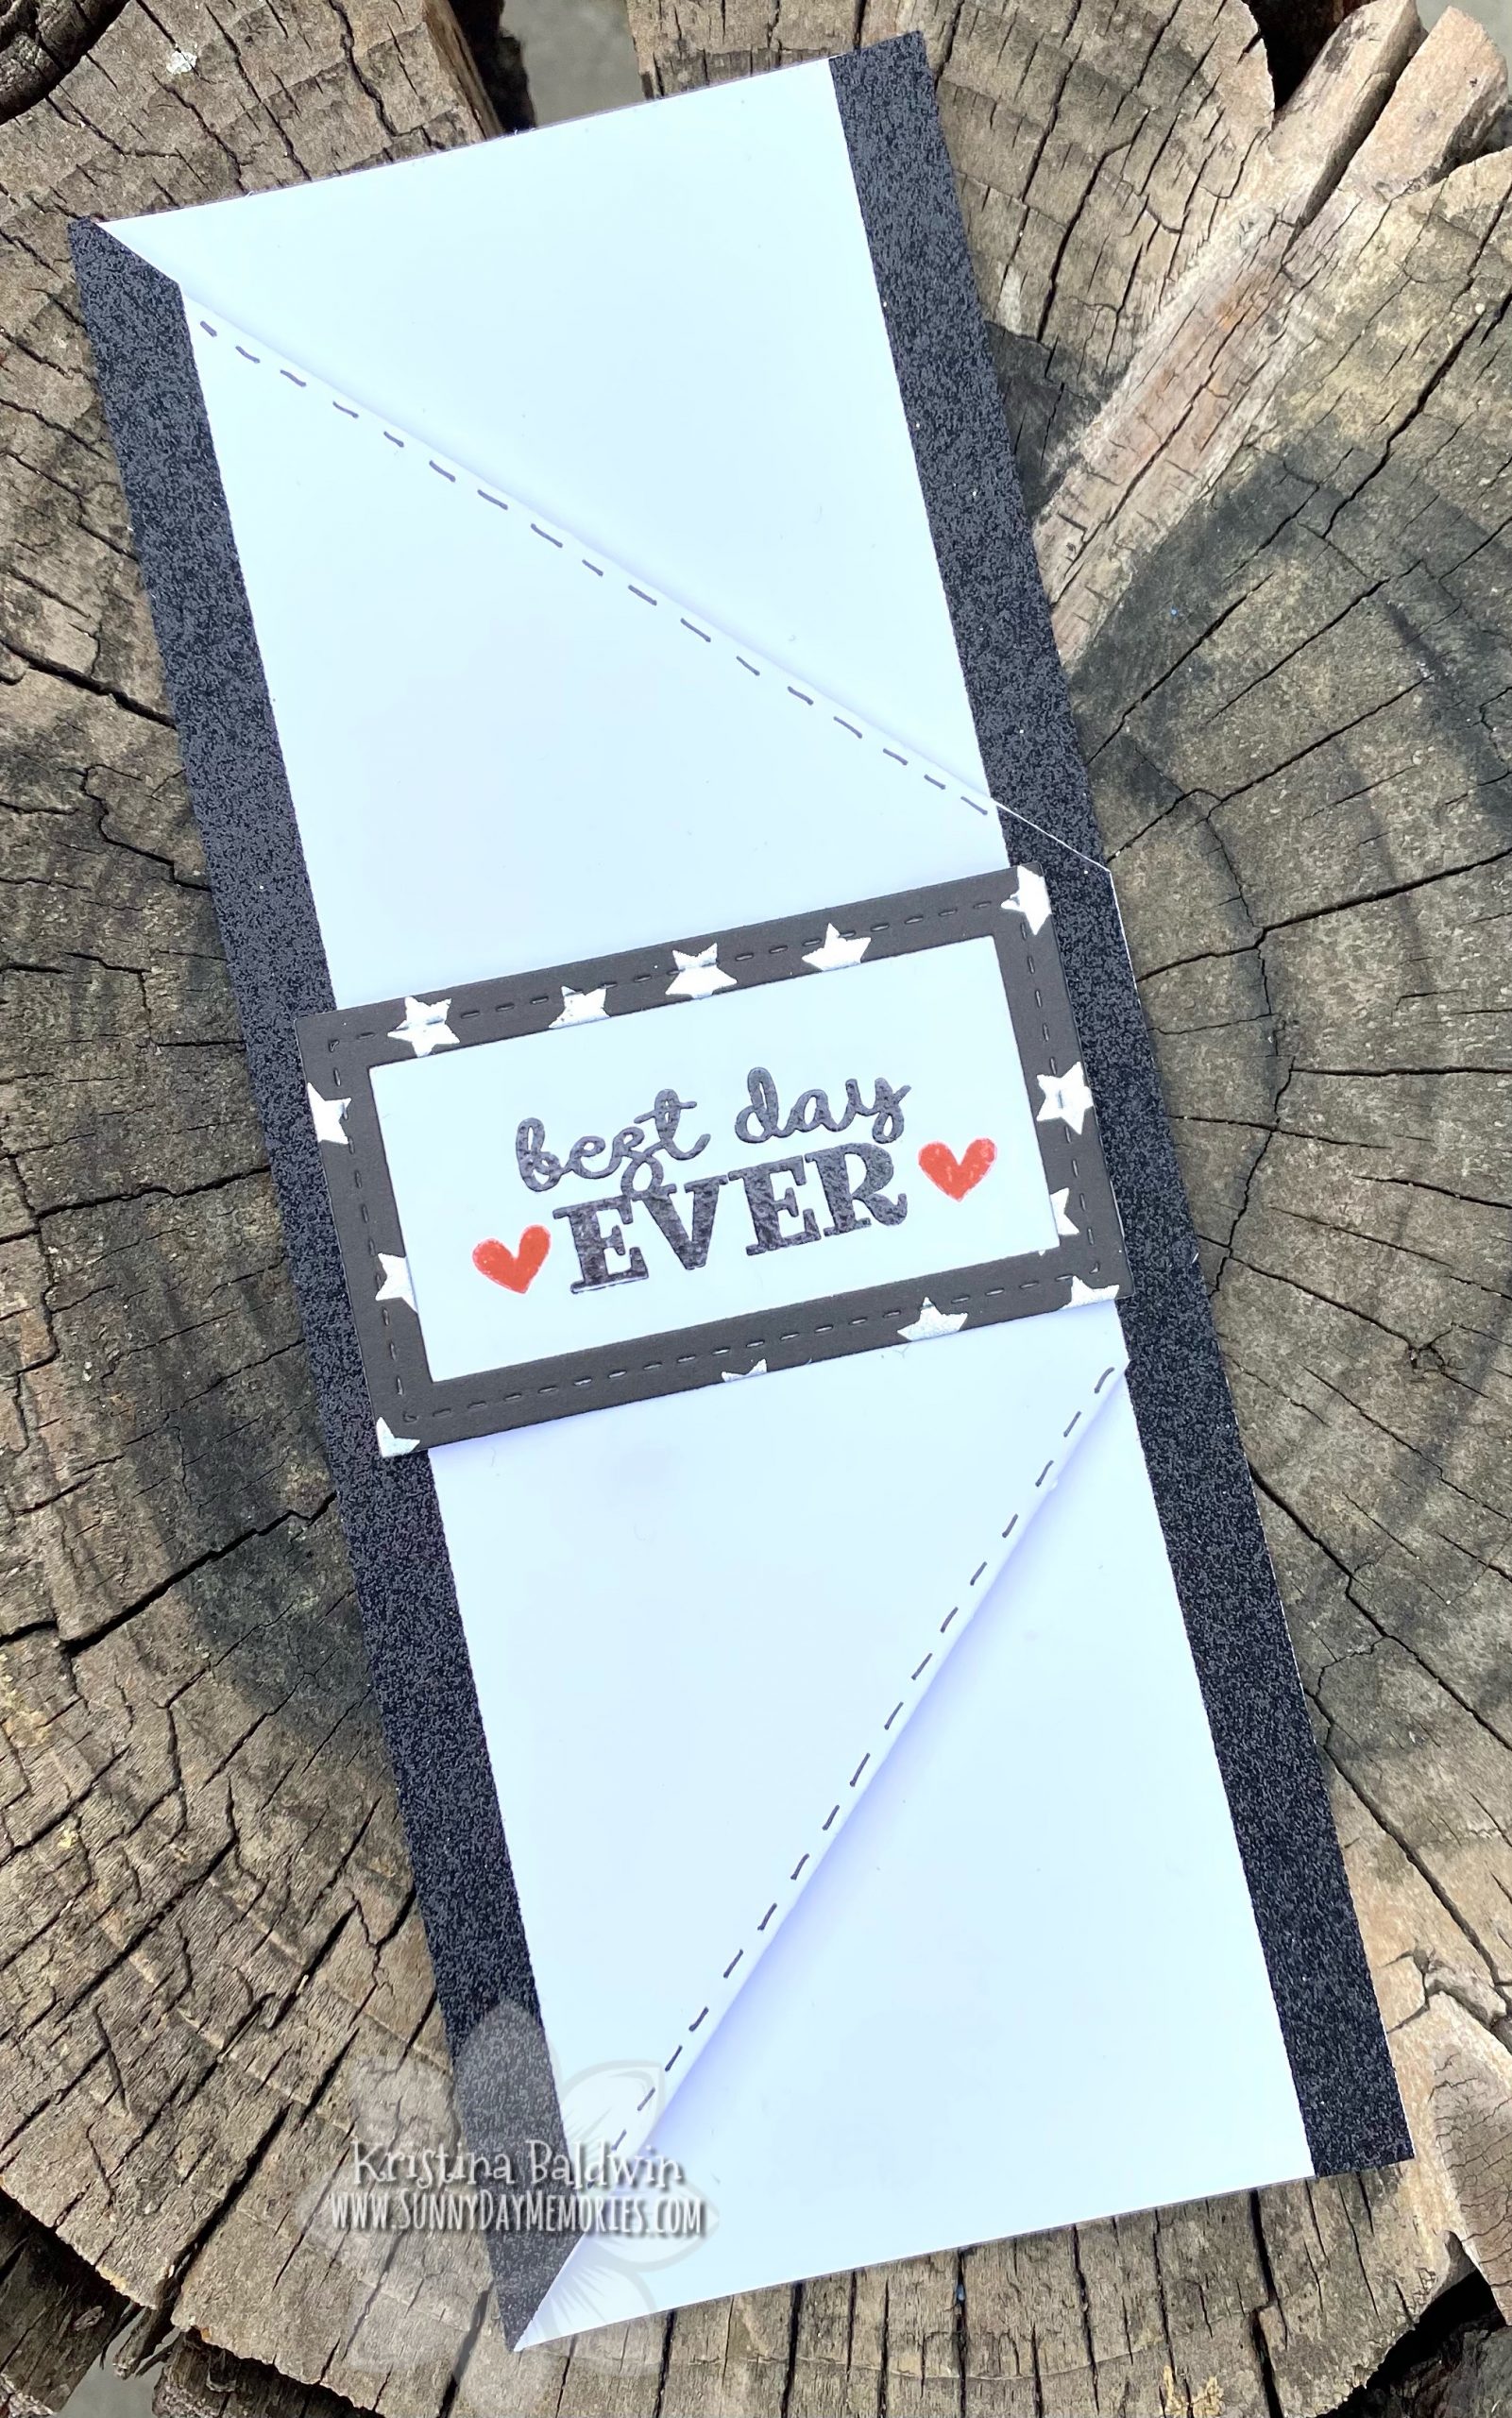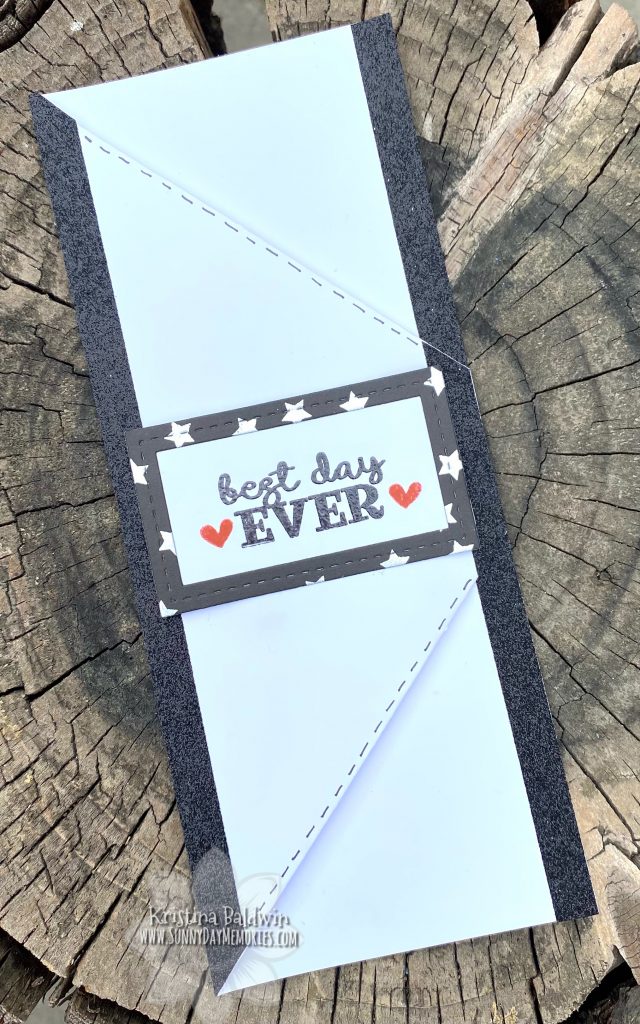
Ready to learn a DIY Fun Fold Slimline Card? Slimline Cards are all the rage these days. They give you the opportunity to try new card designs. To create a larger scene image on your handmade card. But sometimes, for me at least, the size can seem a little overwhelming. Perhaps after creating the standard A2 (4-1/4″ x 5-1/2″) card for so long it’s just the change. Change is always hard, right? So today I wanted to share with you an easy fun fold option you can do with your Slimline Cards.
STEP 1
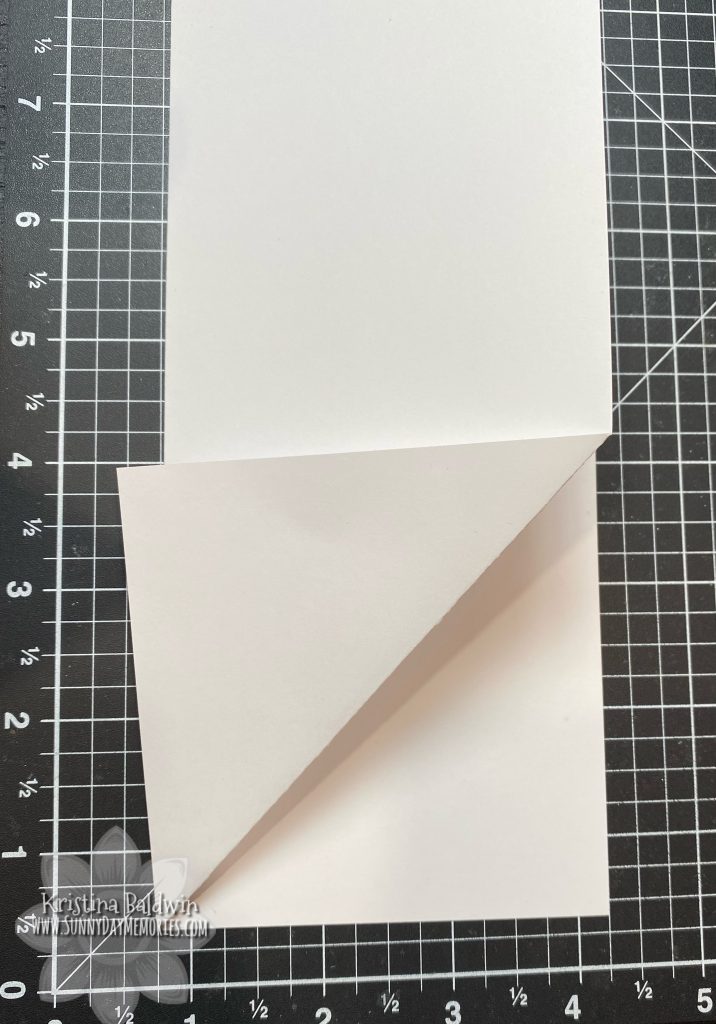
Start by folding back the bottom corner of your card to line up with the seam/edge of your card. Use your Bone Folder to get a nice crisp fold.
STEP 2
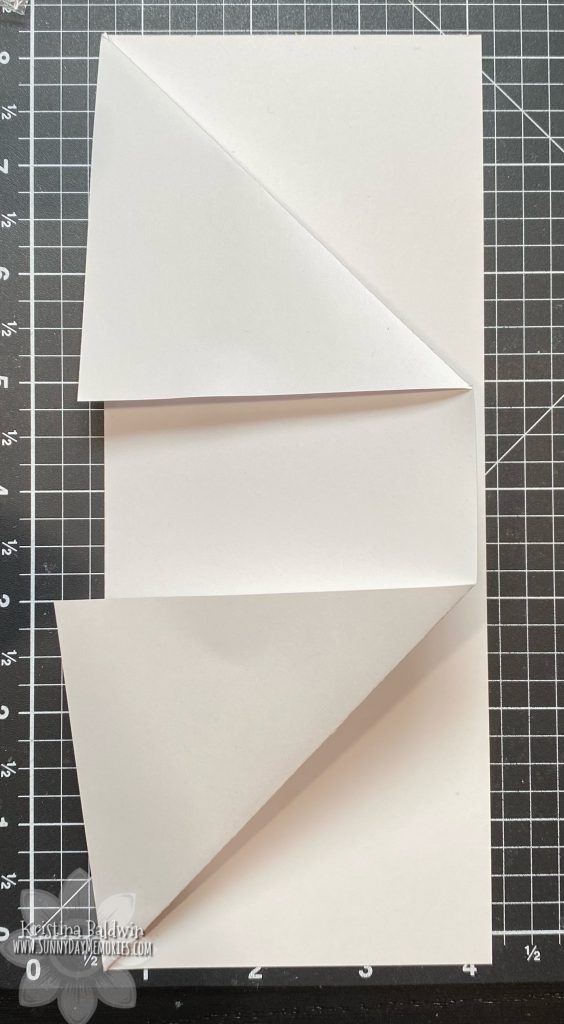
Following the same process as before, fold back the top corner of your card until it meets the seam/edge of you card. Again, use your Bone Folder to get a nice, crisp fold.
STEP 3
Decorate your card as desired.
I chose to use our Black Shimmer Trim as a decorative element. It doubled as a way to hold the 2 flaps in place on my card. Otherwise you’d want to use some adhesive to secure the flaps in place.
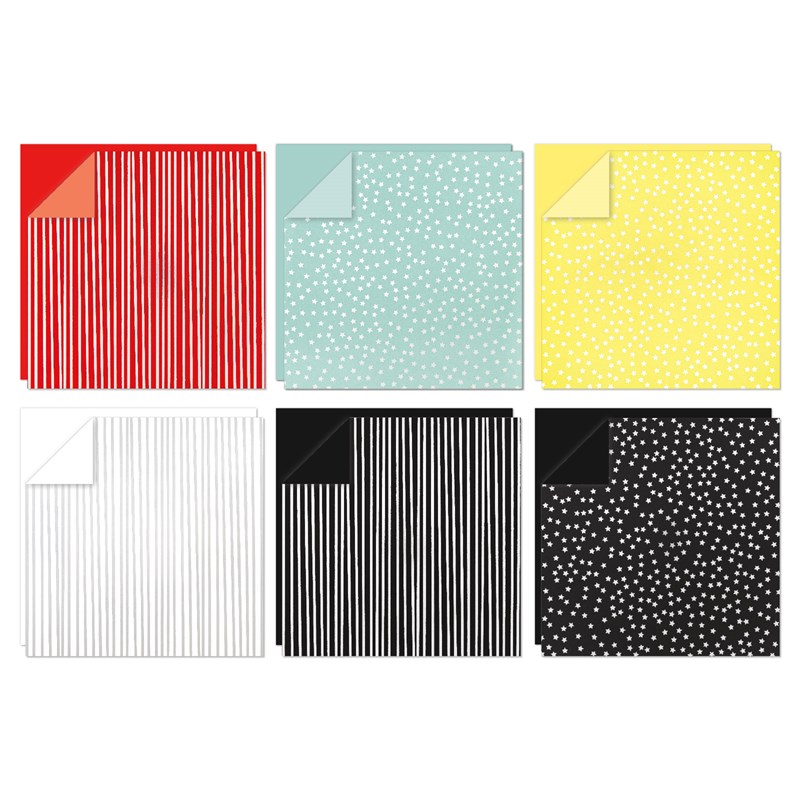
The smallest Stitched Rectangle Frames Thin Cut was the perfect size to fit in the opening between the 2 flaps. I used our Happiest Place Cardstock with it’s beautiful Foil Patterns. (This paper is only back through July. And it’s on sale! Don’t miss your chance to grab some while you can!)
Since I had the stitching in the frame, I decided to add a faux stitching effect by using my Journaling Pen along the edges of my card front. I then Heat Embossed the sentiment using the Happiest Place Stamp Set. (Only a few are available!) Using Scarlet ink, I added in the 2 little hearts for a pop of color.
This card would make a perfect celebration card. Whether for a birthday, an anniversary, a graduation. Or maybe even to announce a surprise visit to the happiest place! Most importantly, this is just a fun card design. Now it’s your turn. Give this DIY Fun Fold Slimline Card a try for your next card creation.

