
Earlier this month, Close To My Heart shared a really fun blog post on how to paper piece stamped images. Sometimes it can seem a bit overwhelming to try a new technique. But when it’s broken down step-by-step it becomes so much more manageable. So in case you missed it, I’m sharing the post with you here today!
September is a very exciting month for us at Close To My Heart. Not only do we celebrate National Stamping Month, but it’s also the month that we launch our new annual catalog!
In this year’s Core Products Catalog, you will find lots of new and exciting products, among them a new series of stamps called Map Your Journey. With versions for all our current markets (USA, Canada, Australia, New Zealand, and Japan), we thought these stamp sets would be a fun way to share with you yet another stamping technique, in addition to the 10+ techniques we shared last week. (If you missed it, make sure to check that post out: Stamping Techniques to Keep Up Your Crafty Sleeves!)
Today we will take the imprint of a stamp that has many parts or lines to it, like a map 😉, and create a final image by piecing together a variety of papers, kind of like a mosaic. This technique is fittingly known as paper piecing. The technique is much harder to describe than it is to do, so let us show you and see for yourselves!
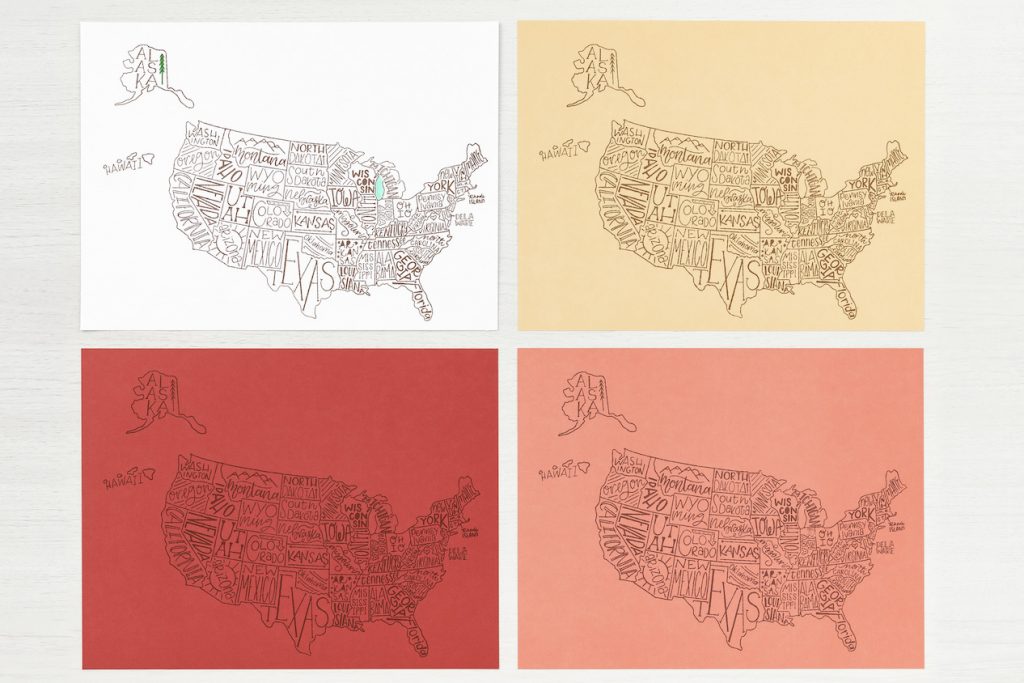
The first thing you’ll want to do is figure out what colors or patterns you want incorporated into your final design. In our case, with the map, we thought it would be best, because of all the details that we are not cutting out, to use four solid cardstock colors.
Once you’ve chosen your color and pattern scheme, stamp your image onto all your chosen papers using the same ink color. We used White Daisy, Shortbread, Scarlet, and Papaya cardstock and the Exclusive Inks™ Mocha stamp pad.
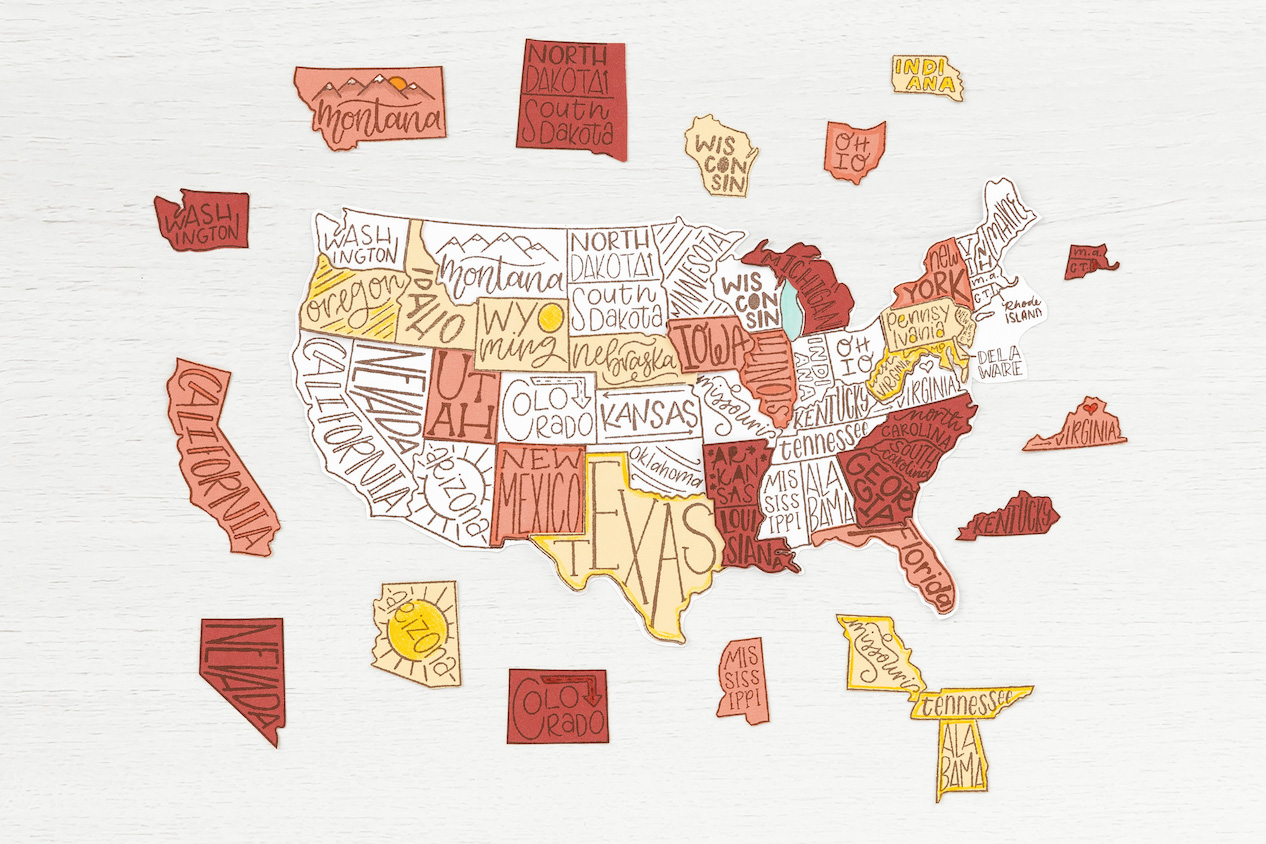
This next step is also easy, but maybe a bit more time consuming, depending on the image you are working with. Cut out all the shapes from each of your papers, except one. The one you do not cut into pieces will act as your base later, when you put it all back together.
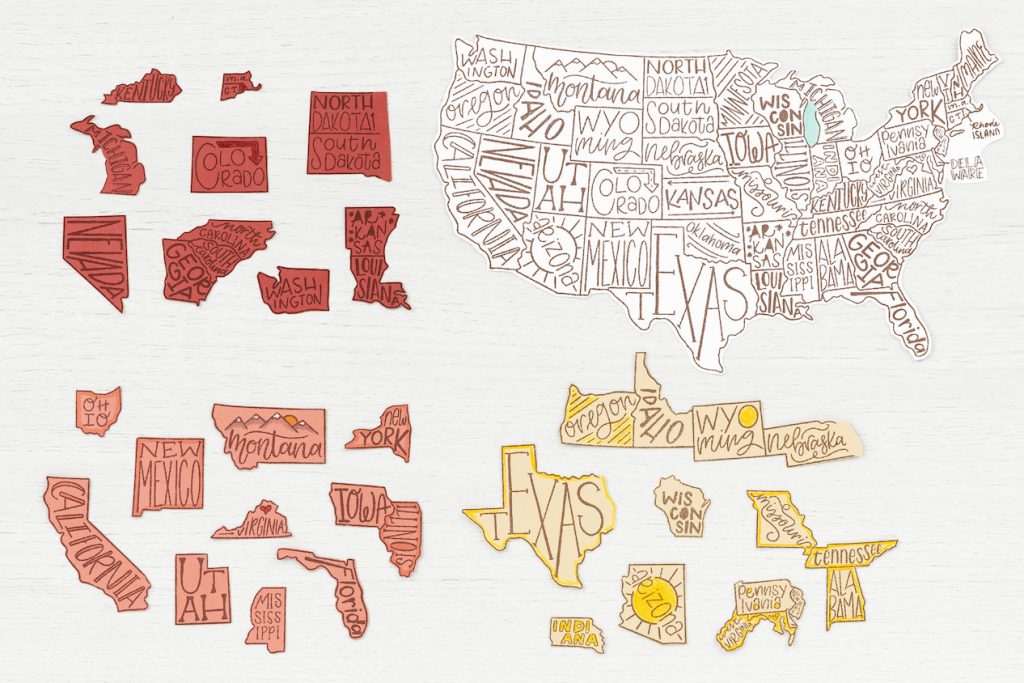
When you are cutting your shapes, make sure to cut them out exactly the same between papers. For example, our cutout of California should be the same shape and size in each of our cardstock colors. Essentially, we are creating a puzzle and its puzzle pieces. The pieces need to fit together for this technique to work.
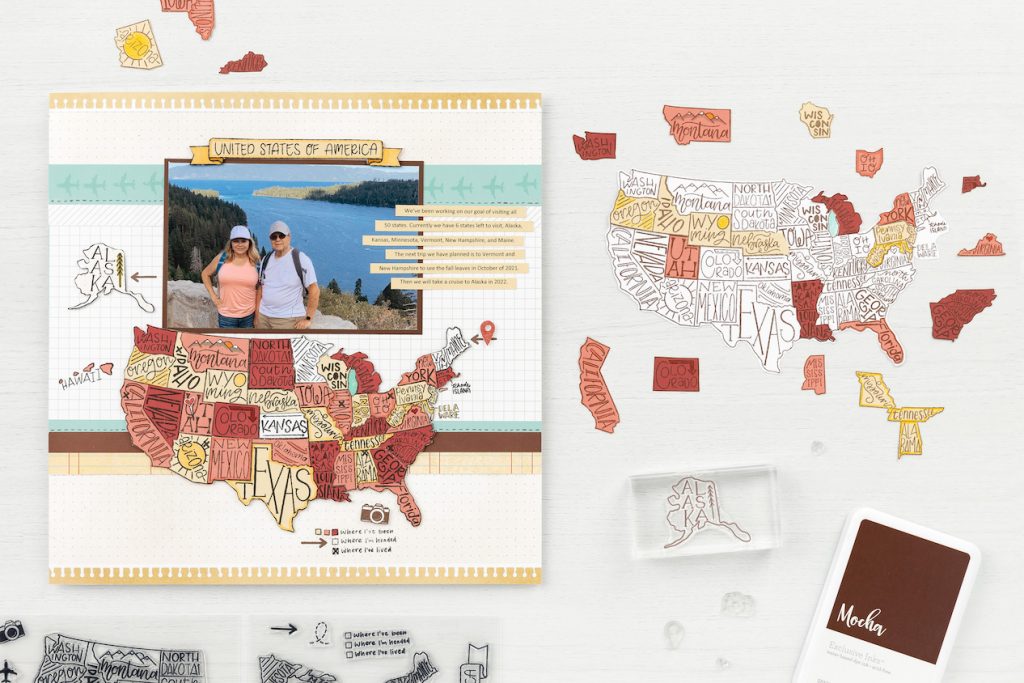
The final step is to put those puzzling skills to use and assemble the paper pieced image on your base.

As a tip, we suggest playing around with the placement of your paper pieces, first, before attaching them.
And there you have it! Another stamping technique to add to your repertoire!
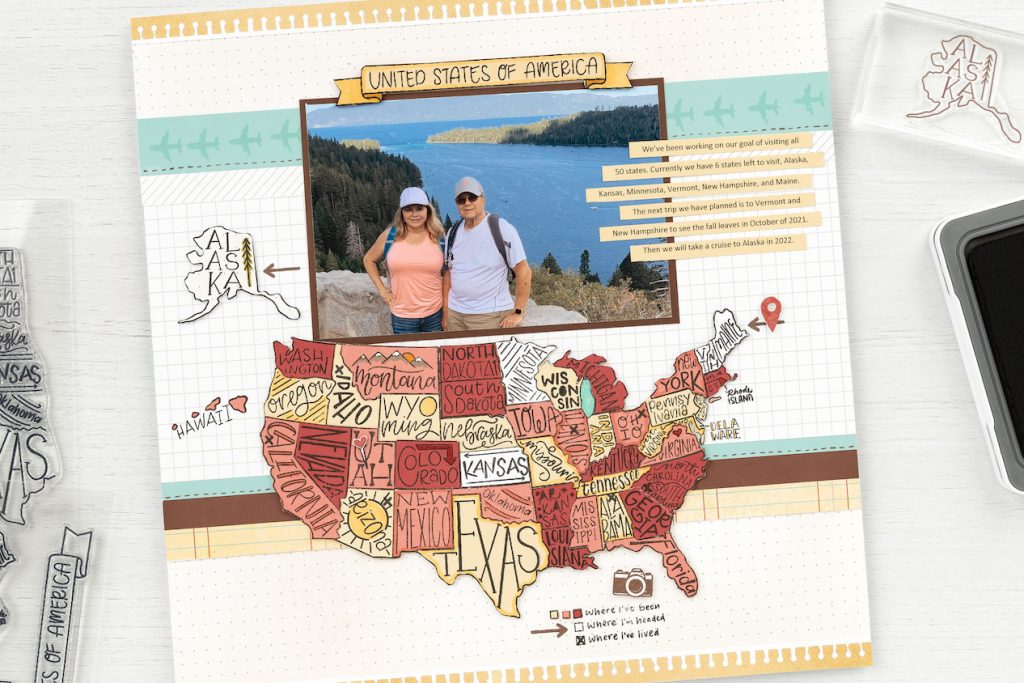
Doesn’t that paper pieced map of the United States look amazing! I love it. This is definitely one of those projects that you see done and you can’t wait to recreate it yourself! Do you feel the same way? Now that you know how to paper piece stamped images, this is absolutely something you can recreate.