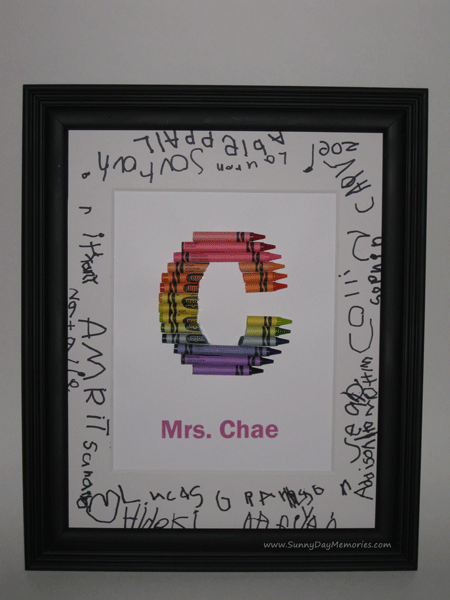
Our preschooler’s teacher was wonderful this year. The Preschool Moms wanted to give her a memorable class gift, to show our appreciation. After a few brainstorming sessions, we decided to create a Teacher Crayon Monogram. I’ve seen several versions of these…from way-too-basic to way-too-elaborate. While I’ve always thought they were such a cute idea, I’d never tried one out. So this was the year!
We did a lot of research beforehand. Looking at the different styles, reading various tutorials with tips and tricks, and just getting a feel for how we wanted to approach it. When we were ready, my friend Janelle came over and we got to work.
STEP 1: PRINT A TEMPLATE
The first step is to create the monogram letter on piece of paper. Look through your list of computer fonts, and choose one. Simple, bold fonts will look good. Curvy, flowery fonts might be too complex to use in a project like this.
After you’ve chosen your font, print your letter on regular printer paper in a light grey color. Save the file – you’ll need to print it again in Step 4.
STEP 2: ASSEMBLE THE RAINBOW

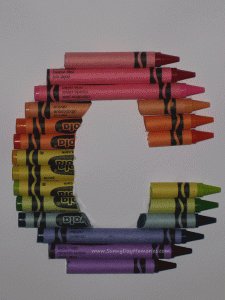
Line the crayons up on your printed monogram to see what it will look like. This is your chance to experiment with the crayons, and determine how the project will look.
Things to think about:
- how you’d like the tips of the crayons to be
- the order of the colors
- if you’d like flat edges or curved edges (depending on your letter)
STEP 3: CUT THE CRAYONS
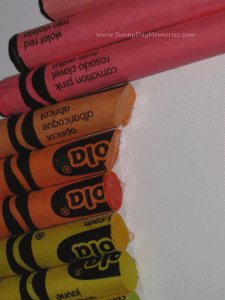
Using an Exacto Knife, begin cutting your crayons one-by-one. Use your printed letter as your template for the cuts. Return the crayon(s) to the template as you finish cutting them. Make adjustments to your cuts as needed. For example, you may want to curve the cuts to create more of a curved appearance.
STEP 4: PRINT the LETTER ON CARDSTOCK
Print another copy of your Monogram Letter in a very light grey color onto cardstock weight paper. This will be what you glue your crayons to.
Note: At this stage, you might notice some stray crayon shavings & crayon marks from your cutting and adjustments. Don’t worry, this is normal.
STEP 5: TRANSFER TO CARDSTOCK

Transfer the crayons one-by-one from your original template to your final cardstock printout. Glue the crayons into place using a strong adhesive. I recommend Liquid Glass for glue, or something similar.
Make sure that you don’t transfer any of the crayon shavings to the final picture.
STEP 6: FRAMING
Once dry, mat and frame as desired. For our gift, we decided to have each child sign their name to the mat. It added a nice touch to the gift.
——————————————-
This was such a great gift idea, I ended up making a few more of these as Teacher Appreciation Gifts. So there are more examples of the crayon monogram , with the letters A & D.

