

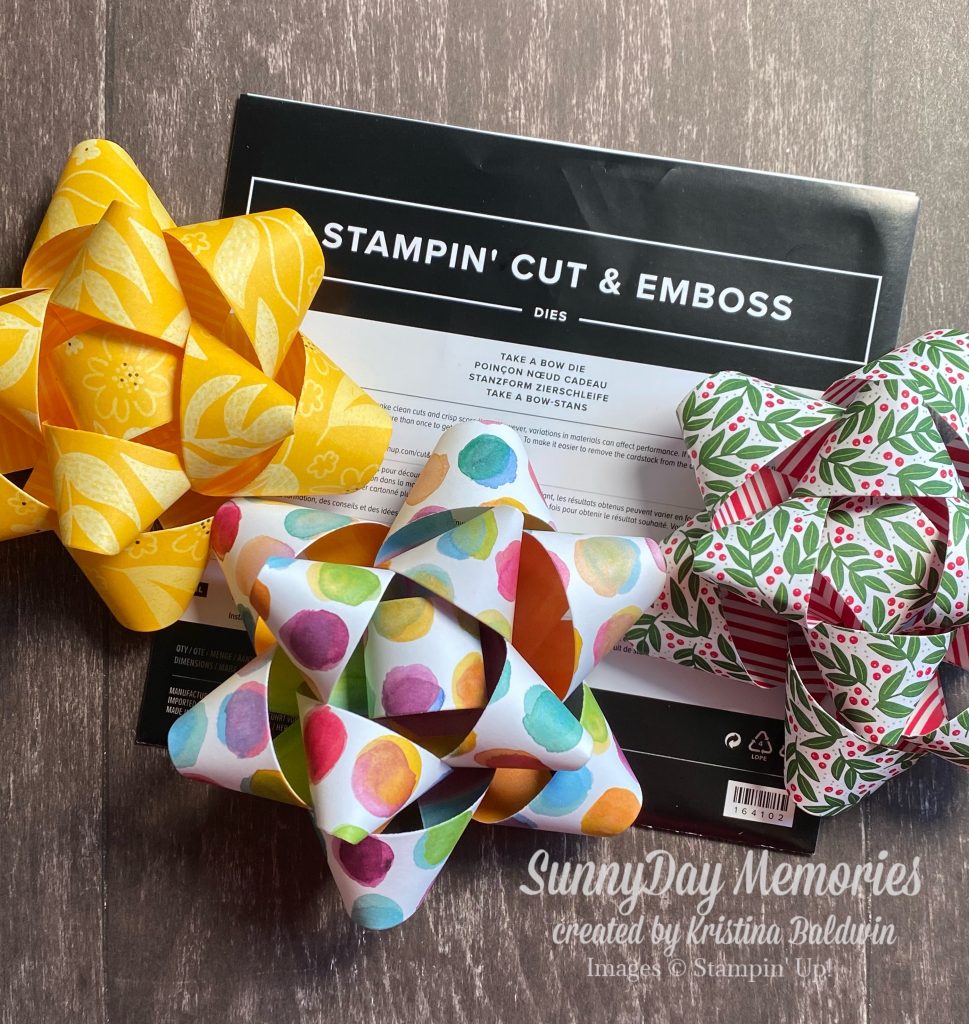
Are you ready for a DIY Tutorial for Handmade Bows? Stampin’ Up just introduced a new die that makes beautiful handmade bows. It’s called Take a Bow. And it’s fantastic!
As I played with it the first time, I took quick snapshots to help assist you for the first time you play with it.
Die-cutting with This Die
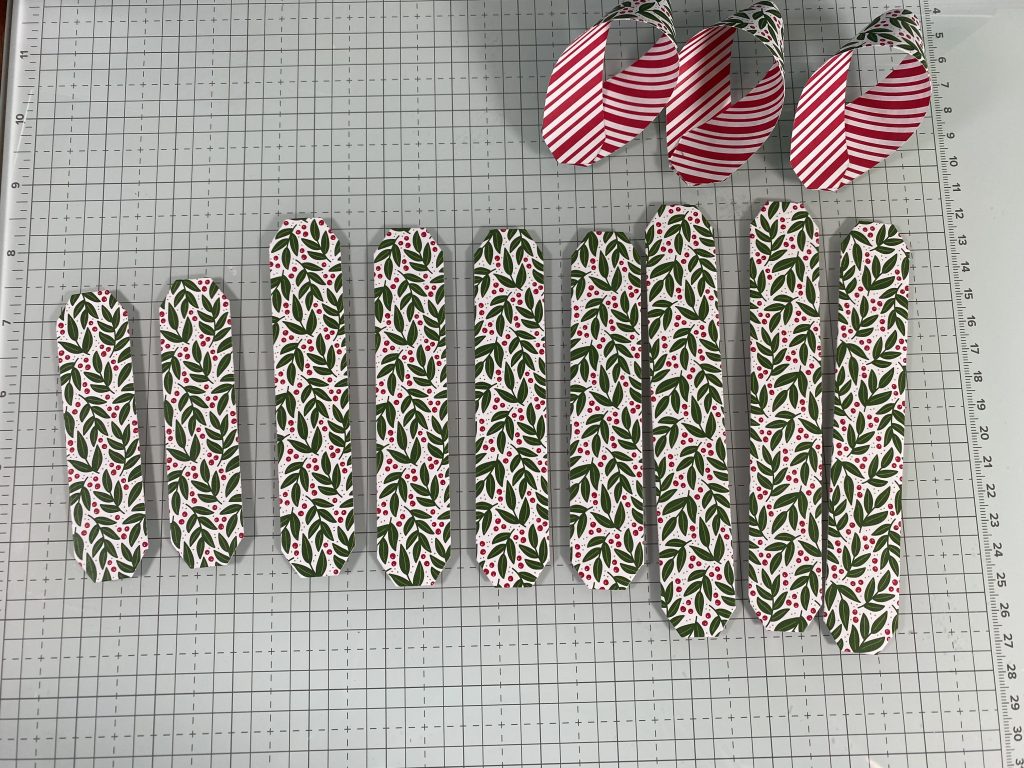
You’ll need to cut (2) 6″ x 6″ sheets of paper. You can use solid cardstock or pretty patterned paper. Most ideal is to use 2-sided patterned paper so you can see and appreciate both designs.
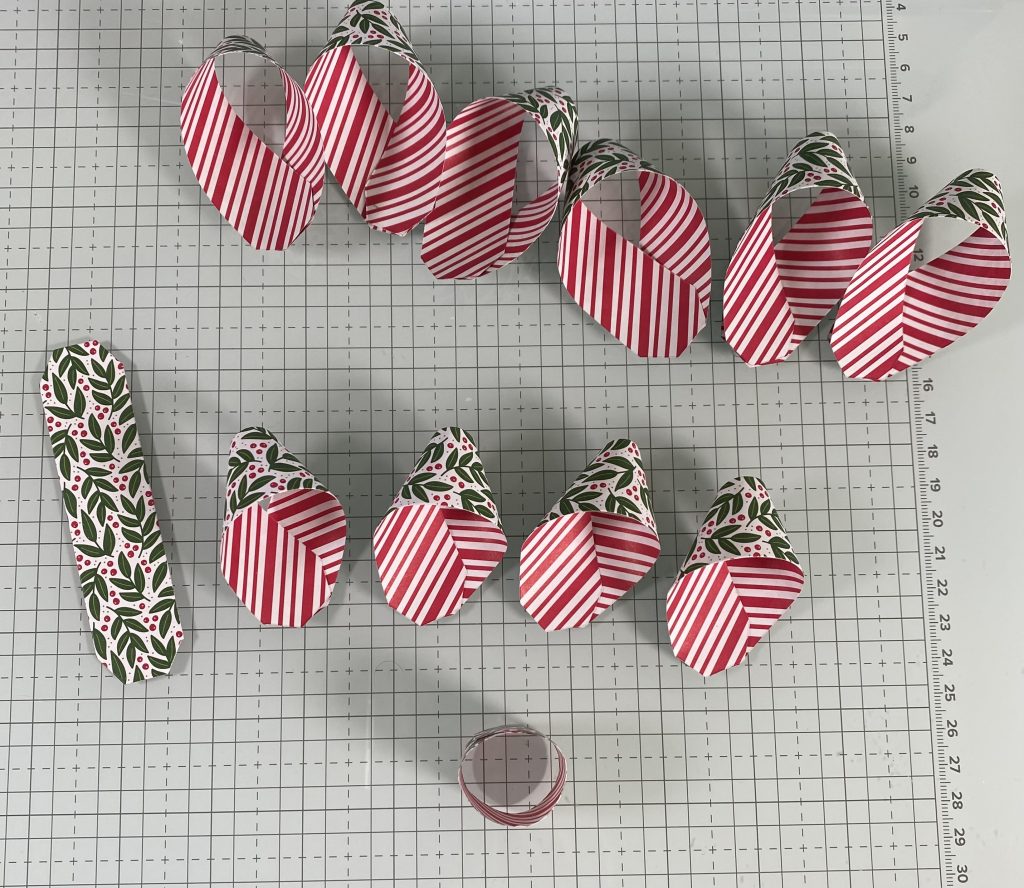
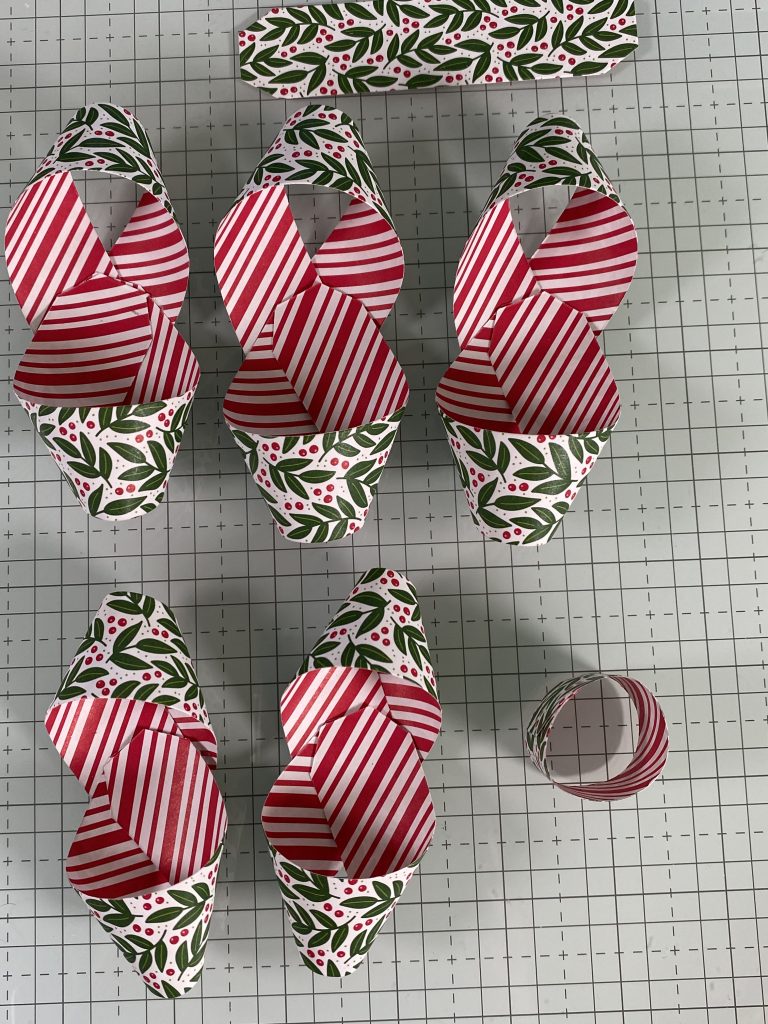
The die will provide you with (2) small strips, (4) medium strips and (6) large strips.
Create Bow “Petals”
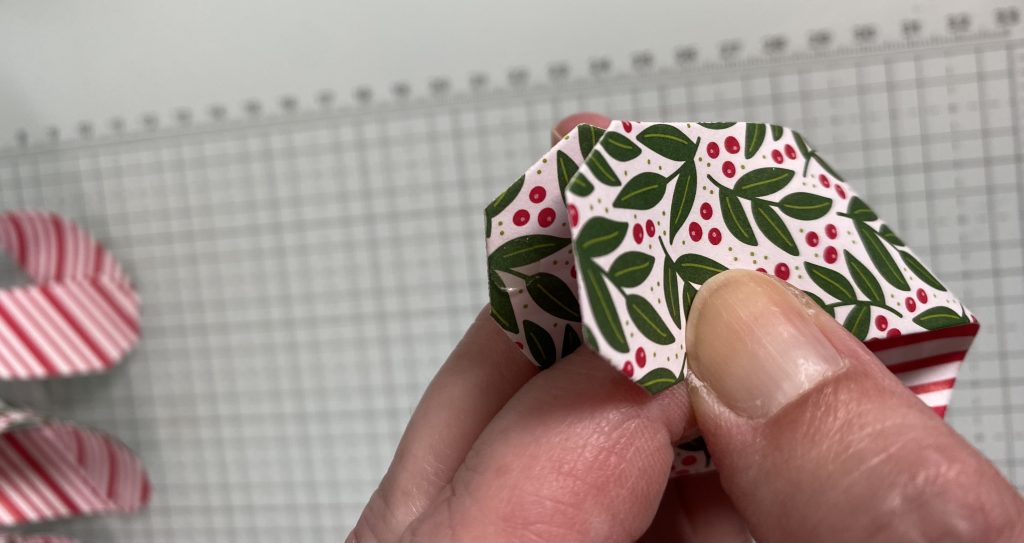
For the medium & large strips, you want to create “petals.” The pattern of your paper that you want to be most dominant will be the one you cross over into a ribbon formation. Using strong adhesive, like Glue Dots or Tear & Tape, and line up the edges as shown.
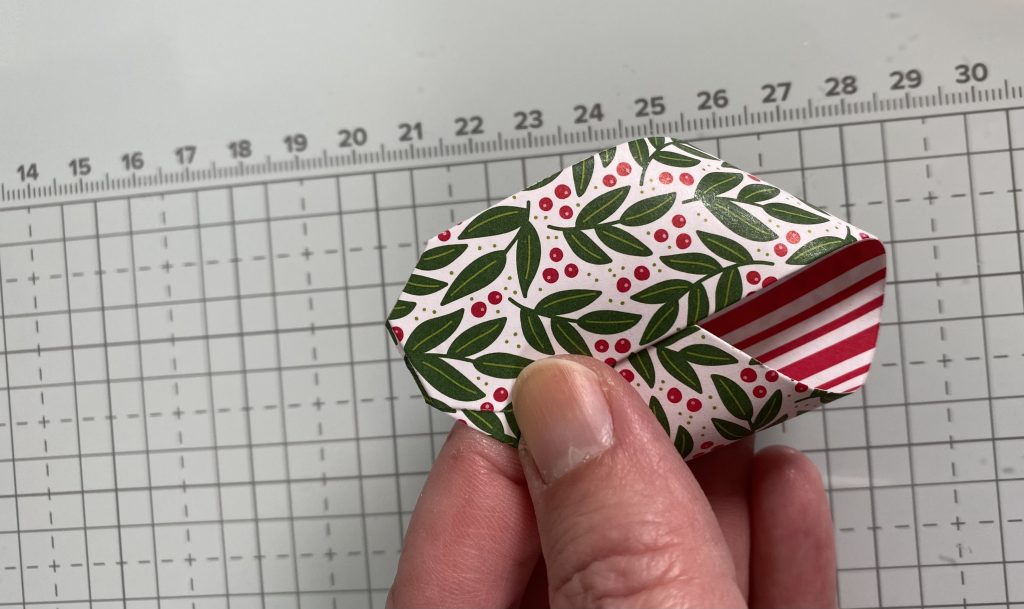
Your completed petal will look like this.
You’ll have 1 extra small strip that won’t be used. The other small strip you’ll want to adhere it into a loop, as shown.
Create Pairs of Bow “Petals”
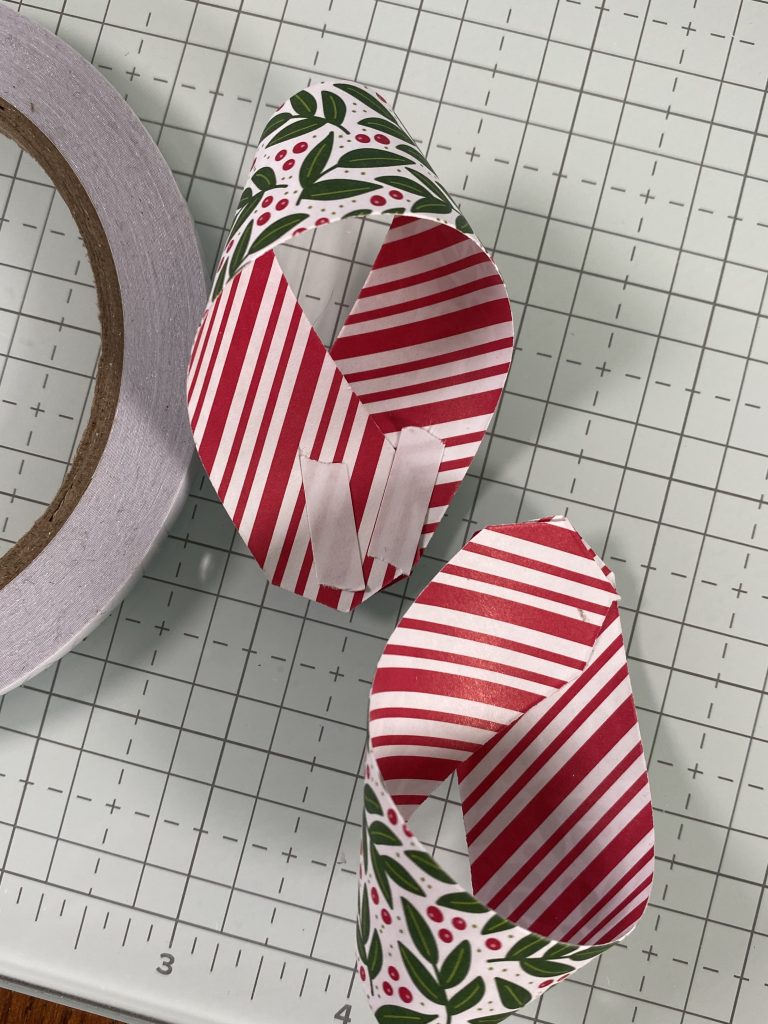
Using your strong adhesive, adhere 2 of the same size petals together.
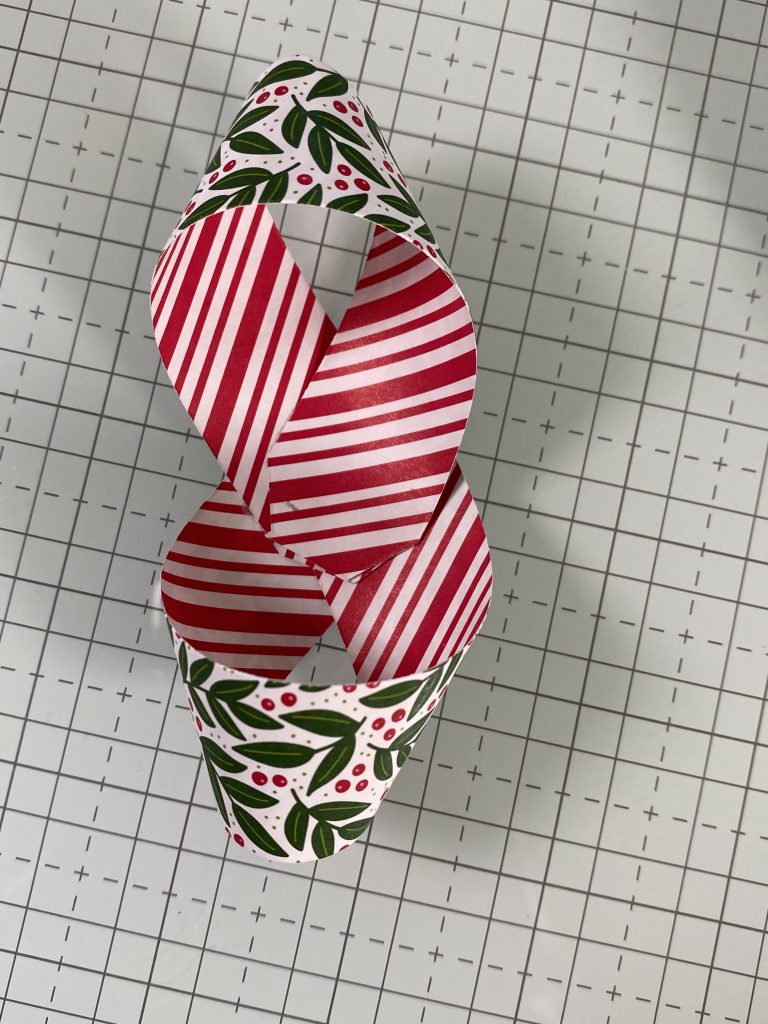
You’ll end up with (3) pairs of large petals, (2) pairs of medium petals and (1) small loop.
Assemble Your Bow
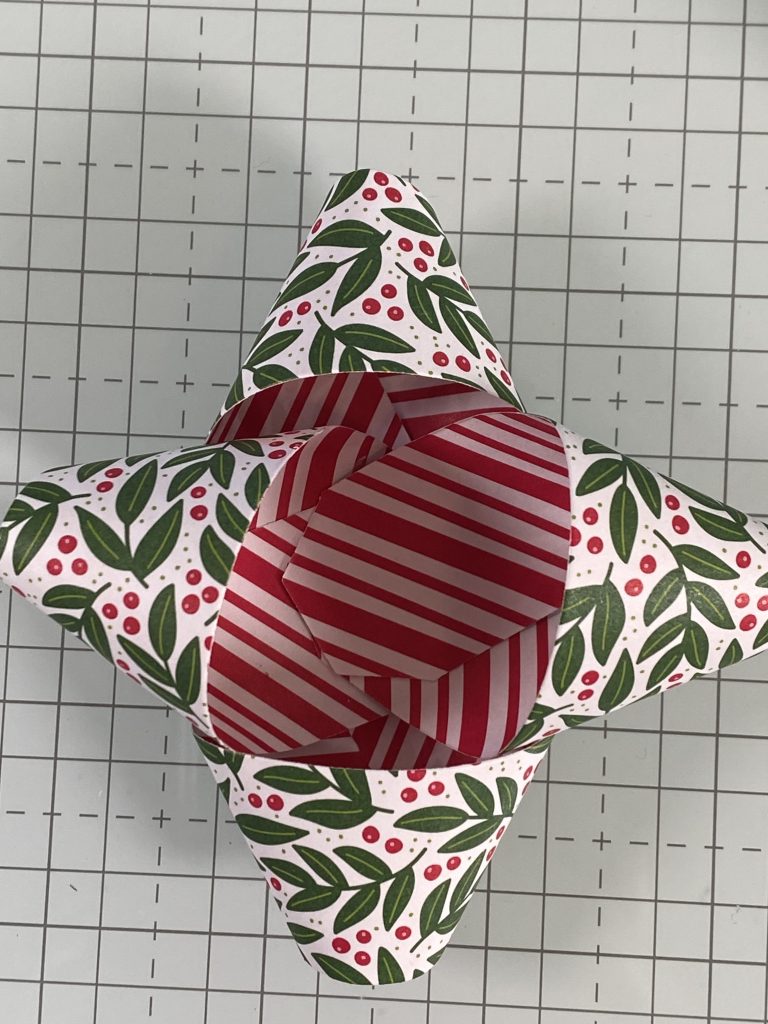
Add strong adhesive to the center of one of your medium pairs of petals and glue the 2nd pair perpendicular to the first one–so it’s like a plus sign. One is vertical and one is horizontal. This will be your middle layer of your bow.
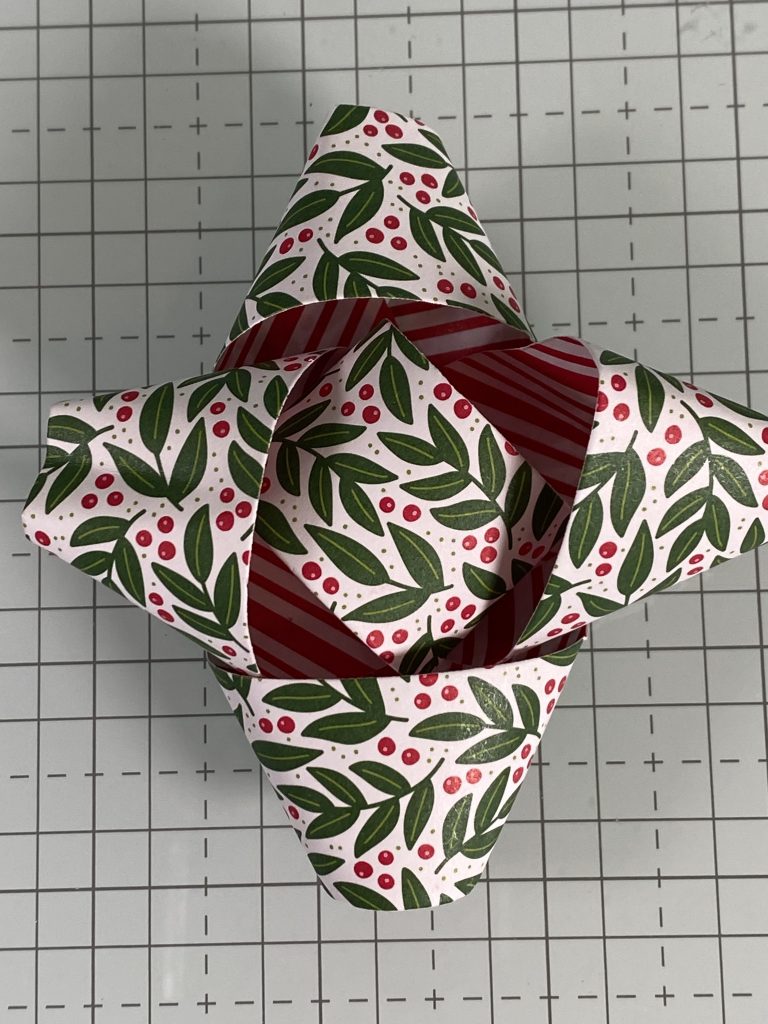
Again using strong adhesive, glue the small loop into the center of the middle bow layer, as shown.
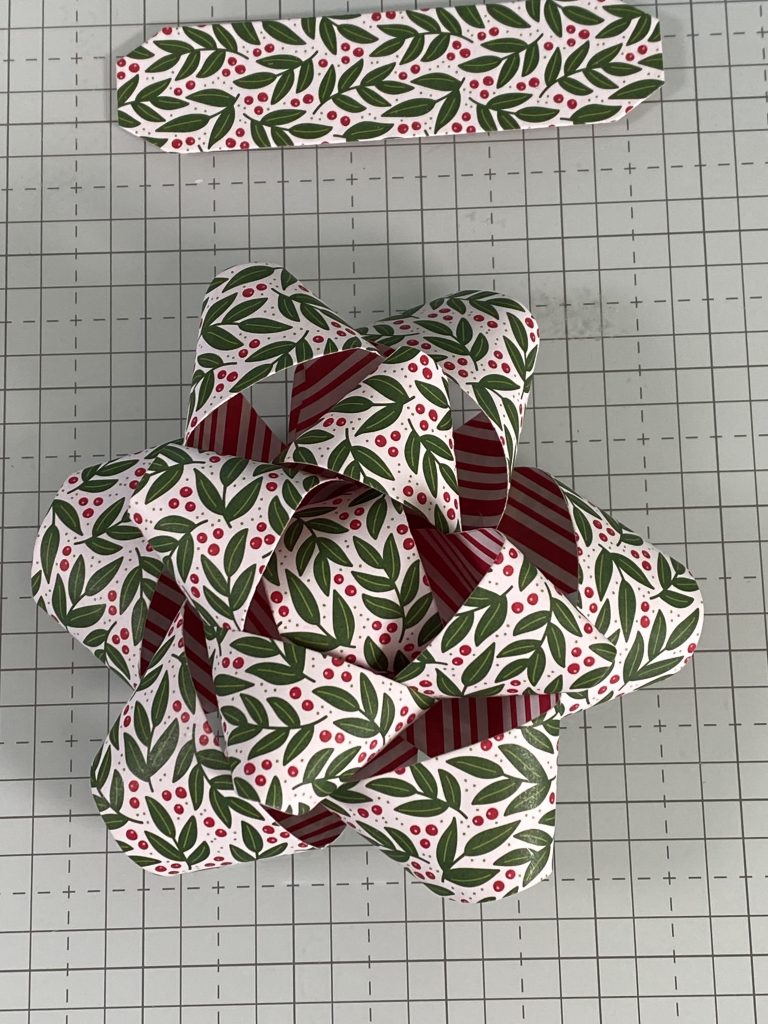
You will repeat the same process as the middle layer of the bow with the large pairs of petals. The only difference is that there are 3 pairs so you’ll want to glue the first 2 butted up against each other and finally add the 3rd in the remaining space. As a reminder, you will have one small strip remaining that is not needed to create the bow.
If you’d like to see a hands-on demonstration of this process, you can watch my YouTube video.
Easy now that you’ve seen it done, right? Now you can use this DIY tutorial for handmade bows to create your very own!