Let’s meet the “Cast of Characters” shall we:
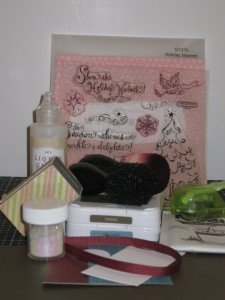
- Holiday Warmth (October Stamp of the Month) D1376
- Emporium Creative Basics Collection X5806
- Cocoa Textured Cardstock X5747
- Twilight Stamp Pad Z2160 and Cocoa Stamp Pad Z2114
- Sanding Kit Z1294
- Texture Tools Z1298
- Liquid Glass Z679
- Chocoloate Waxy Flax Z1088
- Prisma Glitter Z134
- Corner Rounder Z578
- 1″ Circle Punch
- 1/16″ Handheld Punch
- Cocoa or Soup Envelope
STEP 1: PREPARING THE MATERIALS
- Punch a 1″ White Daisy Circle
- Cut 12″ of Vineyard Berry Ribbon and 3-1/2″ Chocolate Waxy Flax
- Cut 9″ x 5-1/2″ Cocoa Textured CS
- Cut 8-1/2″ x 5-1/2″ and 3-1/4″ x 1-3/4″ White Daisy CS
- Cut 3-3/4″ x 2-1/4″ Twilight B&T
- Cut 3-7/8″ x 2-3/8″ Vineyard Berry B&T
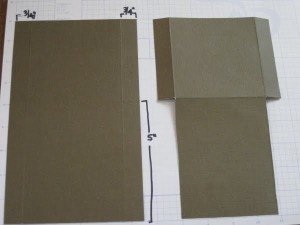
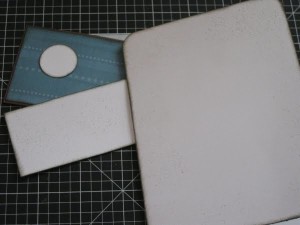
Taking the Cocoa Textured CS, score it at 5″ along the nine inch side and then at 3/4″ on each side as shown below. You will then cut off the 5″ side tabs on both sides as shown below.
STEP 2: CREATING THE POUCH
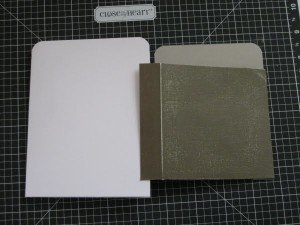
Fold the Textured Cocoa CS up at the 5″ mark . Then using your corner rounder, round the two top corners of the pouch. Gently sand the front portion of the pouch with your sanding block (I used the striped pattern which is a medium grit). Place adhesive on both side tabs and adhere around to the back.
Fold your 8-1/2″ x 5-1/2″ White Daisy CS in half to create your card. Using your corner rounder, round the two top corners to match your pouch.
STEP 3: INKING YOUR PAPERS
Using the sponge tool and Cocoa ink, ink up the edges of all your papers except your pouch. Then using the Texture Tool and Cocoa ink, add some depth and texture (and get rid of that pesky stark white!) to the outer edges of your card base and the 3-1/4″ x 1-3/4″ White Daisy CS.
STEP 4: STAMPING
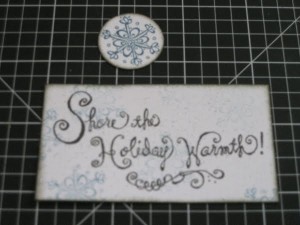
Using Twilight ink and snowflake, stamp image in the center of your 1″ White Daisy Circle. Still using Twilight ink and snowflake, stamp the White Daisy CS using 2nd and 3rd Generation Stamping Technique (ink up image, stamp on scratch paper then without reinking stamp on your CS–this is 2nd Generation Stamping; 3rd would be if you went ahead and stamped it one more time on your CS before reinking).
Using Cocoa ink, stamp “Share the Holiday Warmth” sentiment across center of White Daisy CS.
STEP 5: GLITTER!
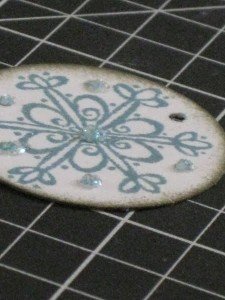
Using a 1/16″ handheld punch, punch out one of the small circles on your snowflake image. Then using Liquid Glass, add a dot to the center of the snowflake as well as the remaining outer circles. Sprinkle some Prisma Glitter over the Liquid Glass dots and allow to dry.
STEP 6: PUTTING IT TOGETHER
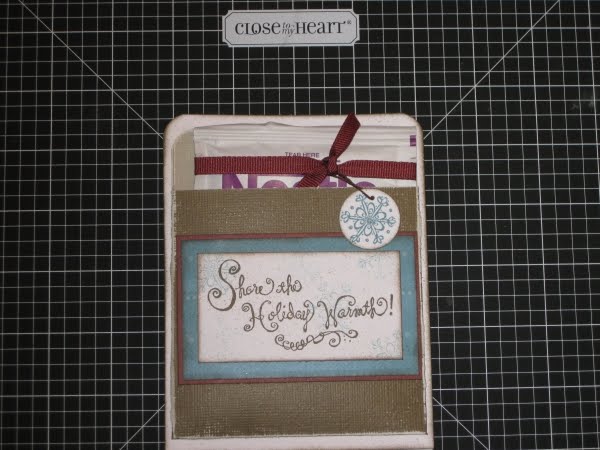
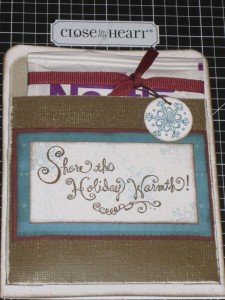
Adhere pouch to the center of your card base. Adhere Twilight B&T to center of Vineyard Berry B&T. Adhere your stamped White Daisy CS to center of this combo and then center it on the front of your pouch.
String Chocolate Waxy Flax through your 1″ stamped circle and tie loop in a knot. String Vineyard Berry Ribbon through the Waxy Flax Loop and tie around the upper portion of your Cocoa Envelope in a knot. Trim edges of ribbon to your liking. Insert envelope into pouch, write a little sentiment inside the card and you are good to go! Enjoy!
A special thanks to Vicki, a fellow CTMH Consultant who designed and shared her pouch for gift giving.

