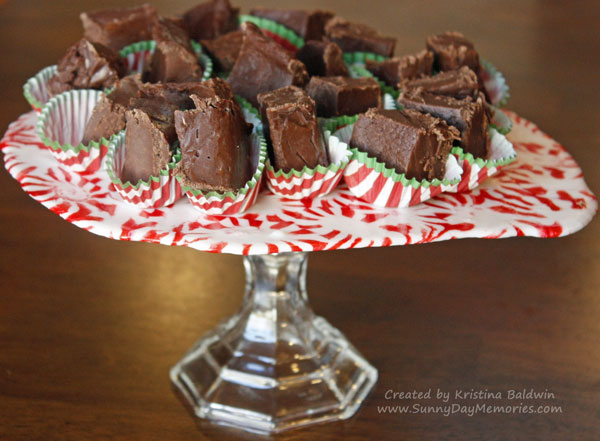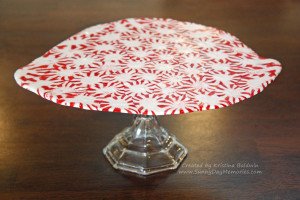
About a week and a half ago I happened to see a small chunk of a holiday DIY segment on a morning show. They were talking about making a festive and easy Peppermint Bowl out of Starlight Mints. I was intrigued!
I was just killing a little bit of time when I saw it so didn’t really have plans of making one. However, we had a holiday party to attend this past weekend and I thought it would be fun to give it a try–only instead of doing a bowl, I wanted to try a raised platter.
It was really simple to do and my family was extremely impressed with the results! So here is a little quick tutorial so you, too, can impress your friends and family!
STEP 1:
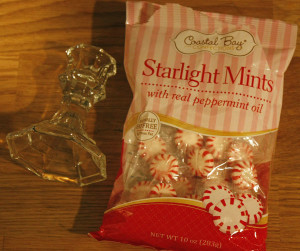
Gather the supplies (Starlight Mints and a candlestick–both can be purchased at your local Dollar Store–bonus!!) You’ll also need Parchment Paper, a Cookie Sheet and a hot glue gun.
STEP 2:
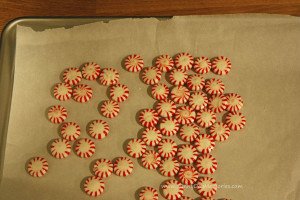
Preheat the oven to 350 degrees and unwrap the mints and place on a cookie sheet lined with Parchment Paper.
STEP 3:
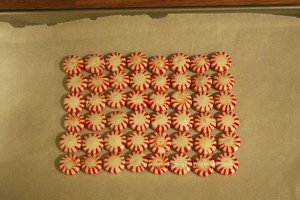
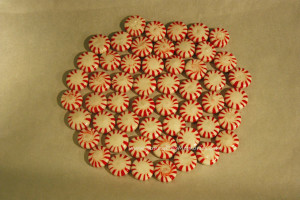
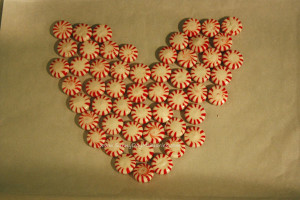
Arrange the mints in the shape you wish to create. You could do a rectangle, a square, a circle, something a bit more organic (which is what I did) or even a heart (Valentine’s Day is just around the corner!)
STEP 4:
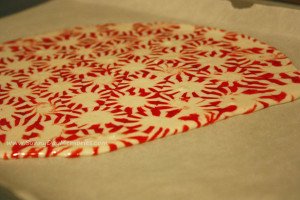
Place in preheated oven for approximately 10 minutes. It’s best to keep an eye on it. You want the mints to melt and be flat. You’ll notice the outer edges melting first while the center remains in tact a little longer.
STEP 5:
If you are doing a bowl instead of a platter, this is when you’d want to place the hot, melted peppermints (it’s really hot!) around a bowl to take the shape of the bowl. It will have a more organic appearance as the edges fold.

If doing the platter, let it cool.
STEP 6:
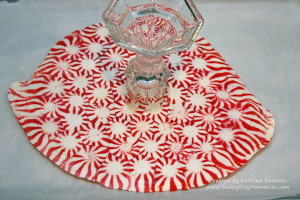
Using hot glue, attach the candlestick to the center of bottom side of the mints. You’ll notice one side of the melted mints is shiny and glossy while the other side is more of a matte finish. The matte finish side is where you want to glue the candlestick to.
STEP 7:
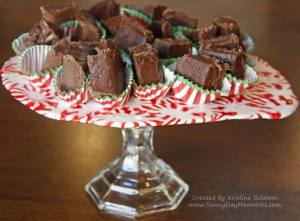
Add some tasty treats to your finished Peppermint Platter and enjoy it’s beauty!

