Recently, my kids’ class put on a production of Seussical Jr. They did an AMAZING job. It was impressive to see how the kids not only learned their own lines and songs, but those of the other characters, too!
Step one was deciding if they wanted to try out for one of the roles or to be part of the set design and/or creating the costumes. My son wanted to be Horton and my daughter wanted to be Mrs. Mayor. So they both did their tryouts and were selected for their chosen roles…yay!
Step two was deciding if they wanted the costume crew to create their costumes for them or if they wanted to do them on their own. They chose the latter. Now it was time to put on my thinking cap for the Horton costume. I felt doing Mrs. Mayor would be simple enough–just some bright clothes and a sash saying Mrs. Mayor would suffice.
I did a bunch of Google searches to get some ideas. The best one I came across was one created by Jo at the Creative Collage. I love how it was essentially all one piece–easy to remove and put back on in a hurry. The only trick was, I didn’t want to do any sewing if I didn’t have to (sewing isn’t really my thing; I’d like to be better at it, but since I waited until almost the last minute starting this costume, I couldn’t mess around with additional details like how to sew it all together!) Here’s how I did it:
Gather your supplies…
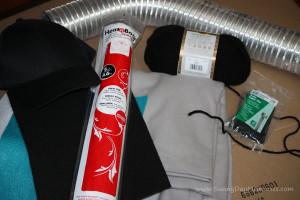
- Cardboard or Foam Board (at least two 14″ square pieces)
- Black yarn
- Grey fabric (about 1-1/2 yards)
- Baseball cap (you can get cheap ones from Michael’s or Joann’s for around $3)
- Zip Ties
- Felt (white & Black Sharpie OR add black or blue for eyes)
- Heat and Bond
- Flexible Duct Hose (we had extra 3″ diameter but I’d recommend a little larger if you have it)
- Hot glue or strong adhesive
- Duct tape (optional)
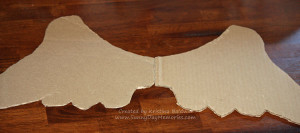
STEP 1: Sketch a Horton ear on some cardboard. I used some images I found online to get me started. Once you cut the first ear out, use it as a template for your 2nd ear. My ears were about 12″ at the tallest point and about 14″ at the widest.
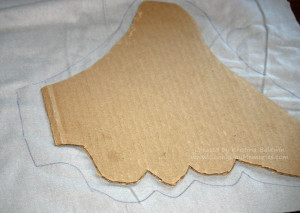
STEP 2: Trace a larger ear image on your grey fabric and cut out. Then you’ll want to trace another ear exactly. You’ll repeat this process for the 2 ears.
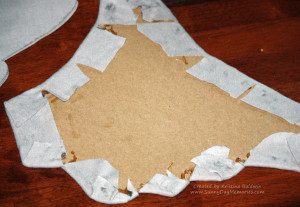
STEP 3: With the larger fabric ear, you’ll want to cut slits to make it easier to get smooth coverage around your cardboard ear. Use a strong adhesive–hot glue or I tried E-6000 glue (this stuff is SUPER strong!) Then take the piece of fabric that you traced and cut to size and glue on top–creating a nice, clean fabric covered Horton ear. Repeat the process with the second ear.
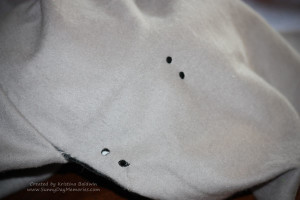
STEP 4: Grab your baseball cap and with a large square of fabric, begin covering it and gluing as you go–starting along the seam between the bill and the cap. I left the back portion unglued so that it could still be adjusted if it needed to be. Then you’ll want to punch 4 holes in the hat along the first binding strip closest to the bill of the cap. I figured this would give added strength when I added the ears. I was able to use my eyelet kit to punch the holes without much difficulty.
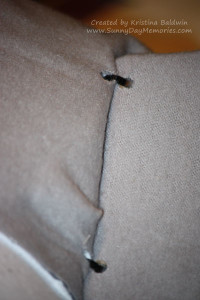
STEP 5: Using zip ties, connect the cardboard ears to the baseball cap by inserting them through the holes you just created and connect the ties in the back of the ears. Trim the zip ties so there isn’t much showing. Repeat with second ear.
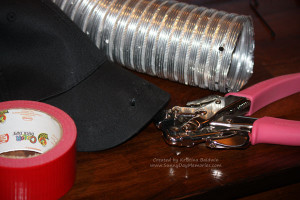
STEP 6: Next we are going to work on the trunk. First cut your duct hose to desired size. Mine was about 14″ when I expanded it. You’ll then need to punch/drill holes into the hose as well as the bill of the hat–making sure the holes line up. I used my Crop A Dile Punch and did the holes in the hose first. Then I placed my bill inside the hose and used a pen to mark those holes and was then able to punch out the holes in the hat’s bill knowing they’d line up nicely. Before I connected them, I used some duct tape around the edges of the cut hose to ensure it wouldn’t be sharp and hurt my son.
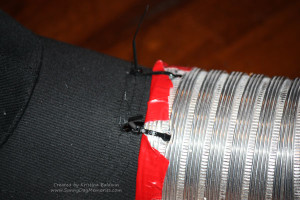
STEP 7: Insert bill of cap inside the hose and connect the two using zip ties through the holes you created. Trim ends of zip ties. Now you’ll continue to cover you baseball cap in the grey fabric continuing along the hose until you get to the end. I glued the fabric down in a few places along the hose to give it more of a wrinkled effect. At the end of the hose, I simply trimmed the fabric and then stuffed it into the end of the hose.
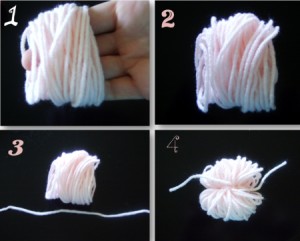
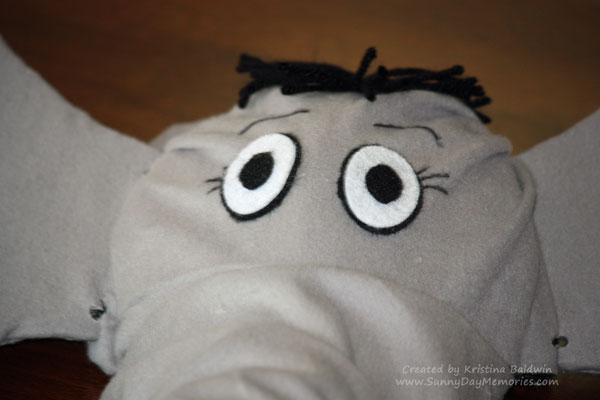
STEP 8: Now for the finishing touches! I created a little black pom pom for Horton’s hair. (I found this easy diagram showing how to do a pom pom) Simply cut the loop ends when you are done tying it together and then hot glue it onto the top of Horton’s head. Next are Horton’s eyes. I tried two different methods–you can choose what you like best. First, I cut white ovals out of felt using my Cricut (you’d need to apply the Heat and Bond first to help it stay to the mat during the cutting process.) I cut the ovals out at 1-3/4″. Then I took a Black Sharpie to outline the eyes and color in the eyeballs as well as created his eyebrows and eyelashes.
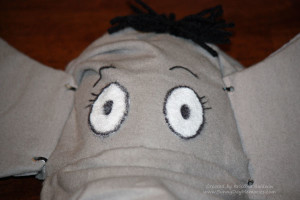
The second way you can do it is to cut a 1-3/4 black felt oval, a 1.6″ white felt oval and a 3/4″ black felt oval. Adhere these all together to create your eye while still using the Black Sharpie to create the eyelashes and eyebrows.
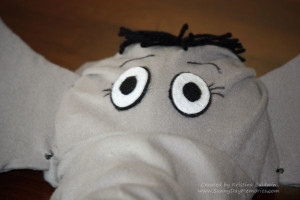
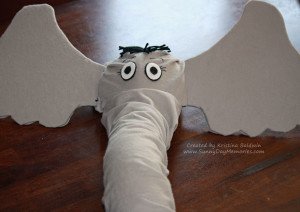
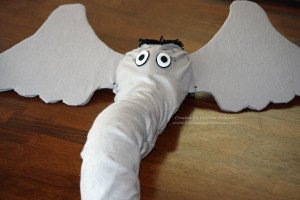
And there’s your Dr. Seuss Horton costume! Simply have your child wear a grey shirt and pants and put on this Horton hat and you’re all set!
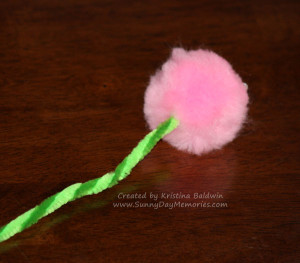
And if you need a Dr. Seuss clover all you need to do is twist two different colored green pipe cleaners together and hot glue it to a large puffy pink pom pom.
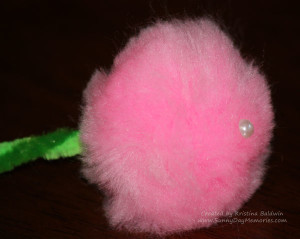
Then I glued a little pearl on the pink pom pom for the speck–easy and cute!
Last, but not least, here is what I did for my daughter’s Mrs. Mayor costume.
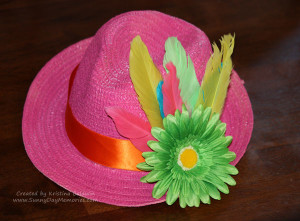
First, we found a hat in the Target dollar spot section. Since we wanted to work in bright colors she chose to spray paint it a bright pink color. She also wanted feathers and a large flower. And this is what we came up with.
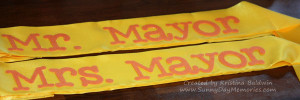
For the sashes, I decided to just purchase cheap premade sashes in a bright yellow color. I added some Heat and Bond to the back of orange felt and cut out letters on my Cricut at 2-3/4″ and glued them on using E-6000 glue.
The best part is that both costumes were very inexpensive! If you have some of the supplies already on hand you can get away with only spending $10-$15!

