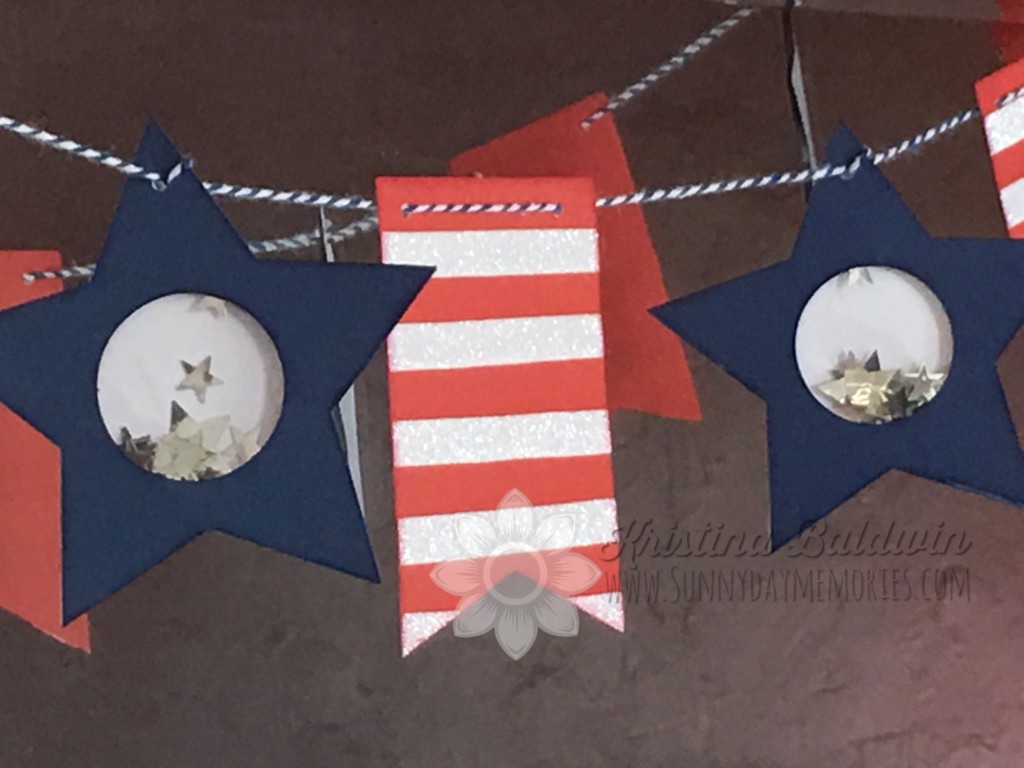
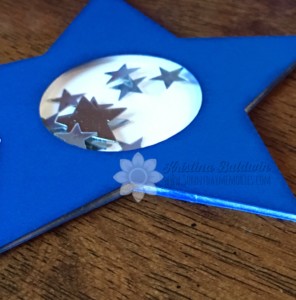
Happy 4th of July!! This Stars & Stripes Banner is a direct result of my daughter telling me that we hadn’t decorated enough for Independence Day this year. An easy fix–create a quick banner using the Cricut!
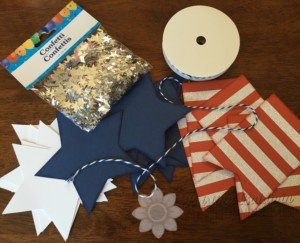
Grab a few simple supplies…
- Stars cut in both White Daisy CS (1385) and Sapphire CS (X5775)
- Sapphire Stamp Pad (Z2648)
- Cranberry Stamp Pad (Z2116)
- Pennants cut in Cranberry CS (1272)
- White Shimmer Trim (Z3024)
- 3-D Foam Tape (Z1151)
- Base & Bling Adhesive Strips (Z1904)
- Sponge Daubers (Z726)
- Twine
- Confetti Stars
- Transparencies or page protectors (cut into squares)
- 1/8″ Circle Punch
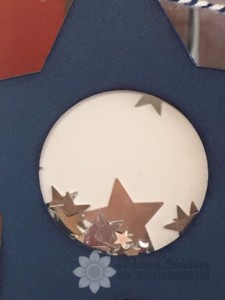
(*Confession: I took the photo above about mid-way thru my process when it dawned on me I should take some photos and could do a tutorial for you! So I apologize some steps are not going to be shown in photos.)
STEP 1:
Adhere strips of White Shimmer Trim to cut out Cranberry Pennants. Then sponge daub around edges using Cranberry ink to add additional dimension. Set aside.
STEP 2:
Punch out circles in center of Sapphire Stars (or skip this step and cut out stars with circles in center using your Cricut.) Sponge daub around edges of both White Daisy and Sapphire Stars using Sapphire ink for additional dimension.
STEP 3:
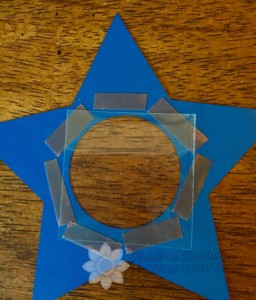
Using Base & Bling Adhesive Strips, add a square of either a transparency or cut up page protector to your Sapphire Stars–this will become the window of your shaker.
STEP 4:
Using 3-D Foam Tape, create a square around the “window” to hold the star confetti inside. Add confetti and then remove adhesive backing.
STEP 5:
Add White Daisy Stars directly on top of Sapphire Star Shakers to seal the confetti inside.
STEP 6:
Using an 1/8″ circle punch, create one hole in each star as well as two in each pennant. Then string your twine through the holes to create your banner. (note: I made a complete loop through each star to help stabilize it.)
STEP 7:
Hang up your completed banner and enjoy it’s beauty!

