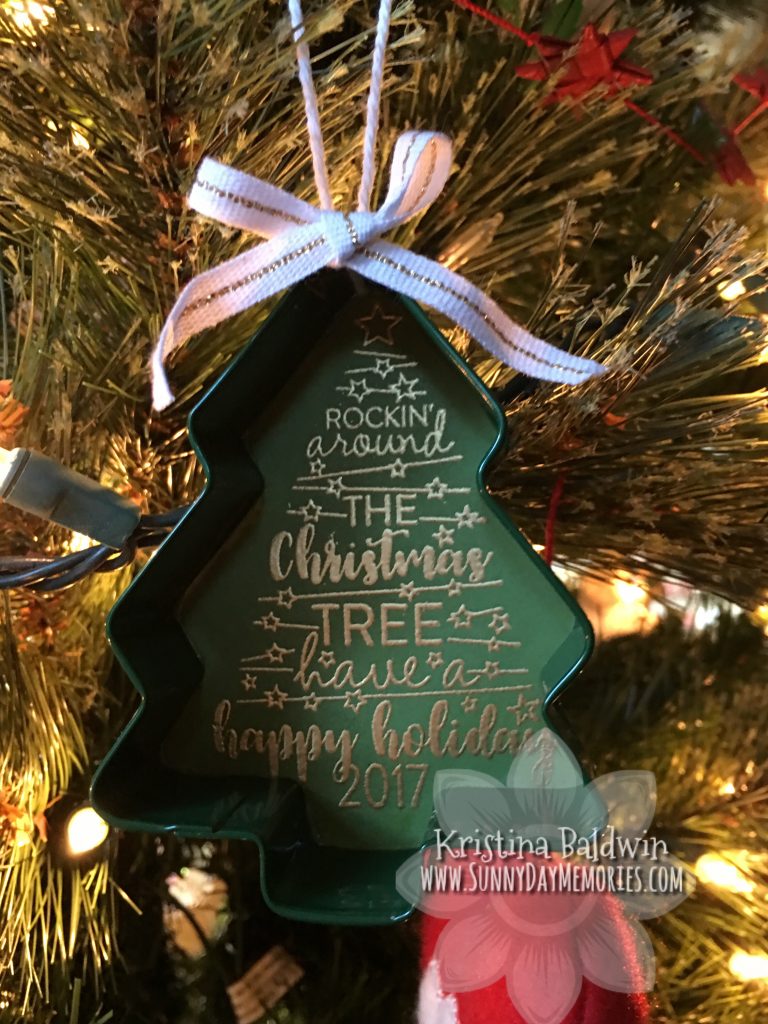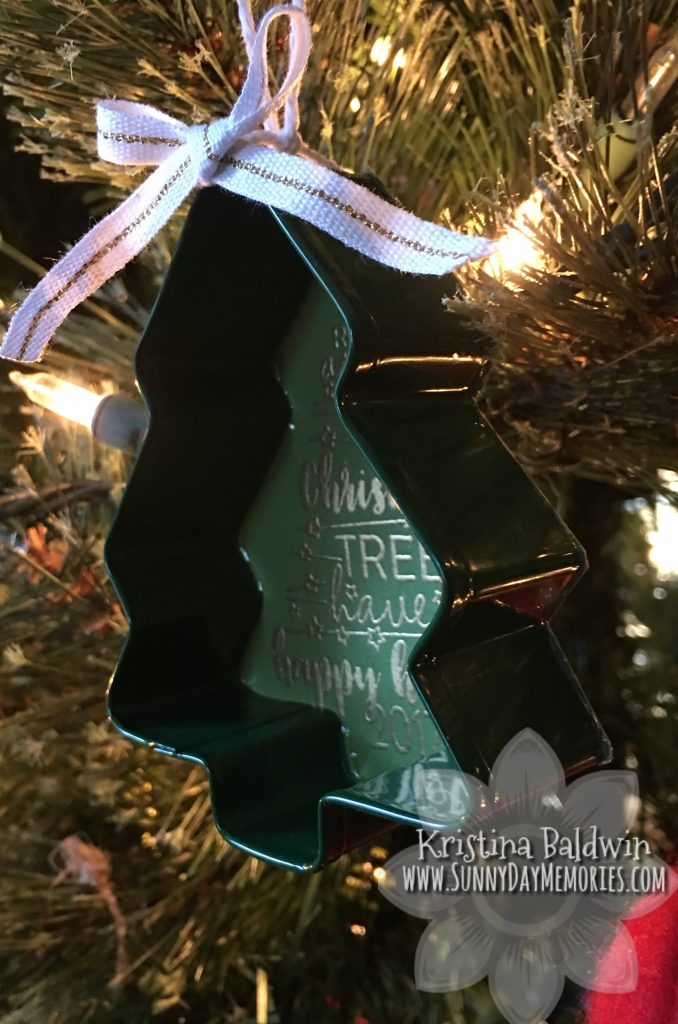
Today I’m sharing another quick and easy DIY Holiday project–a Cookie Cutter Ornament! Holiday cookie cutters can be used for more than just making festive holiday cookies. You can use them to create darling ornaments perfect for keeping for yourself or for giving away.

You really only need 4 items:
- Cookie Cutter
- Paper
- String or Ribbon
- Liquid Glass or other strong adhesive

You can add in other elements like stamping or embossing (like I’ve done here.) But truthfully if you have some festive patterned paper, that would work just as well! I couldn’t resist using our October Stamp of the Month (Christmas Tunes) since I had a Christmas Tree Cookie Cutter. It seemed like the perfect pairing to use the tree image from this stamp set. I stamped it in Versamark ink and then sprinkled some Gold Embossing Powder and heated it up with a Craft Heater to create this beautifully elegant image.
Once that was prepared, I tied some White Twine around the top of the ornament so I had a hanger for the ornament. Then I used Liquid Glass to adhere the ornament to the paper. When it was dry, I used my Non-Stick Micro-Tip Scissors to trim around the edges of the ornament. For the final detail, I tied a bow using the White & Gold Ribbon and then adhered it to the top of the tree cookie cutter again using Liquid Glass–love Liquid Glass so much!
Now you have a unique ornament you can put on your Christmas Tree or wrap up and give to a friend, neighbor, co-worker…pretty much anyone would love receiving such an amazing handmade ornament!

