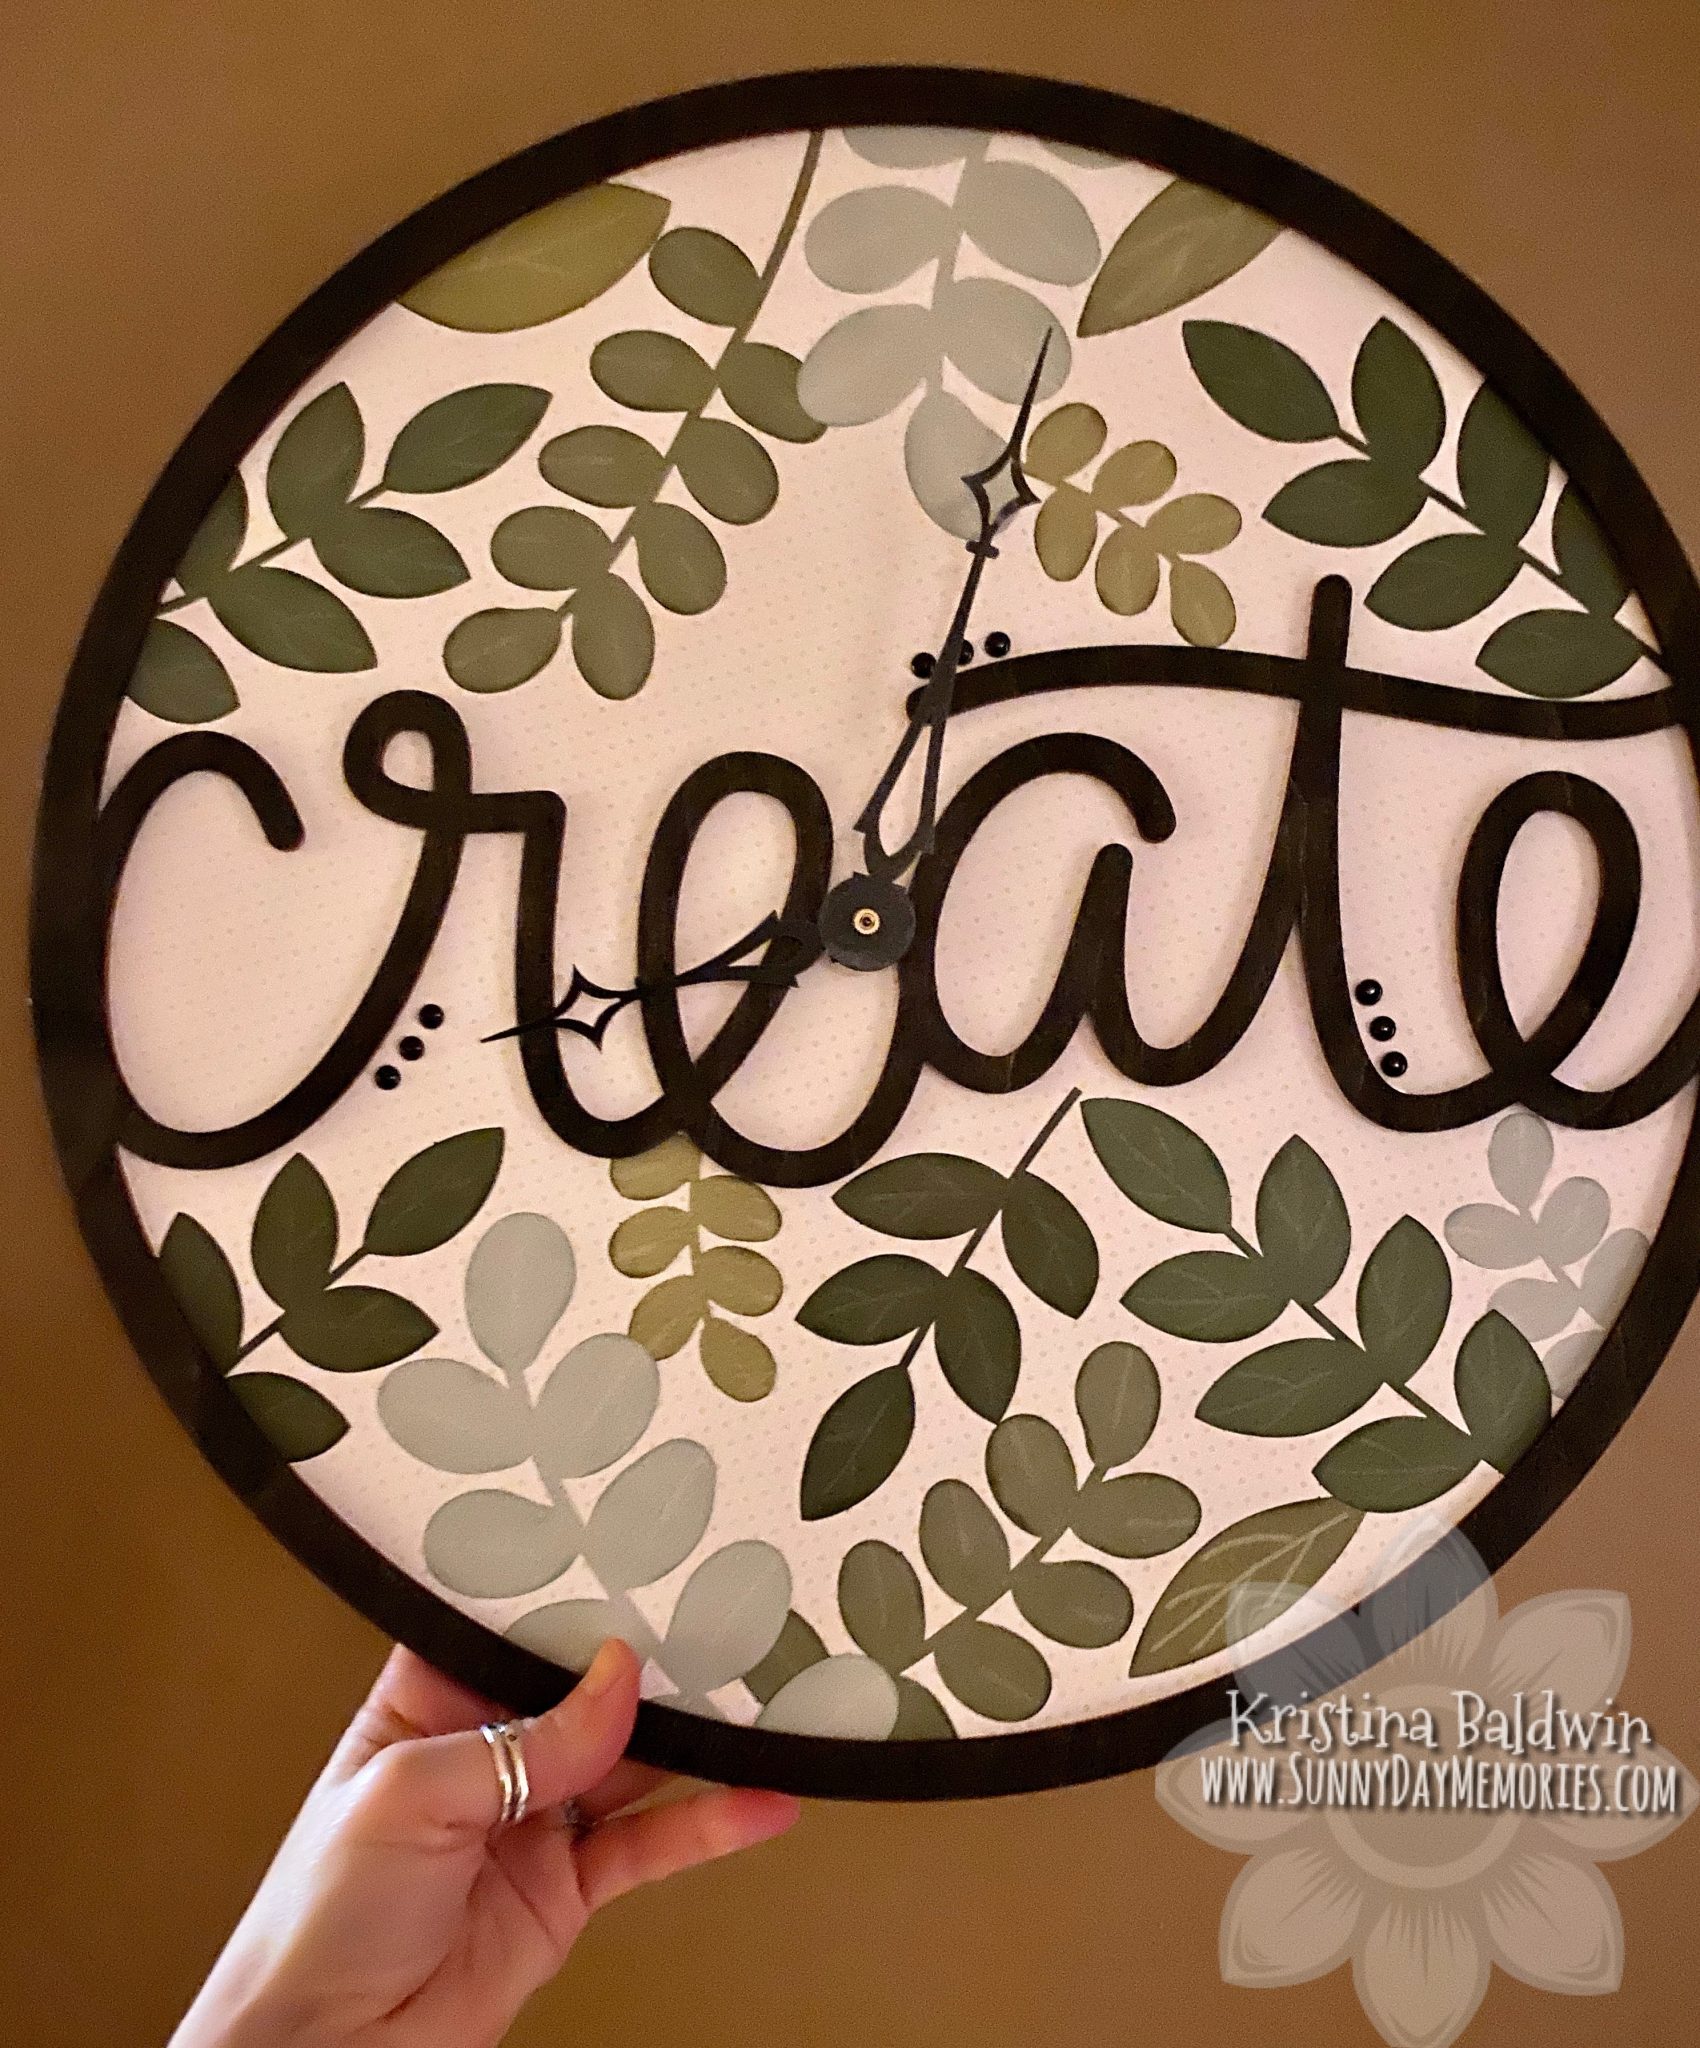
Last week I shared my “Create” clock I created with Close To My Heart’s All Around Creativity Wreath Kit. As promised, here is the tutorial on how I put it together. Please note that while the special for National Papercrafting Month is no longer happening, you can still grab your favorite wreath kit and create your very own clock along with me!
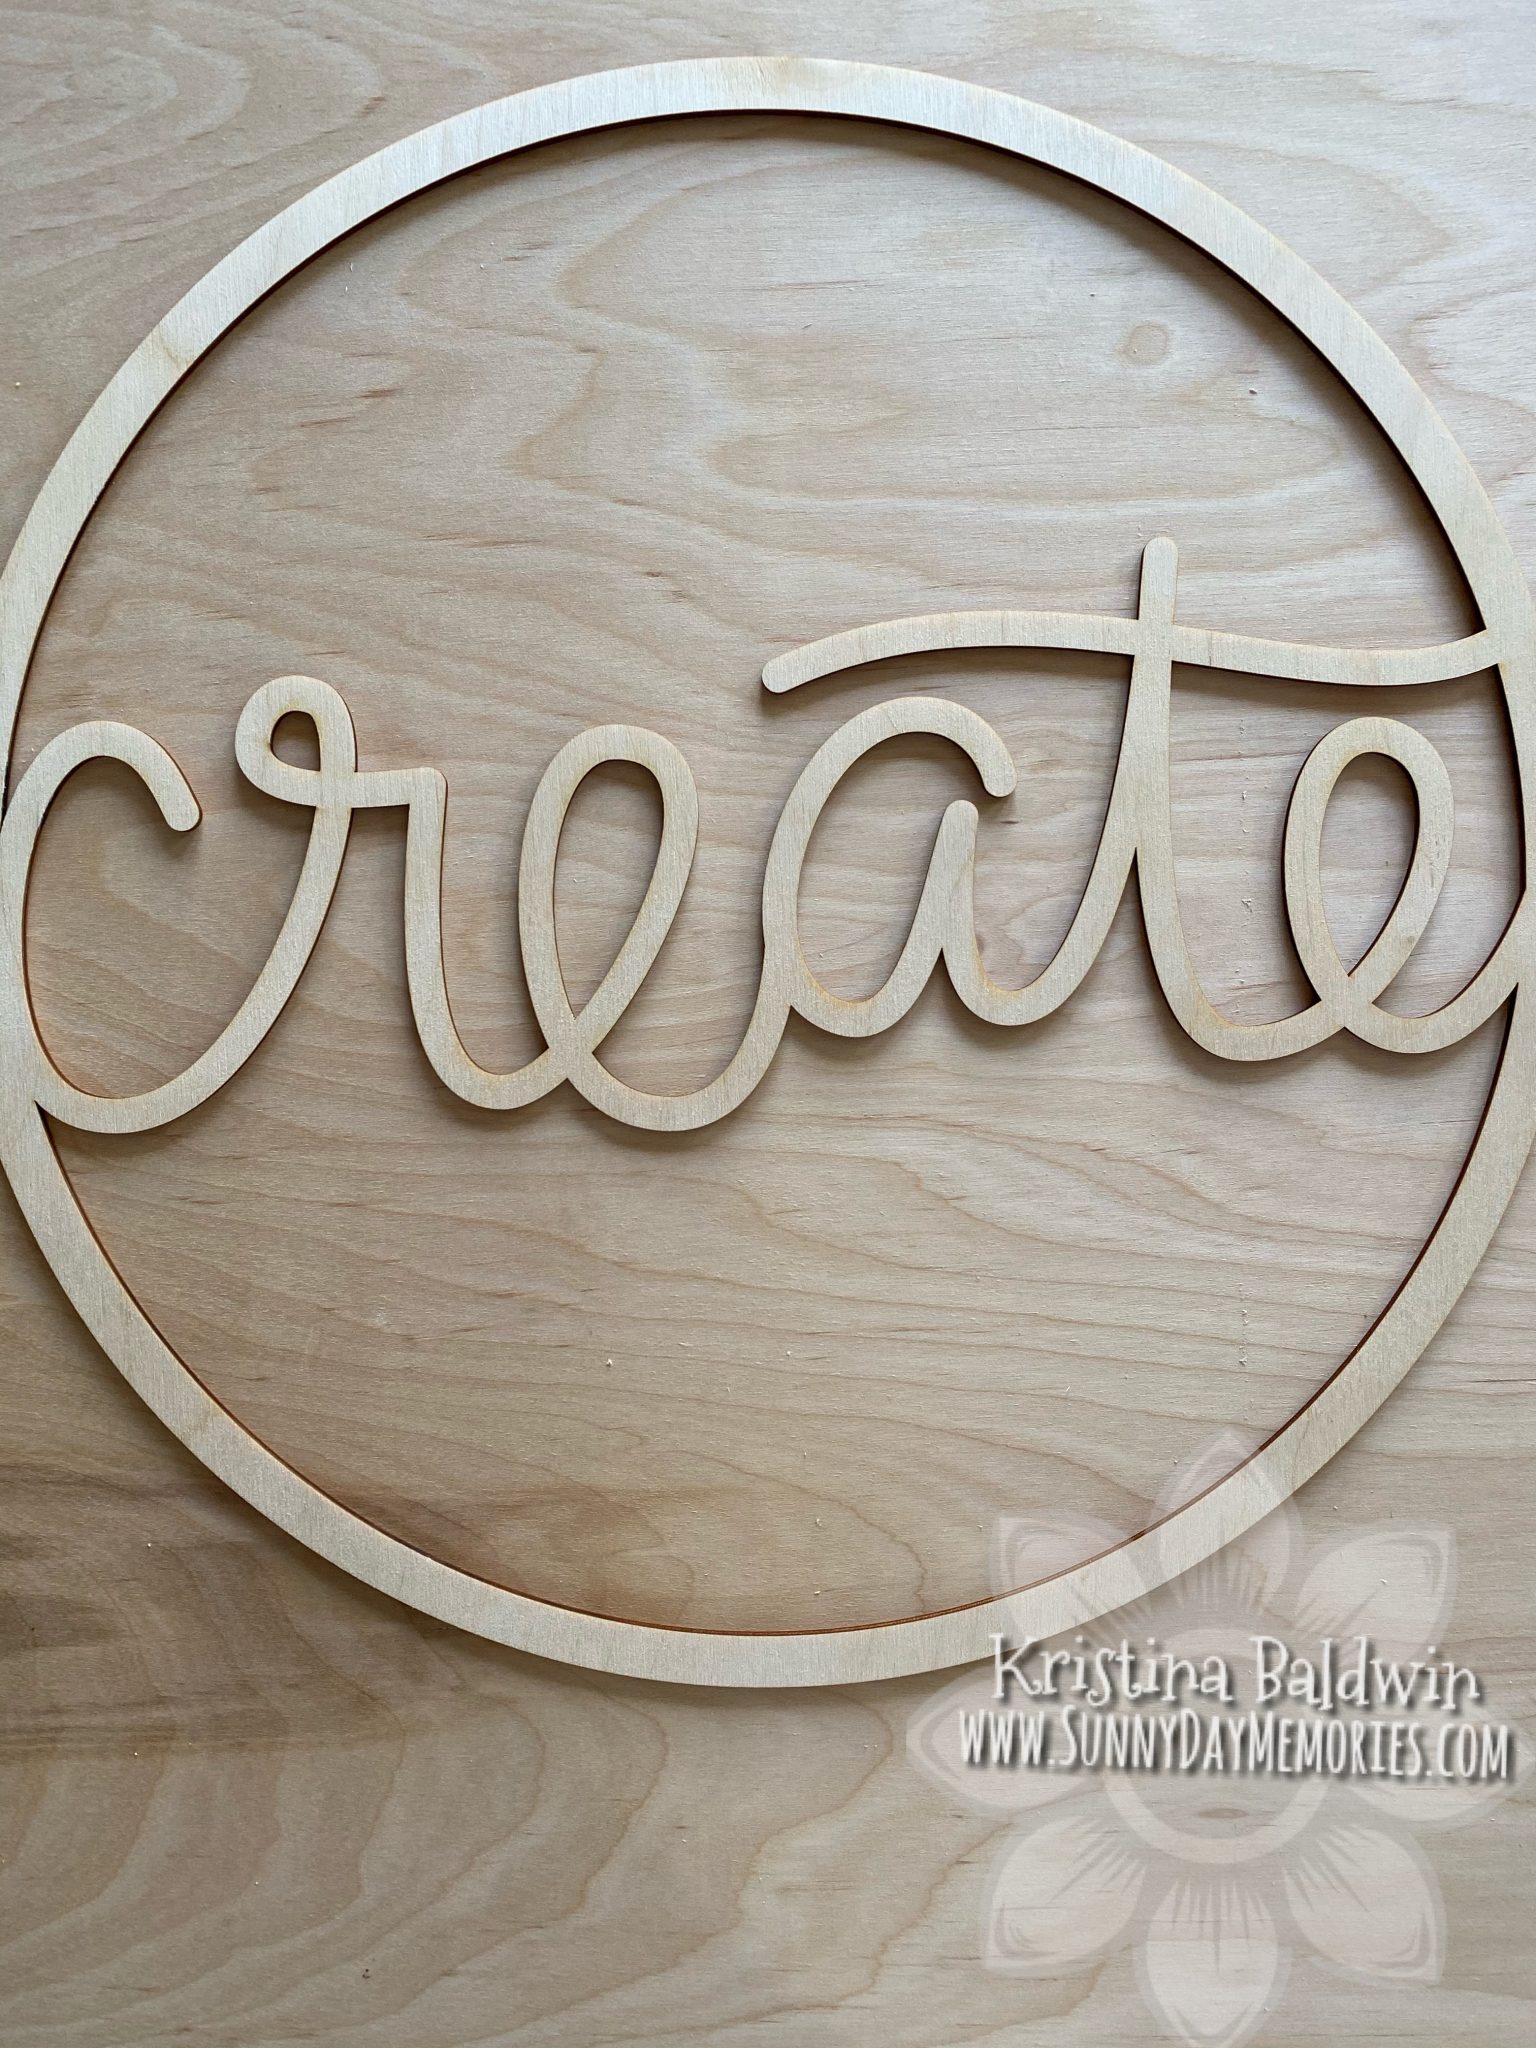
STEP 1:
Figure out what you want to mount your wreath base on to in order to make it into a clock. The kit comes with a super sturdy piece of cardboard that initially I thought I could use for the background. You could trace this base outline and cut it out by hand. I ultimately chose to use some plywood as the my clock back. Please note that this will make it heavier to hang than just using the cardboard.
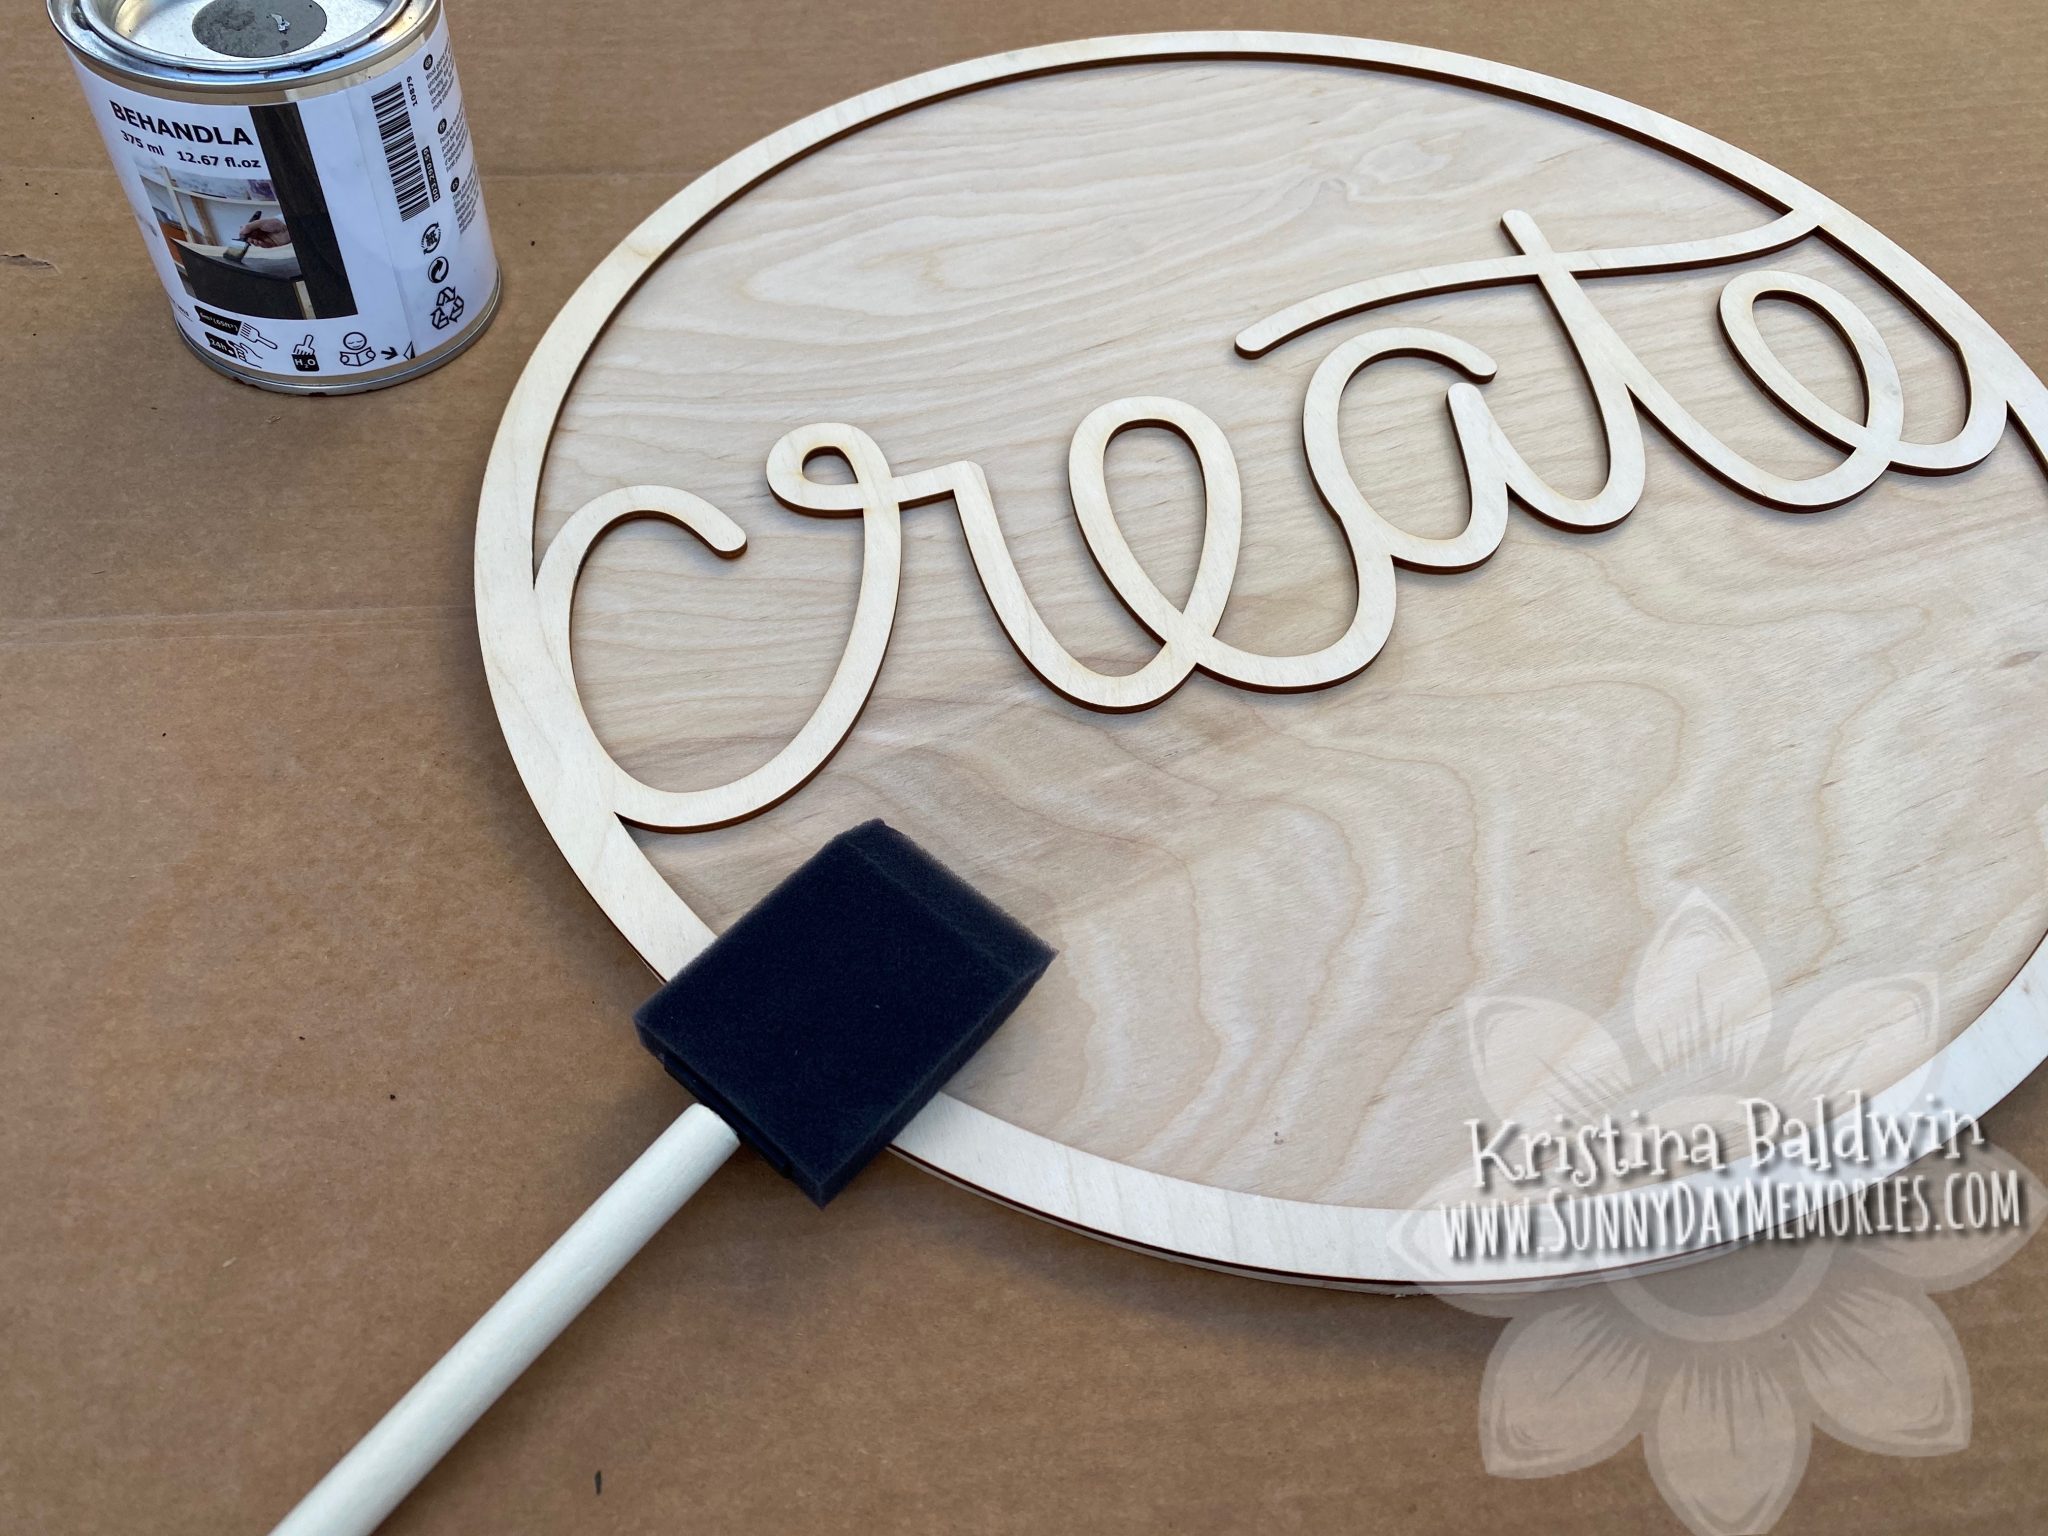
STEP 2:
Paint, stain or treat the wood base in whatever method you’d like for it to work with your current home decor. Since I plan to hang my clock in my craft studio where I currently have a lot of Ikea cabinets in the black/brown tone, I used their wood treatment in the same color to stain/treat my wood frame and clock backside.
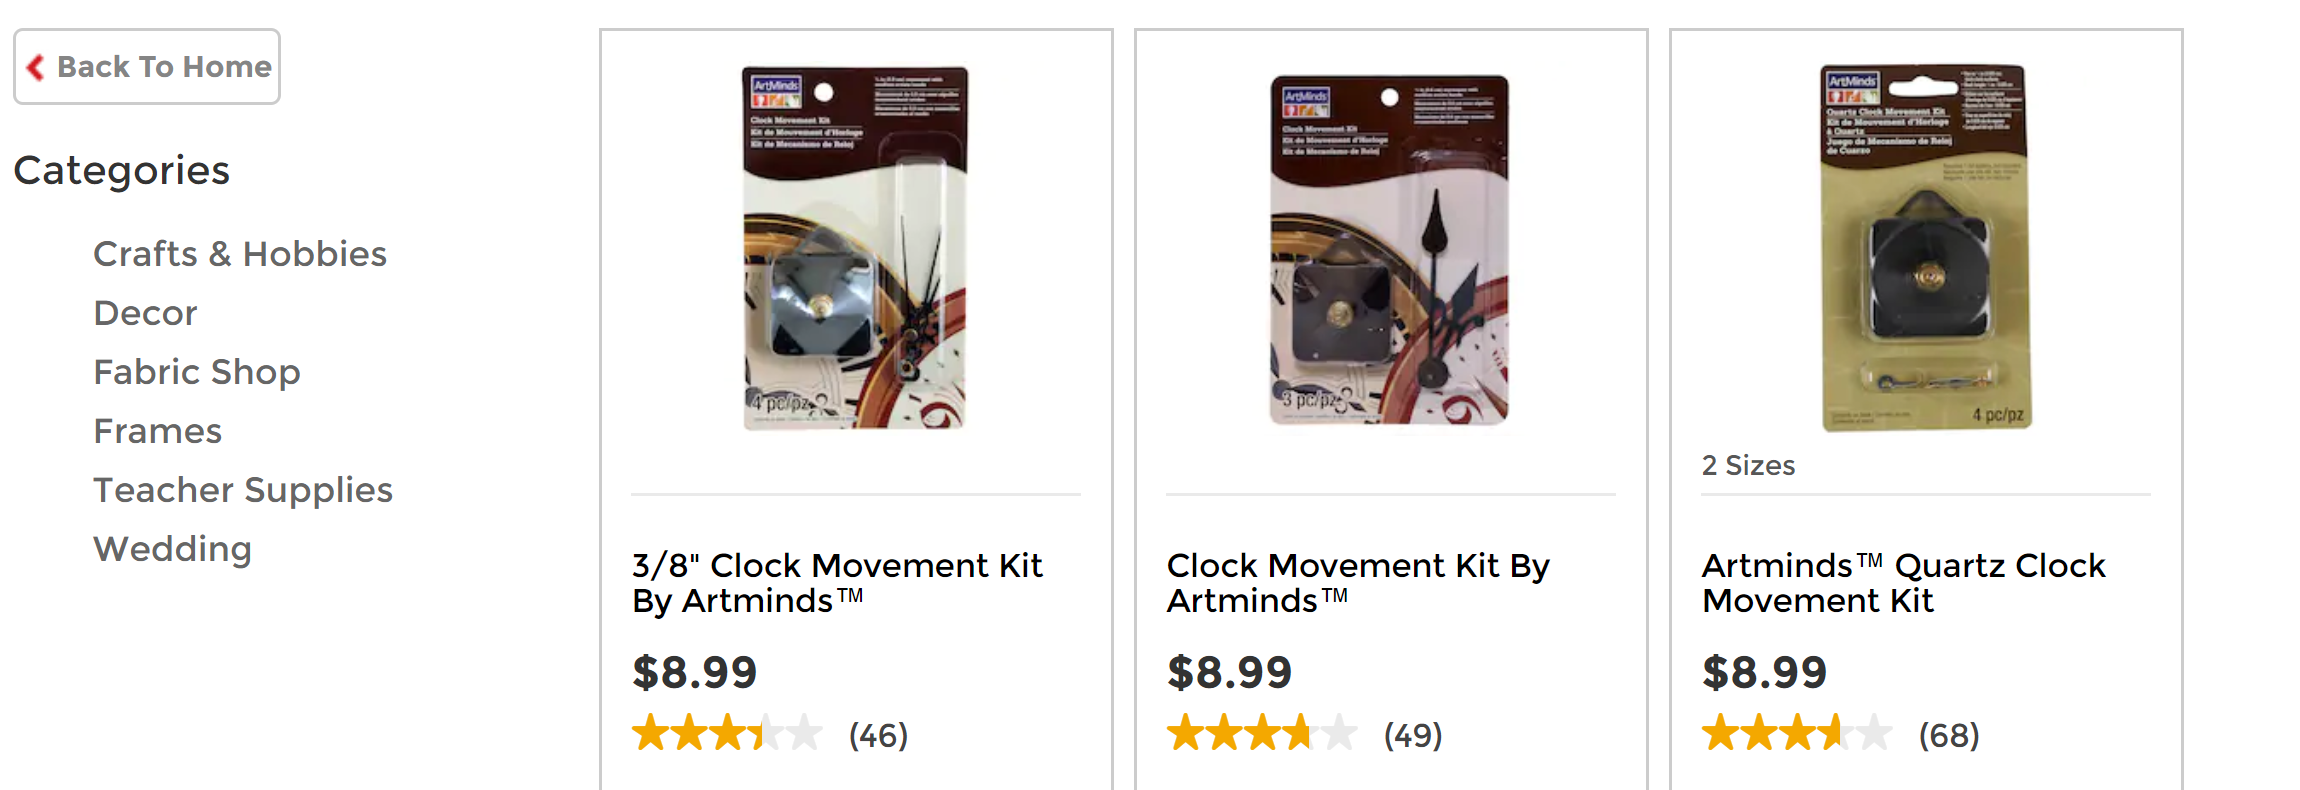
STEP 3:
Without gluing the wreath base to your clock backing piece, align the 2 pieces together so that you can mark and then make the cutout for the clock mechanism before you begin decorating. I got my clock kit from Michaels–don’t forget to use your 40% off coupon! 🙂
STEP 4:
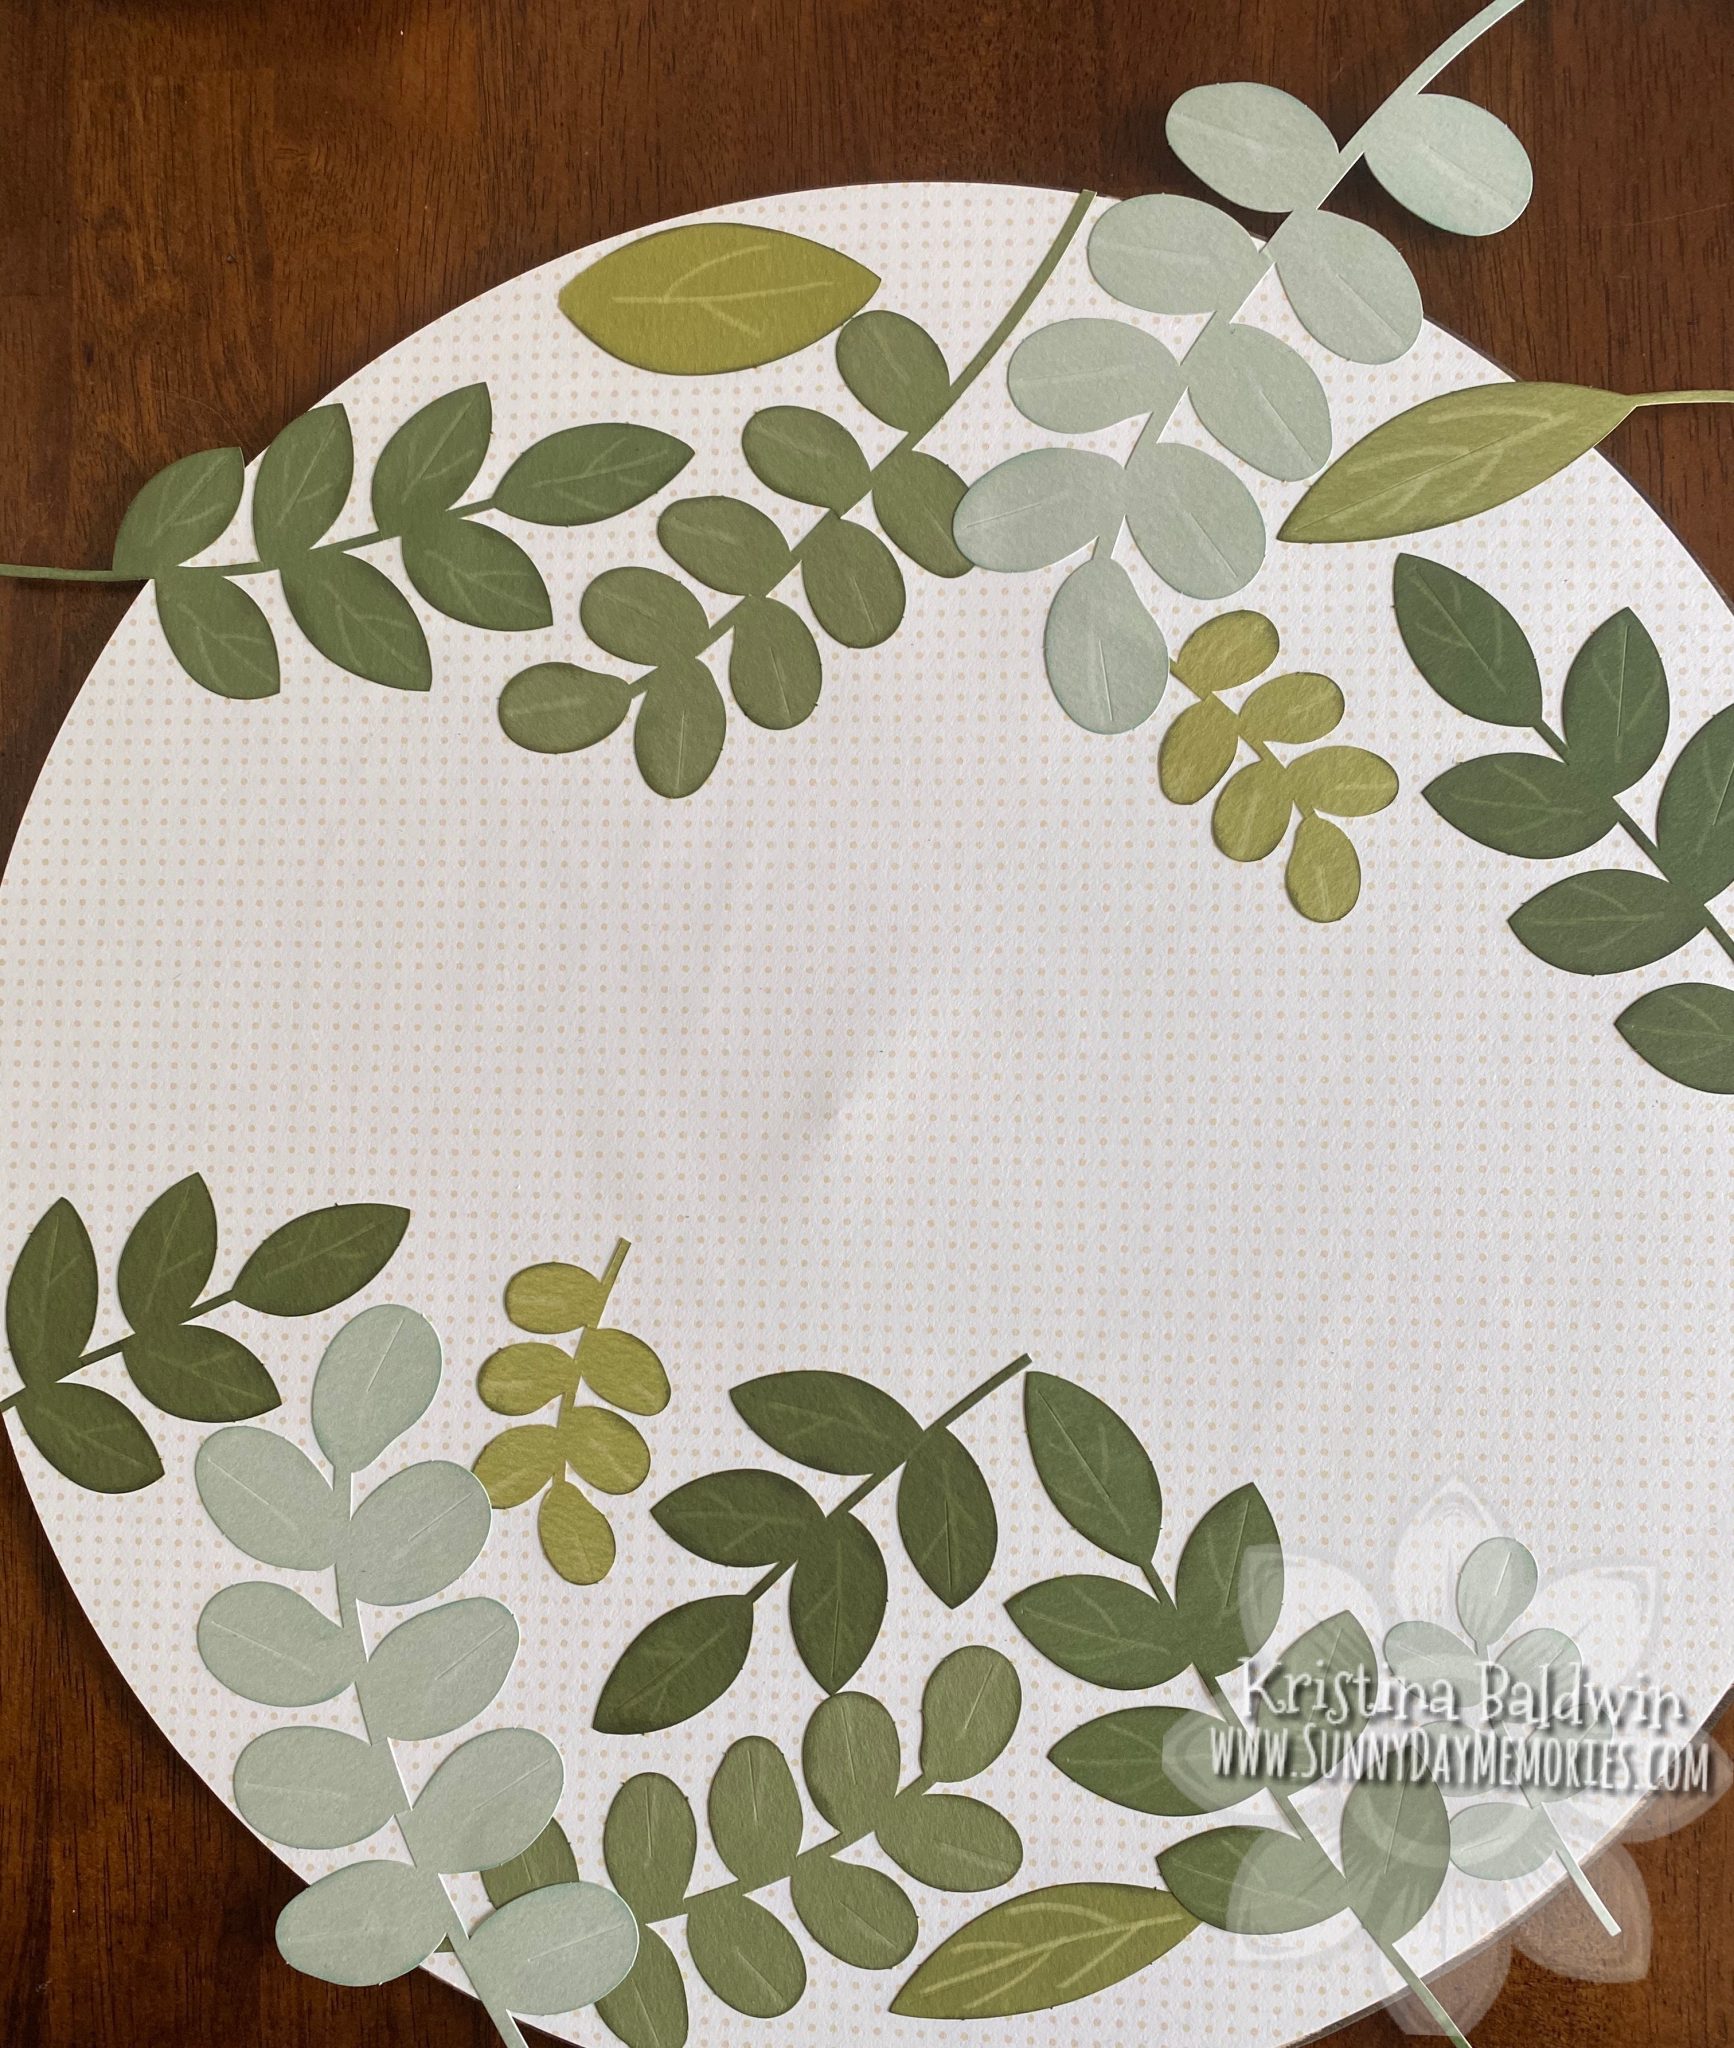
Select the paper pattern you wish to use and adhere it to the front of the clock backside (you’ll notice that the cutout you made will bubble a little, but that’s okay since you’ll have the clock mechanism through it soon enough!) Decorate your clock face as desired. I used a variety of the greenery found in the kit. To keep it looking random, I had pieces going off the edges. It’s a quick snip with your scissors and the edges are all cleaned up and flush again.
STEP 5:
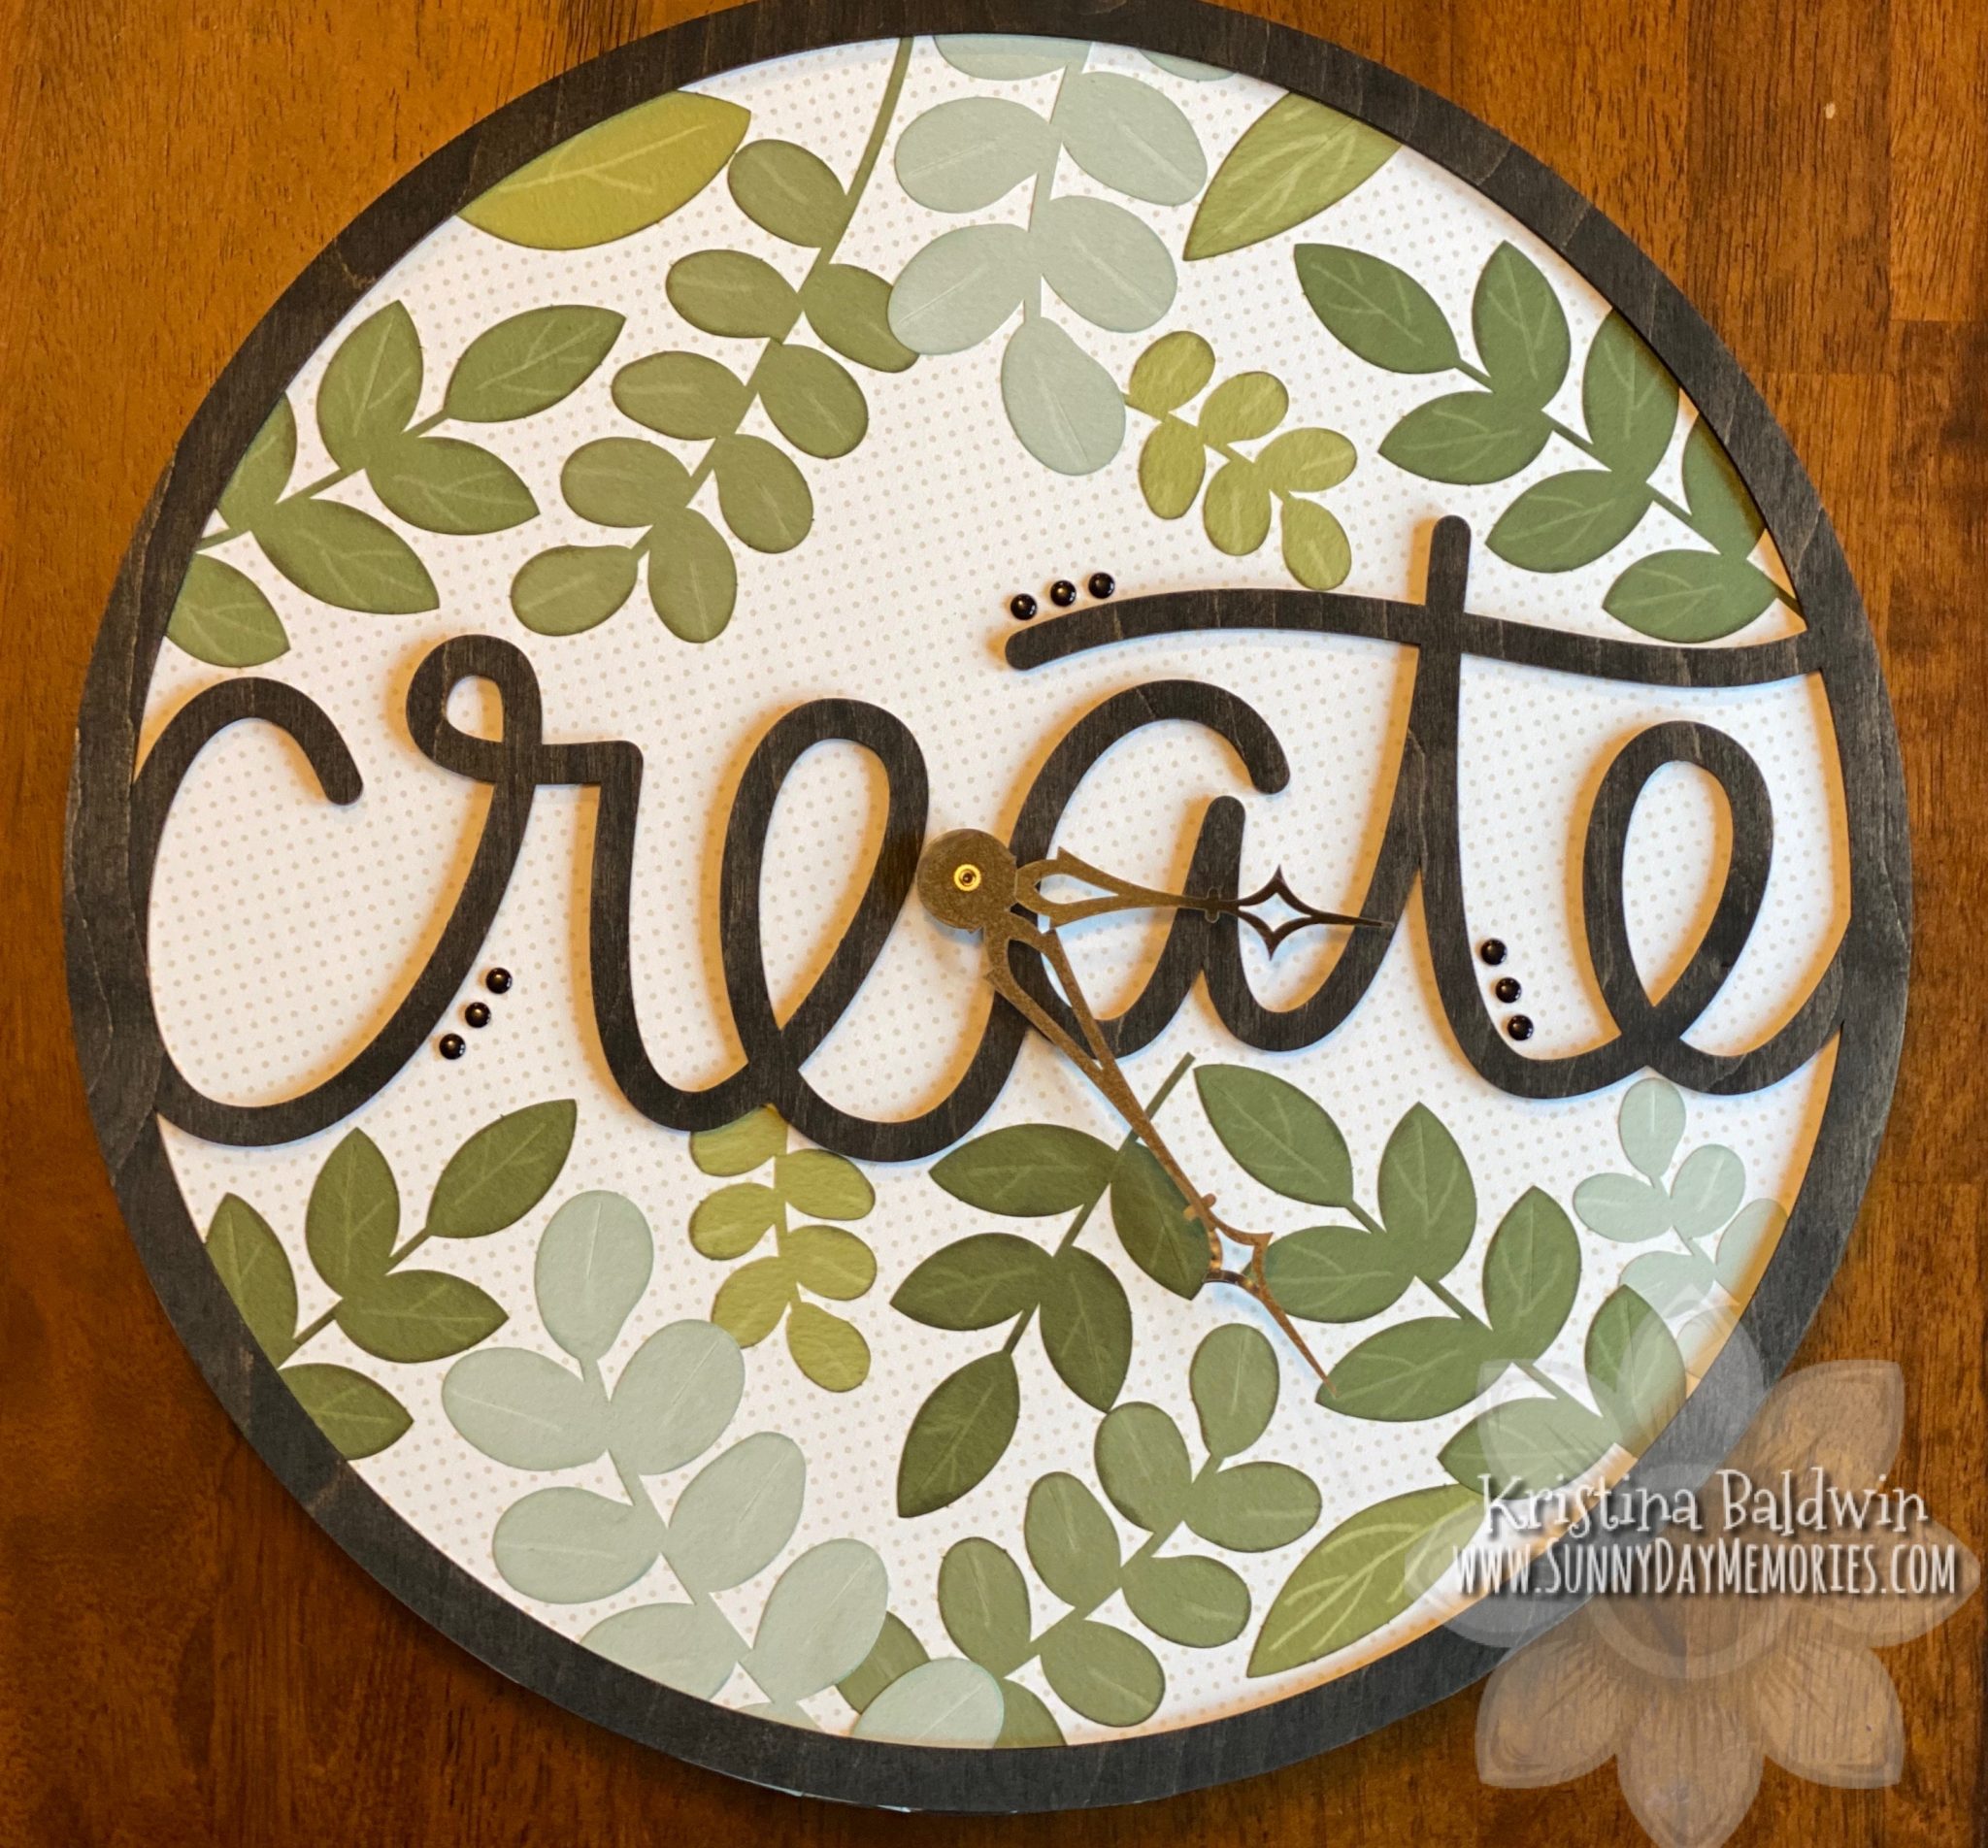
Put it all together! I highly recommend using Liquid Glass to secure the wreath frame to the decorated clock base. It won’t take much (you definitely don’t want it to ooze from the edges; remember less is more with this strong adhesive!) Tip: after I adhered it together I put some heavy books on top of it to help achieve good contact and ultimately a strong bond.
Once adhered, I added some Black Dots from our Black & White Dots to add some additional dimension and shine.
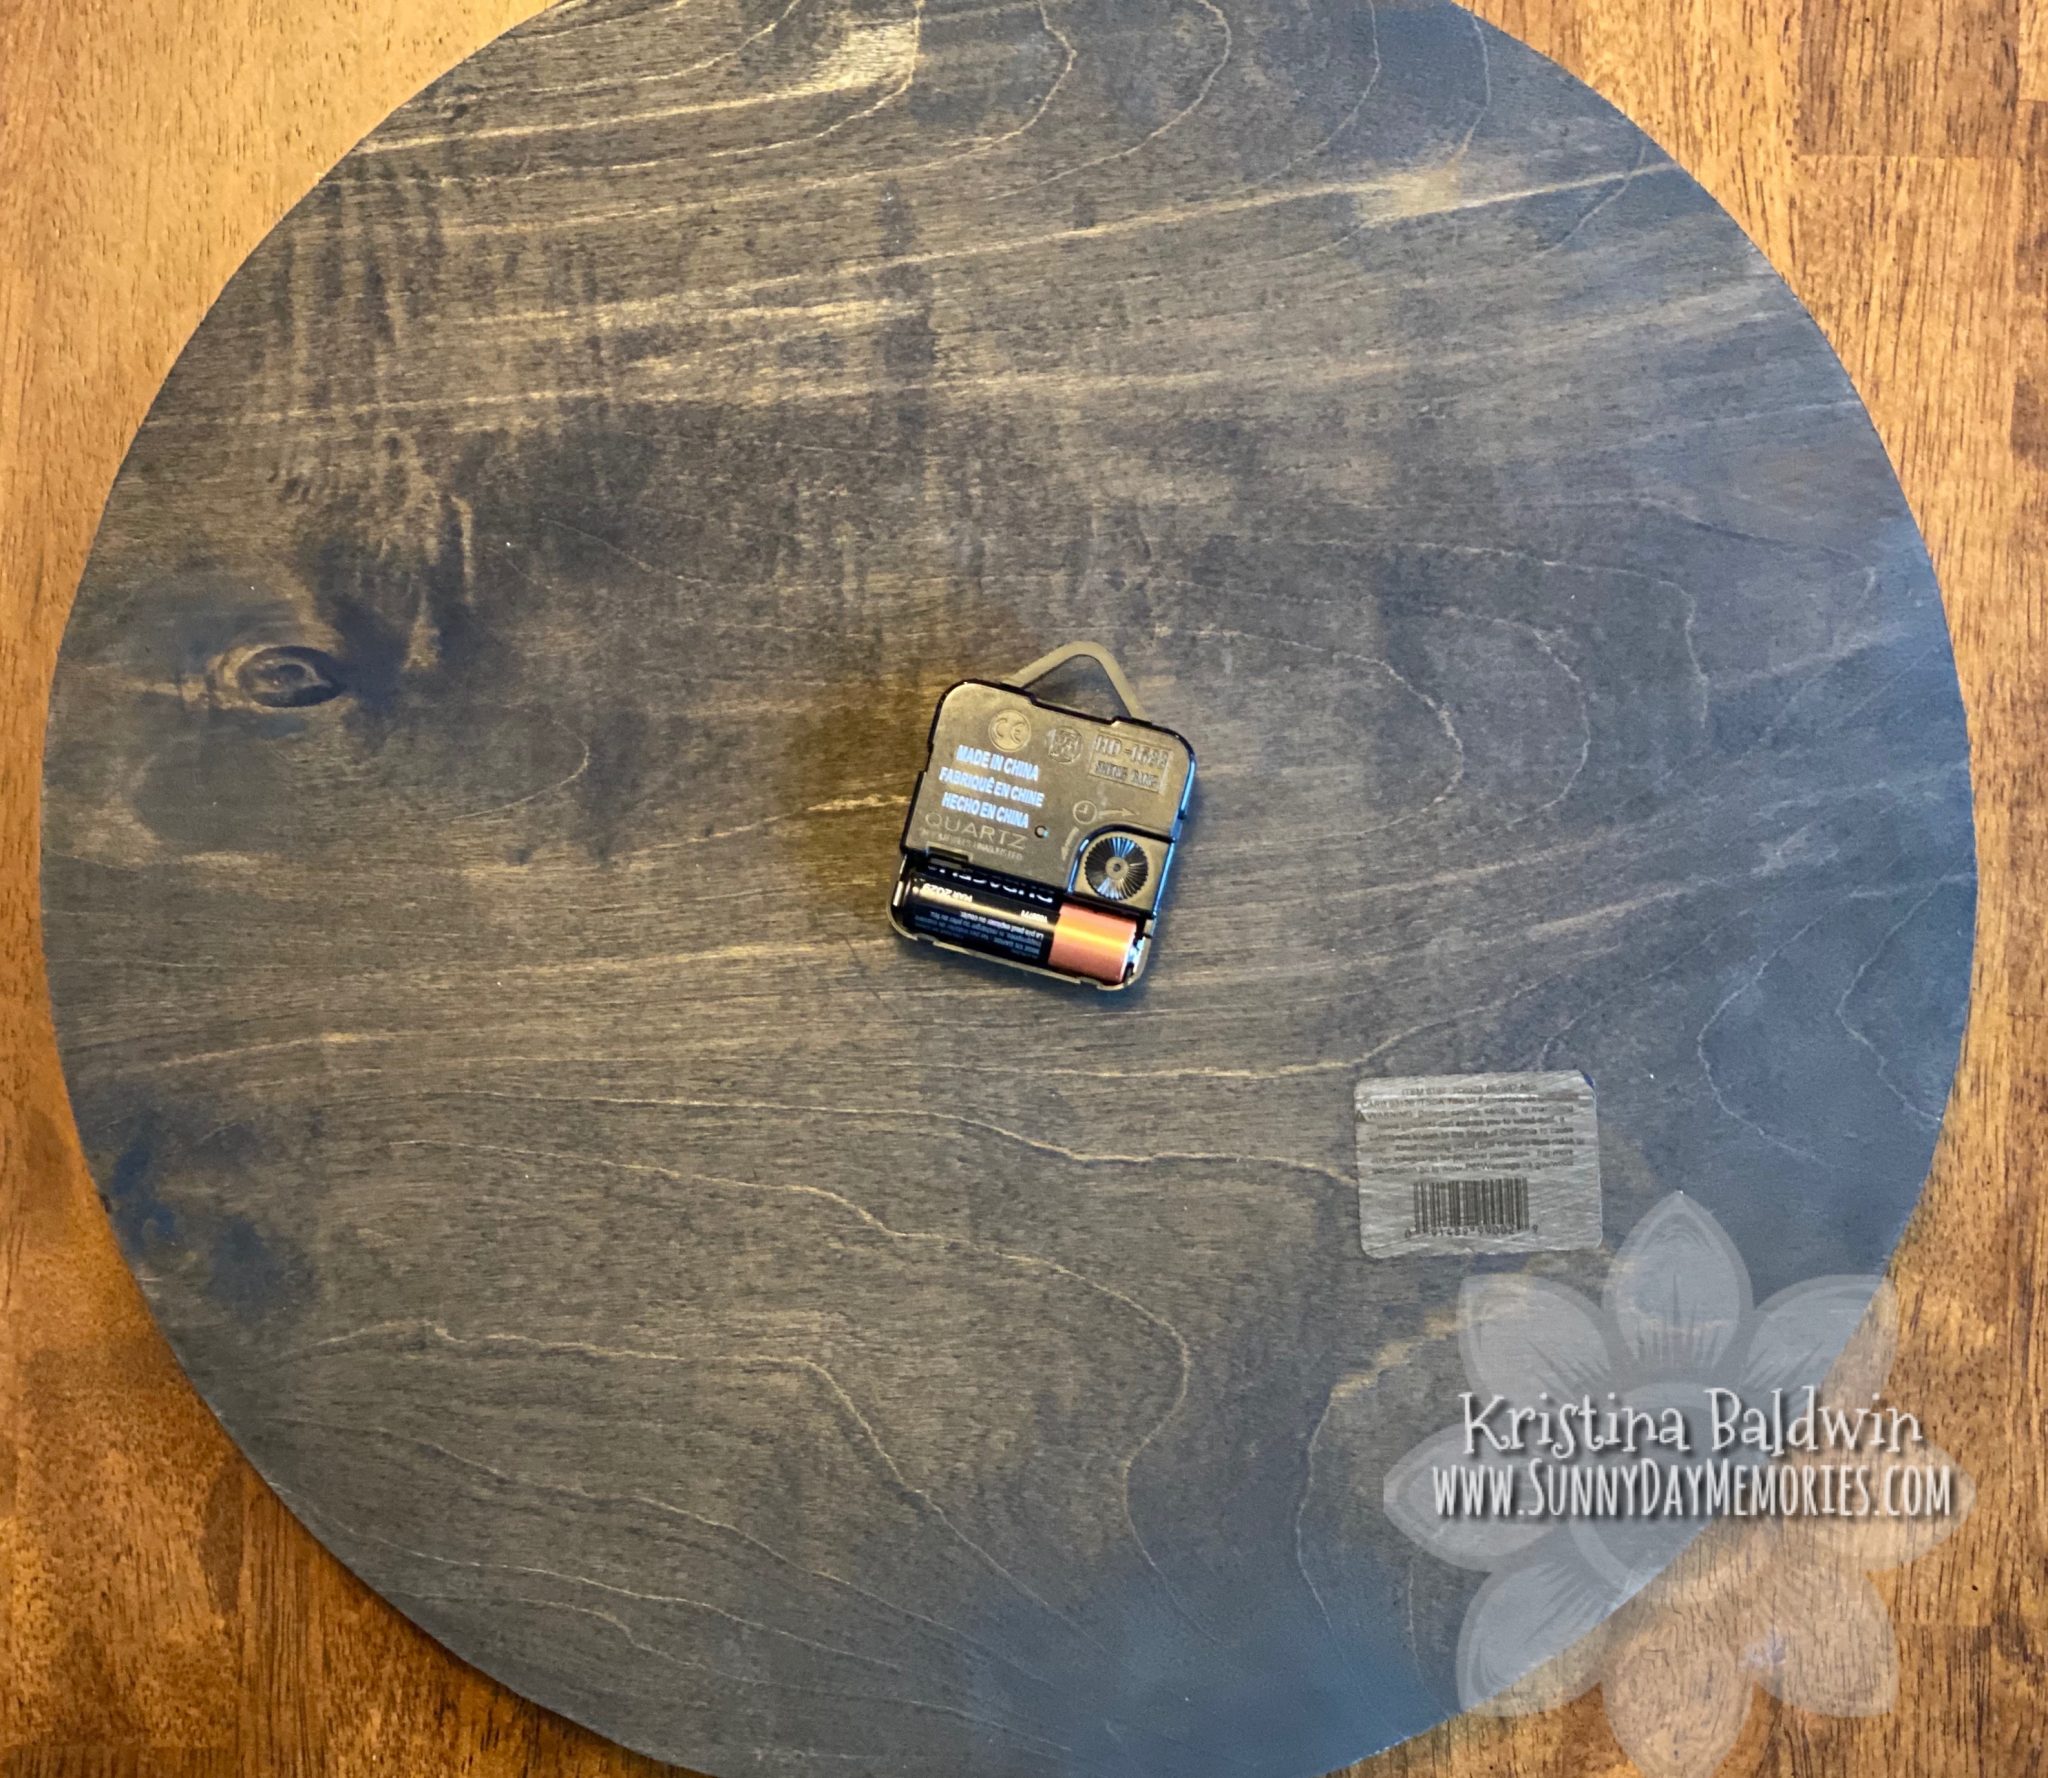
After I finished all the decorating that I wanted to do with the clock, I pulled out my clock kit and inserted it through the hole I had previously created prior to decorating and finished putting the clock mechanism together. Insert a battery and then set the time. Voila–all done!
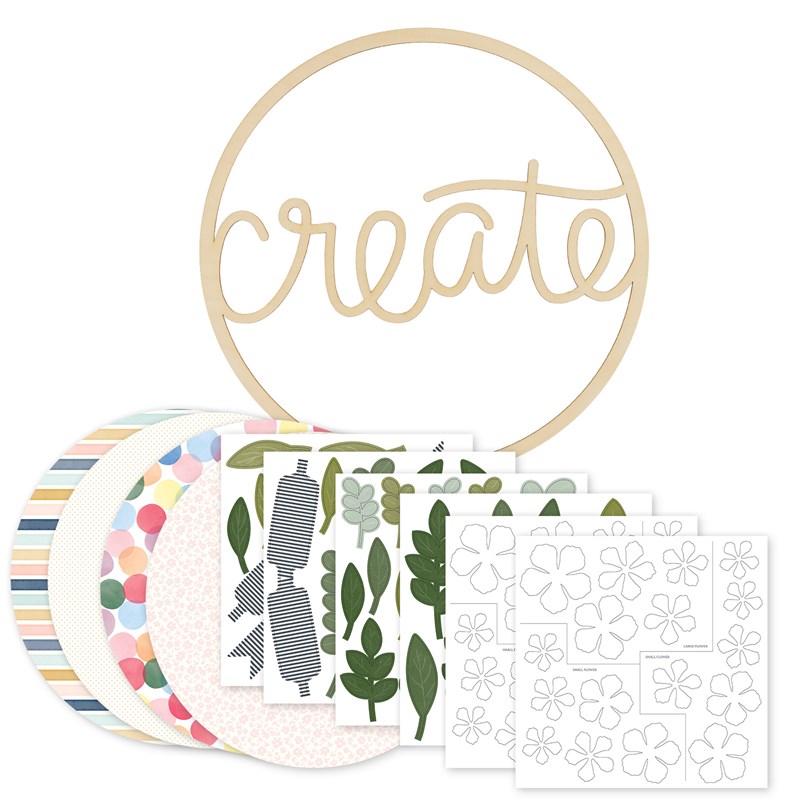
If you don’t yet have one of the Close To My Heart All Around Creativity Kits, and you want to create your own custom clock, you can find the kits on my ONLINE CTMH STORE.
