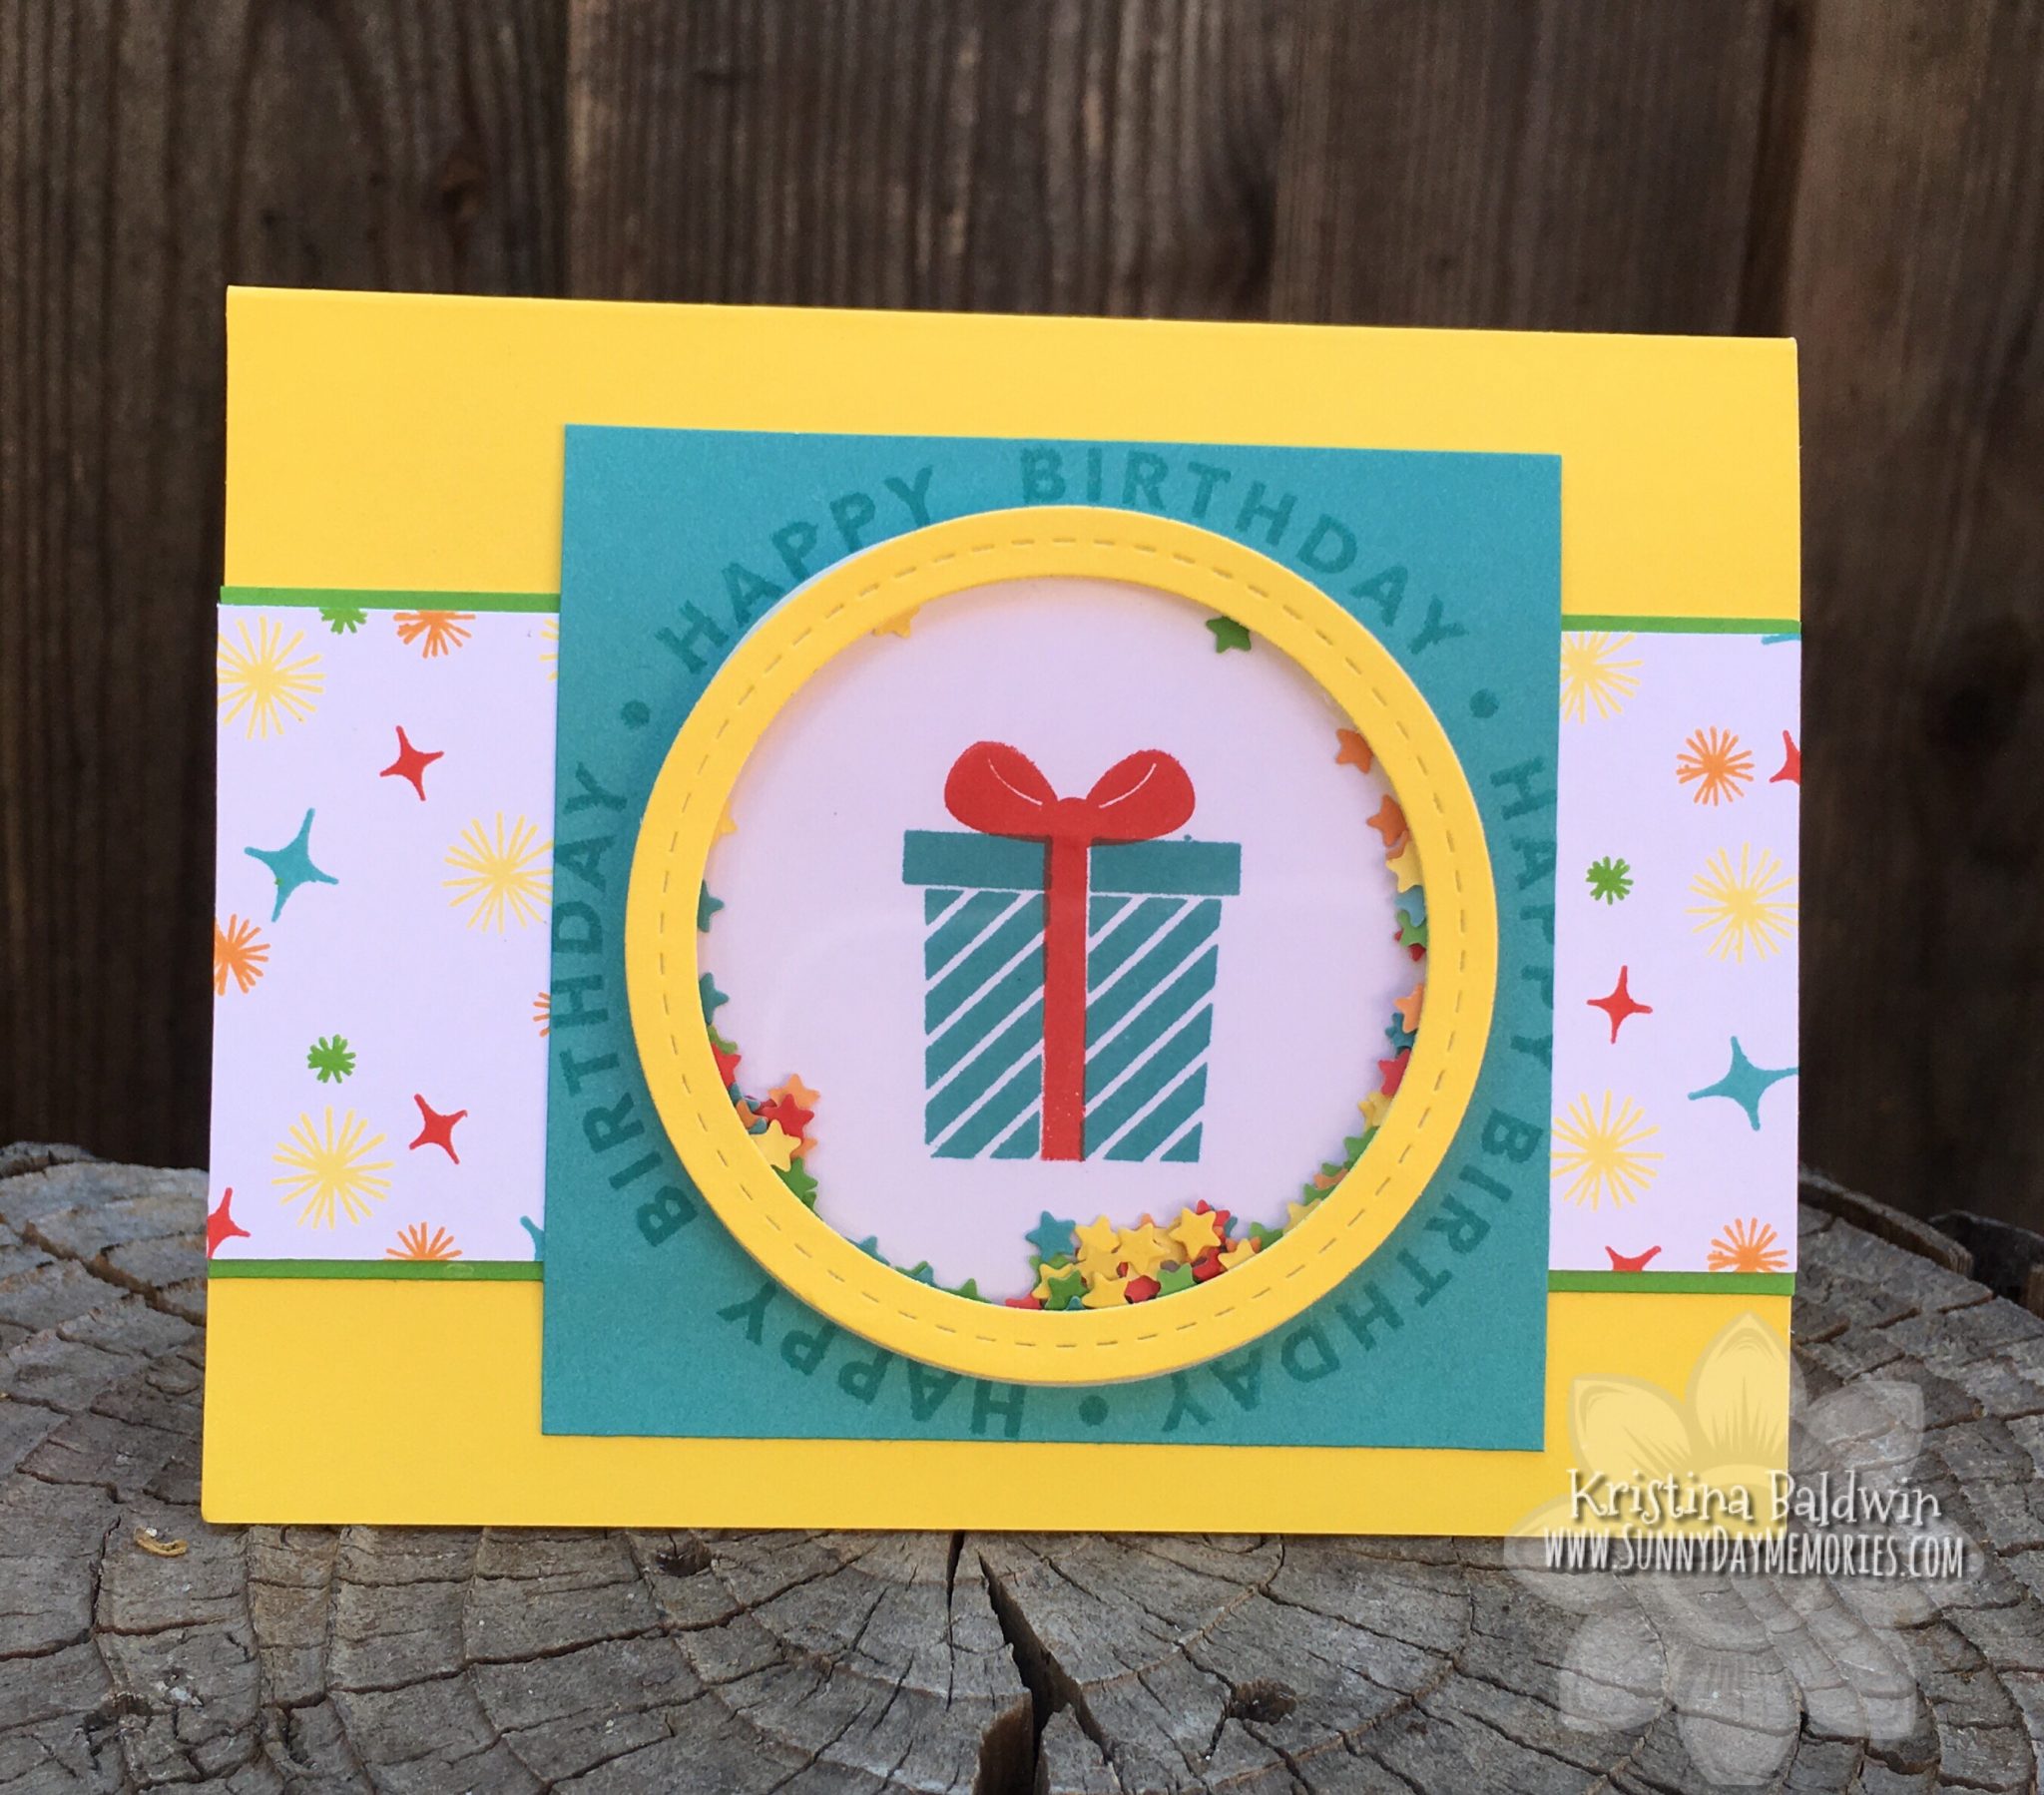
Have you seen Close To My Heart’s Shaker Window & Confetti Dies? As well as their Shaker Window Foam & Acetate Kits? When you combine the two together it makes it so super simple to create Shaker Cards!
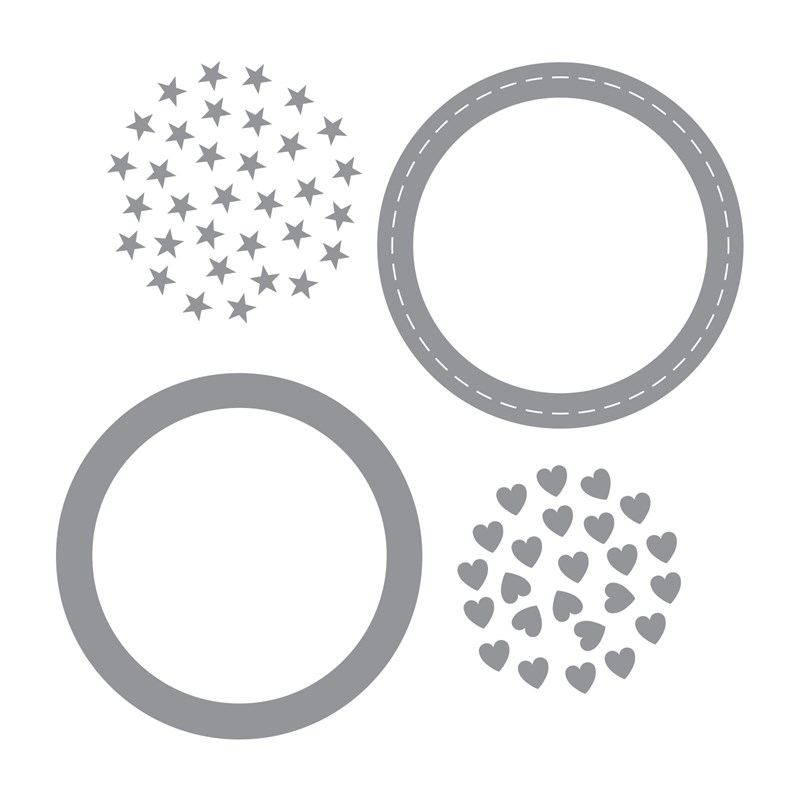
I love that the Shaker Window & Confetti Dies allow you to really customize your Shaker projects with your own unique confetti.
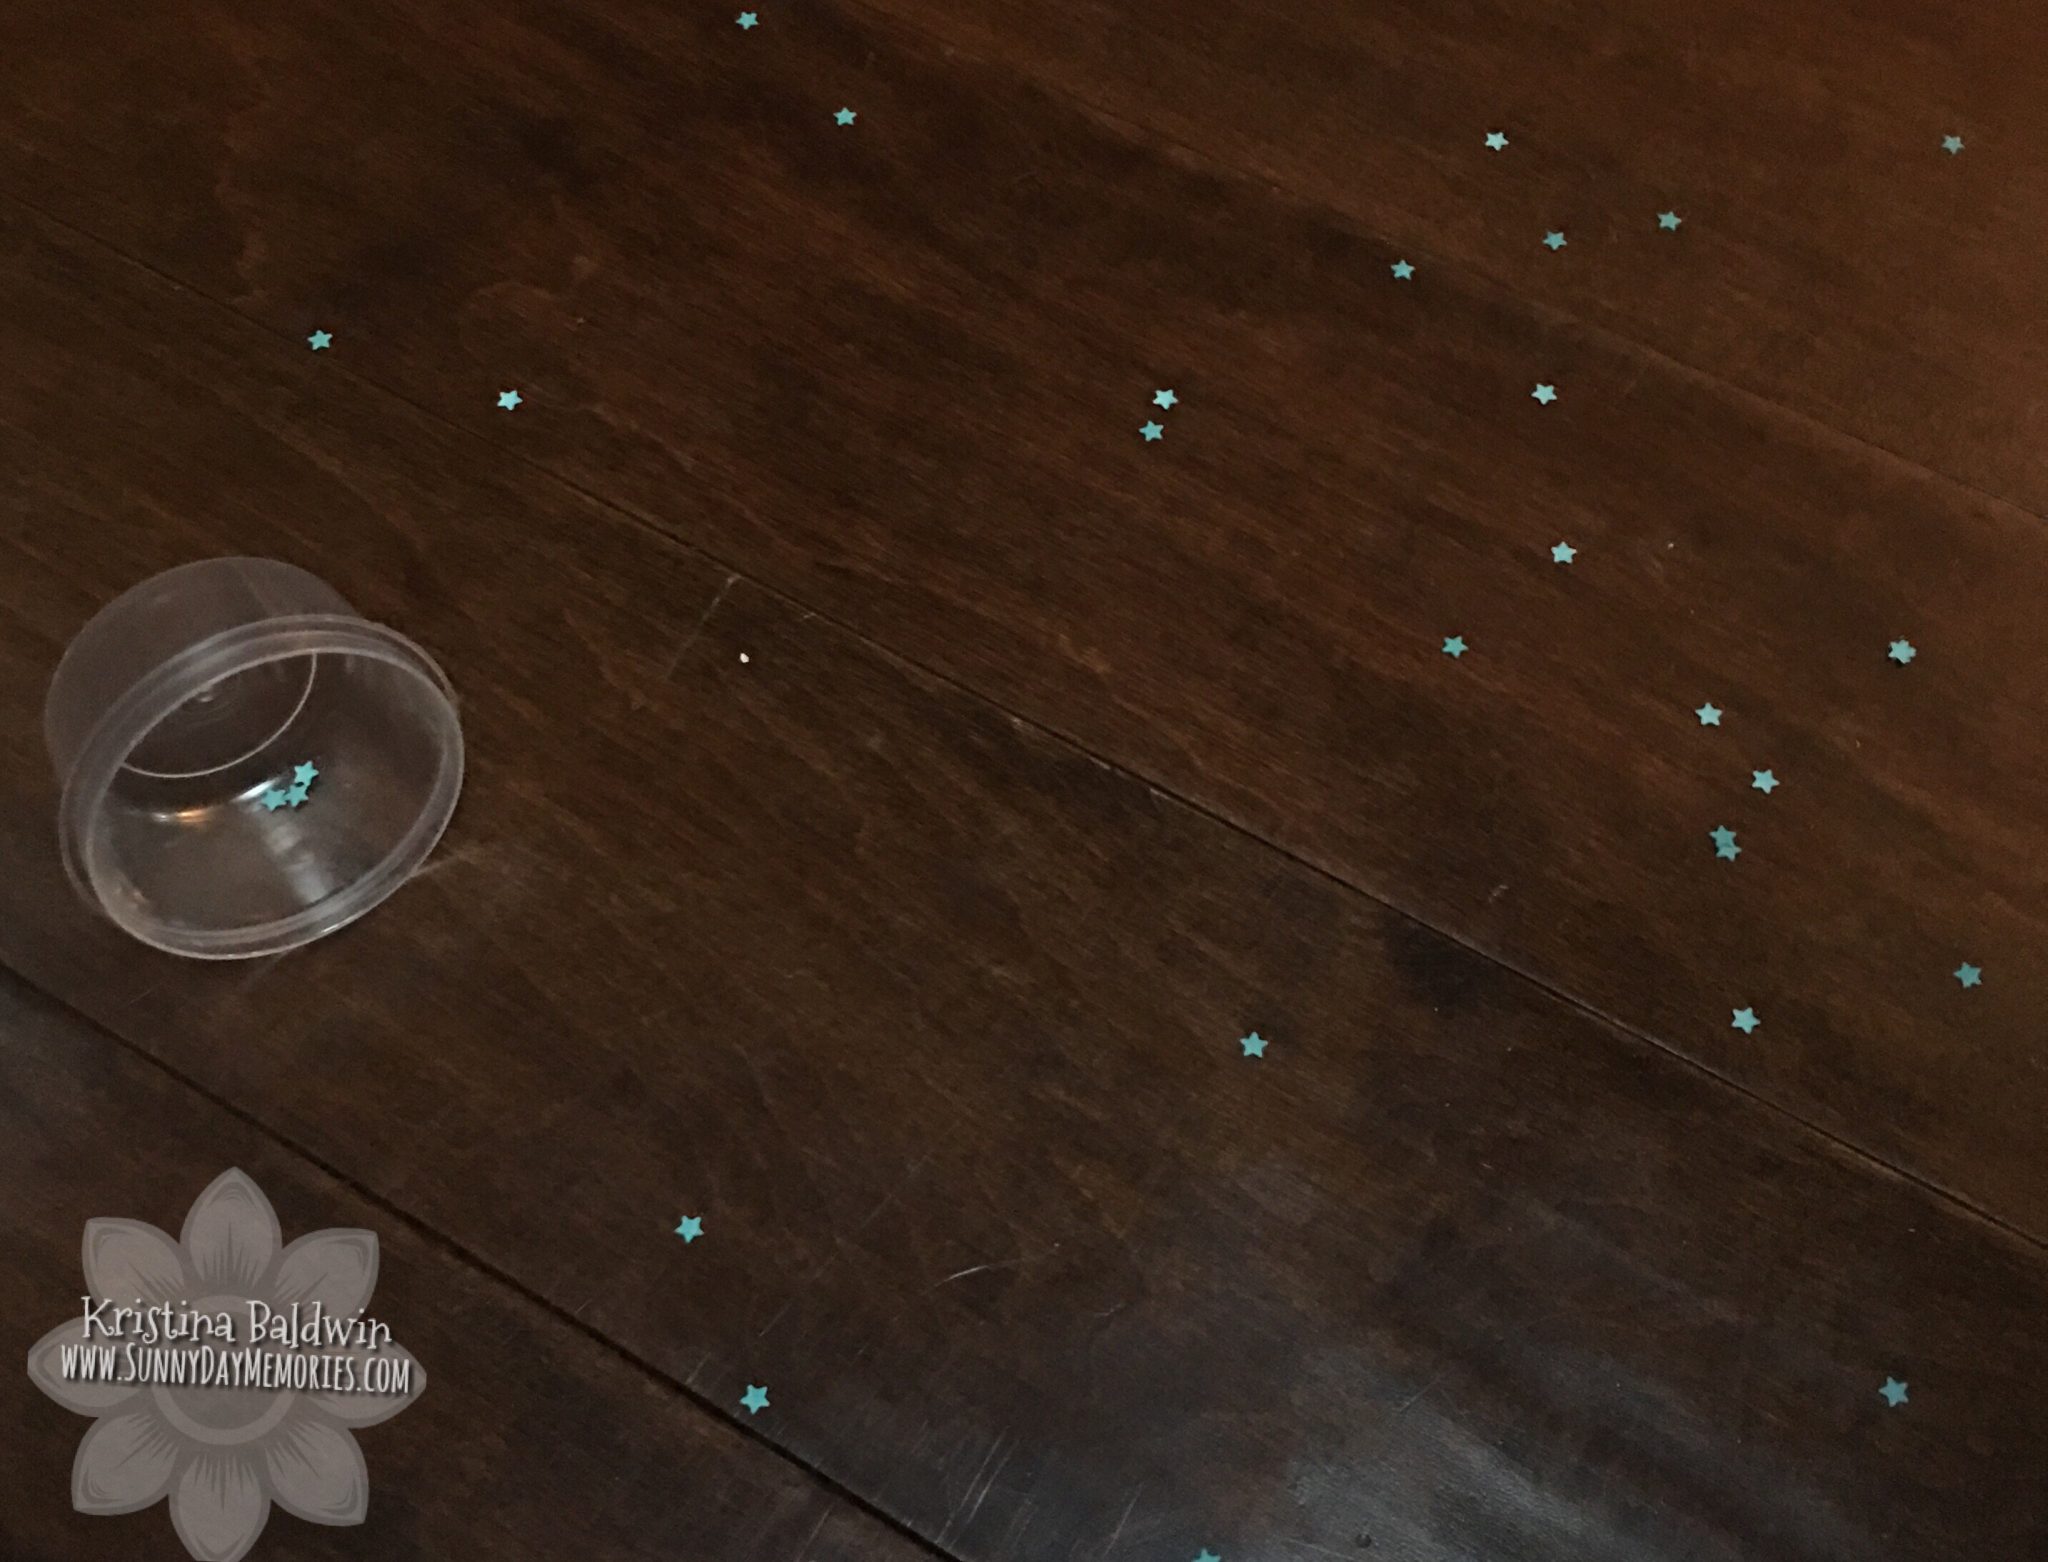
One tip (call it a lesson learned!), make sure your container of custom confetti is far enough away from your die cutting machine handle so that you don’t accidentally knock it over and spill out all your hard work! Luckily, I had just started the process. Oh, and these little plastic containers–they are perfect for holding your custom confetti or sequins. I found them at the Dollar Tree–you can choose between circular-shaped or square-shaped containers. Plus, you get several in a pack. Super deal!
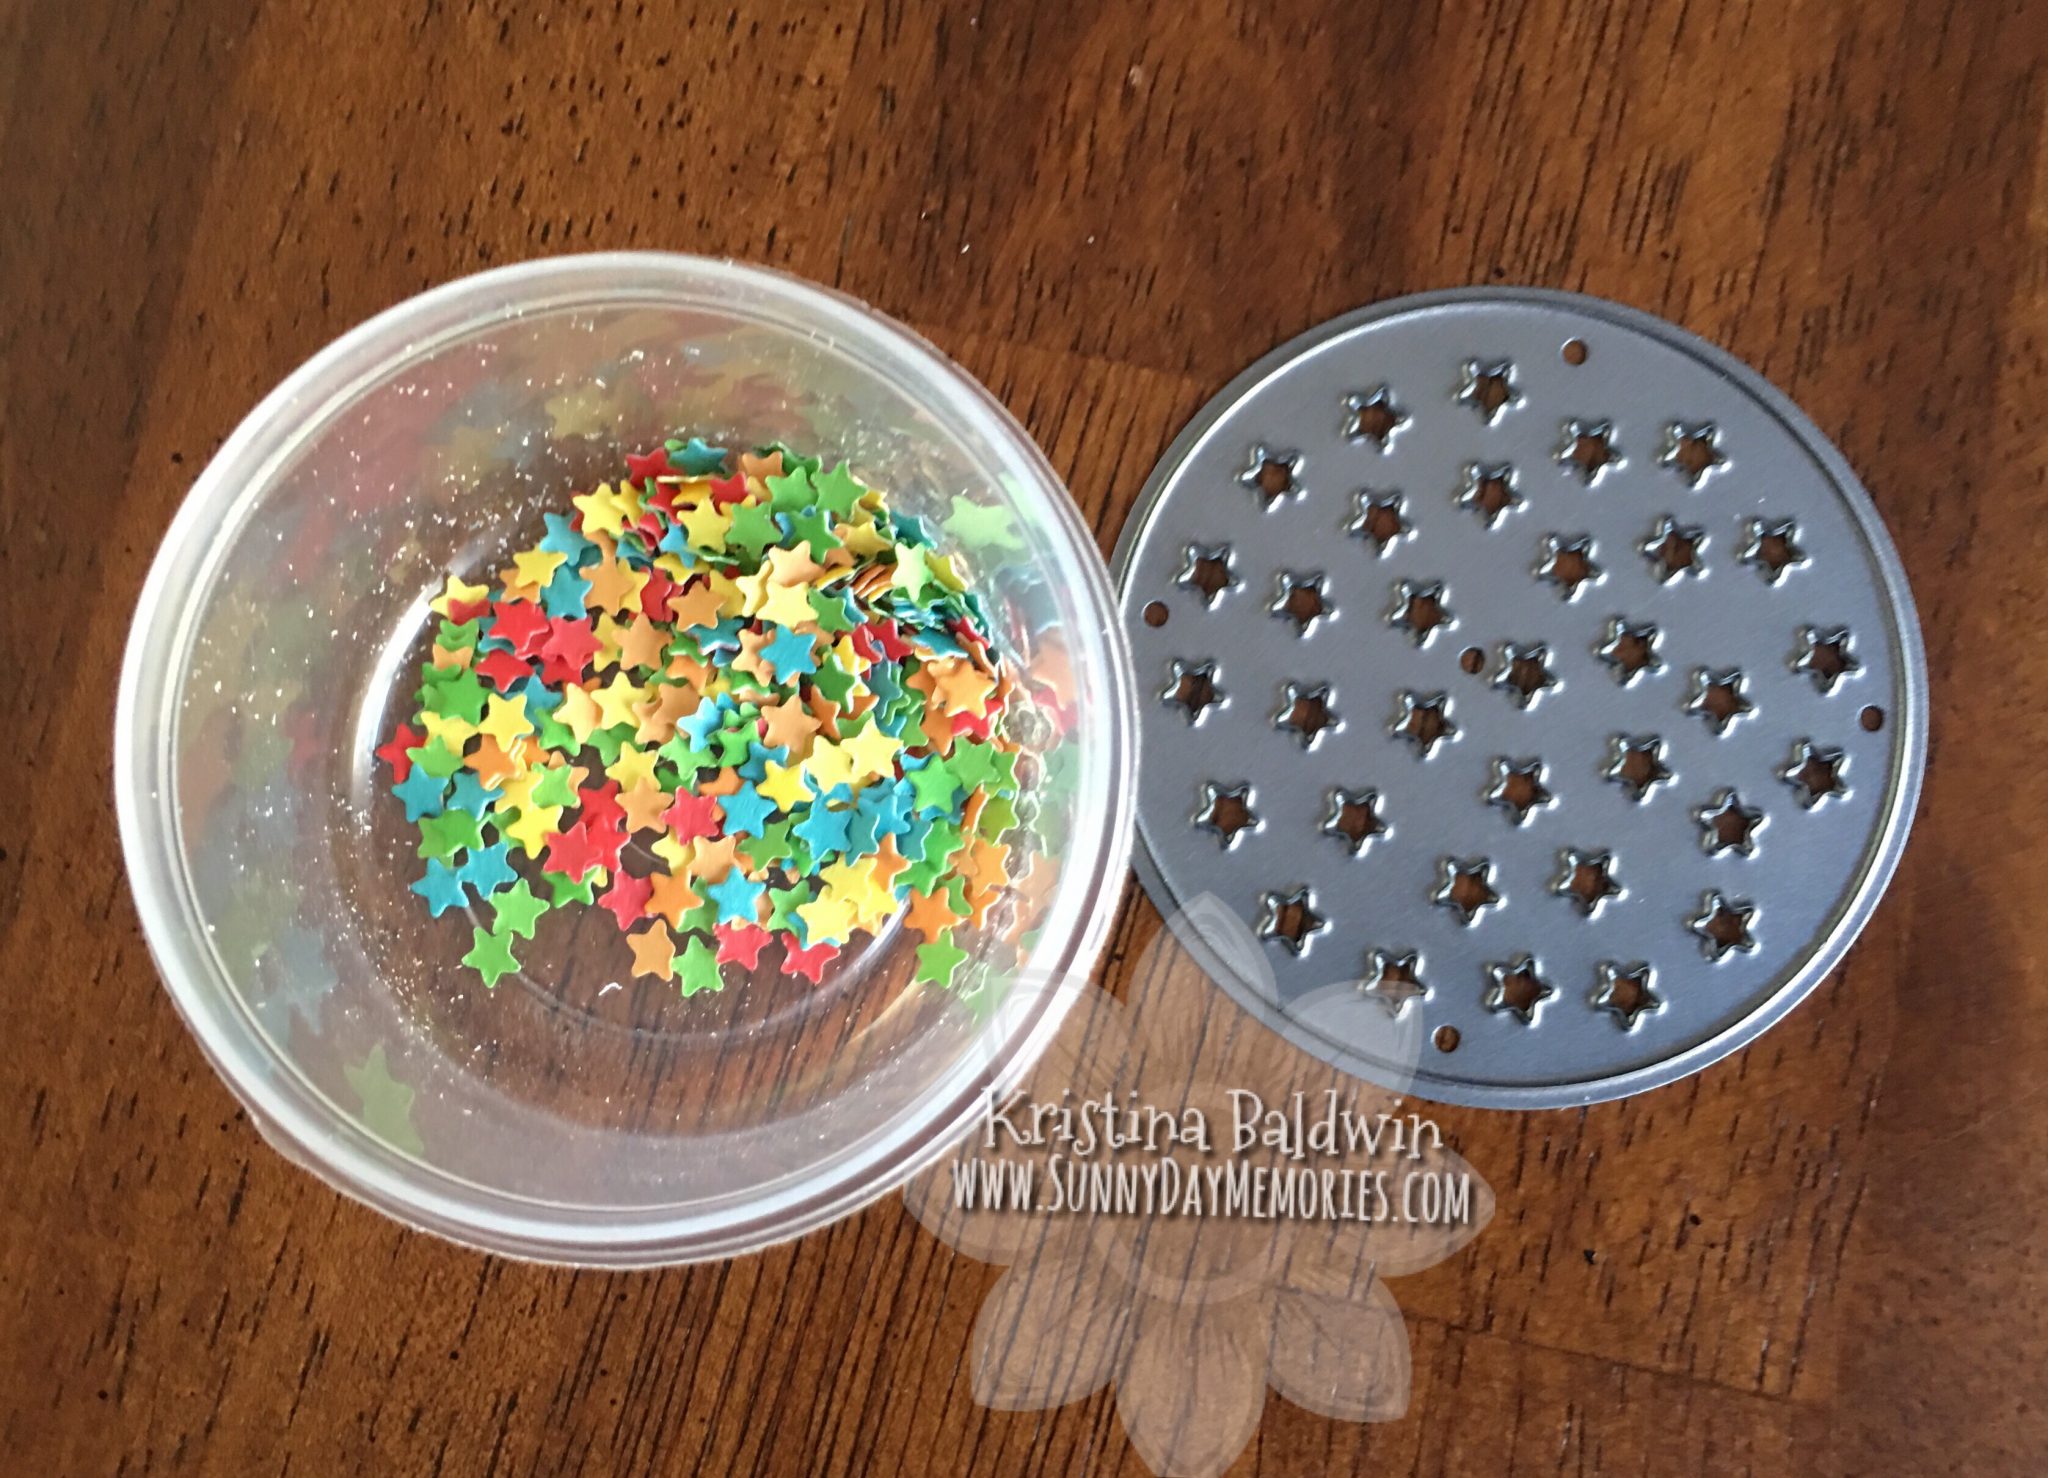
With Close To My Heart’s 2-tone Cardstock, it makes the custom confetti even more fun with the 2 shades of color (the true color as well as the lighter shade of that color.)

Want to learn how to create your own shaker card? In addition to Close To My Heart’s Shaker Window & Confetti Dies, you’ll want to grab yourself some Shaker Window Foam & Acetate. These are such a great deal! They truly make the process so easy AND you have a lot of leftover 3-D Foam Squares to use on other projects (and who doesn’t love to add some extra dimension to their projects, right?!)
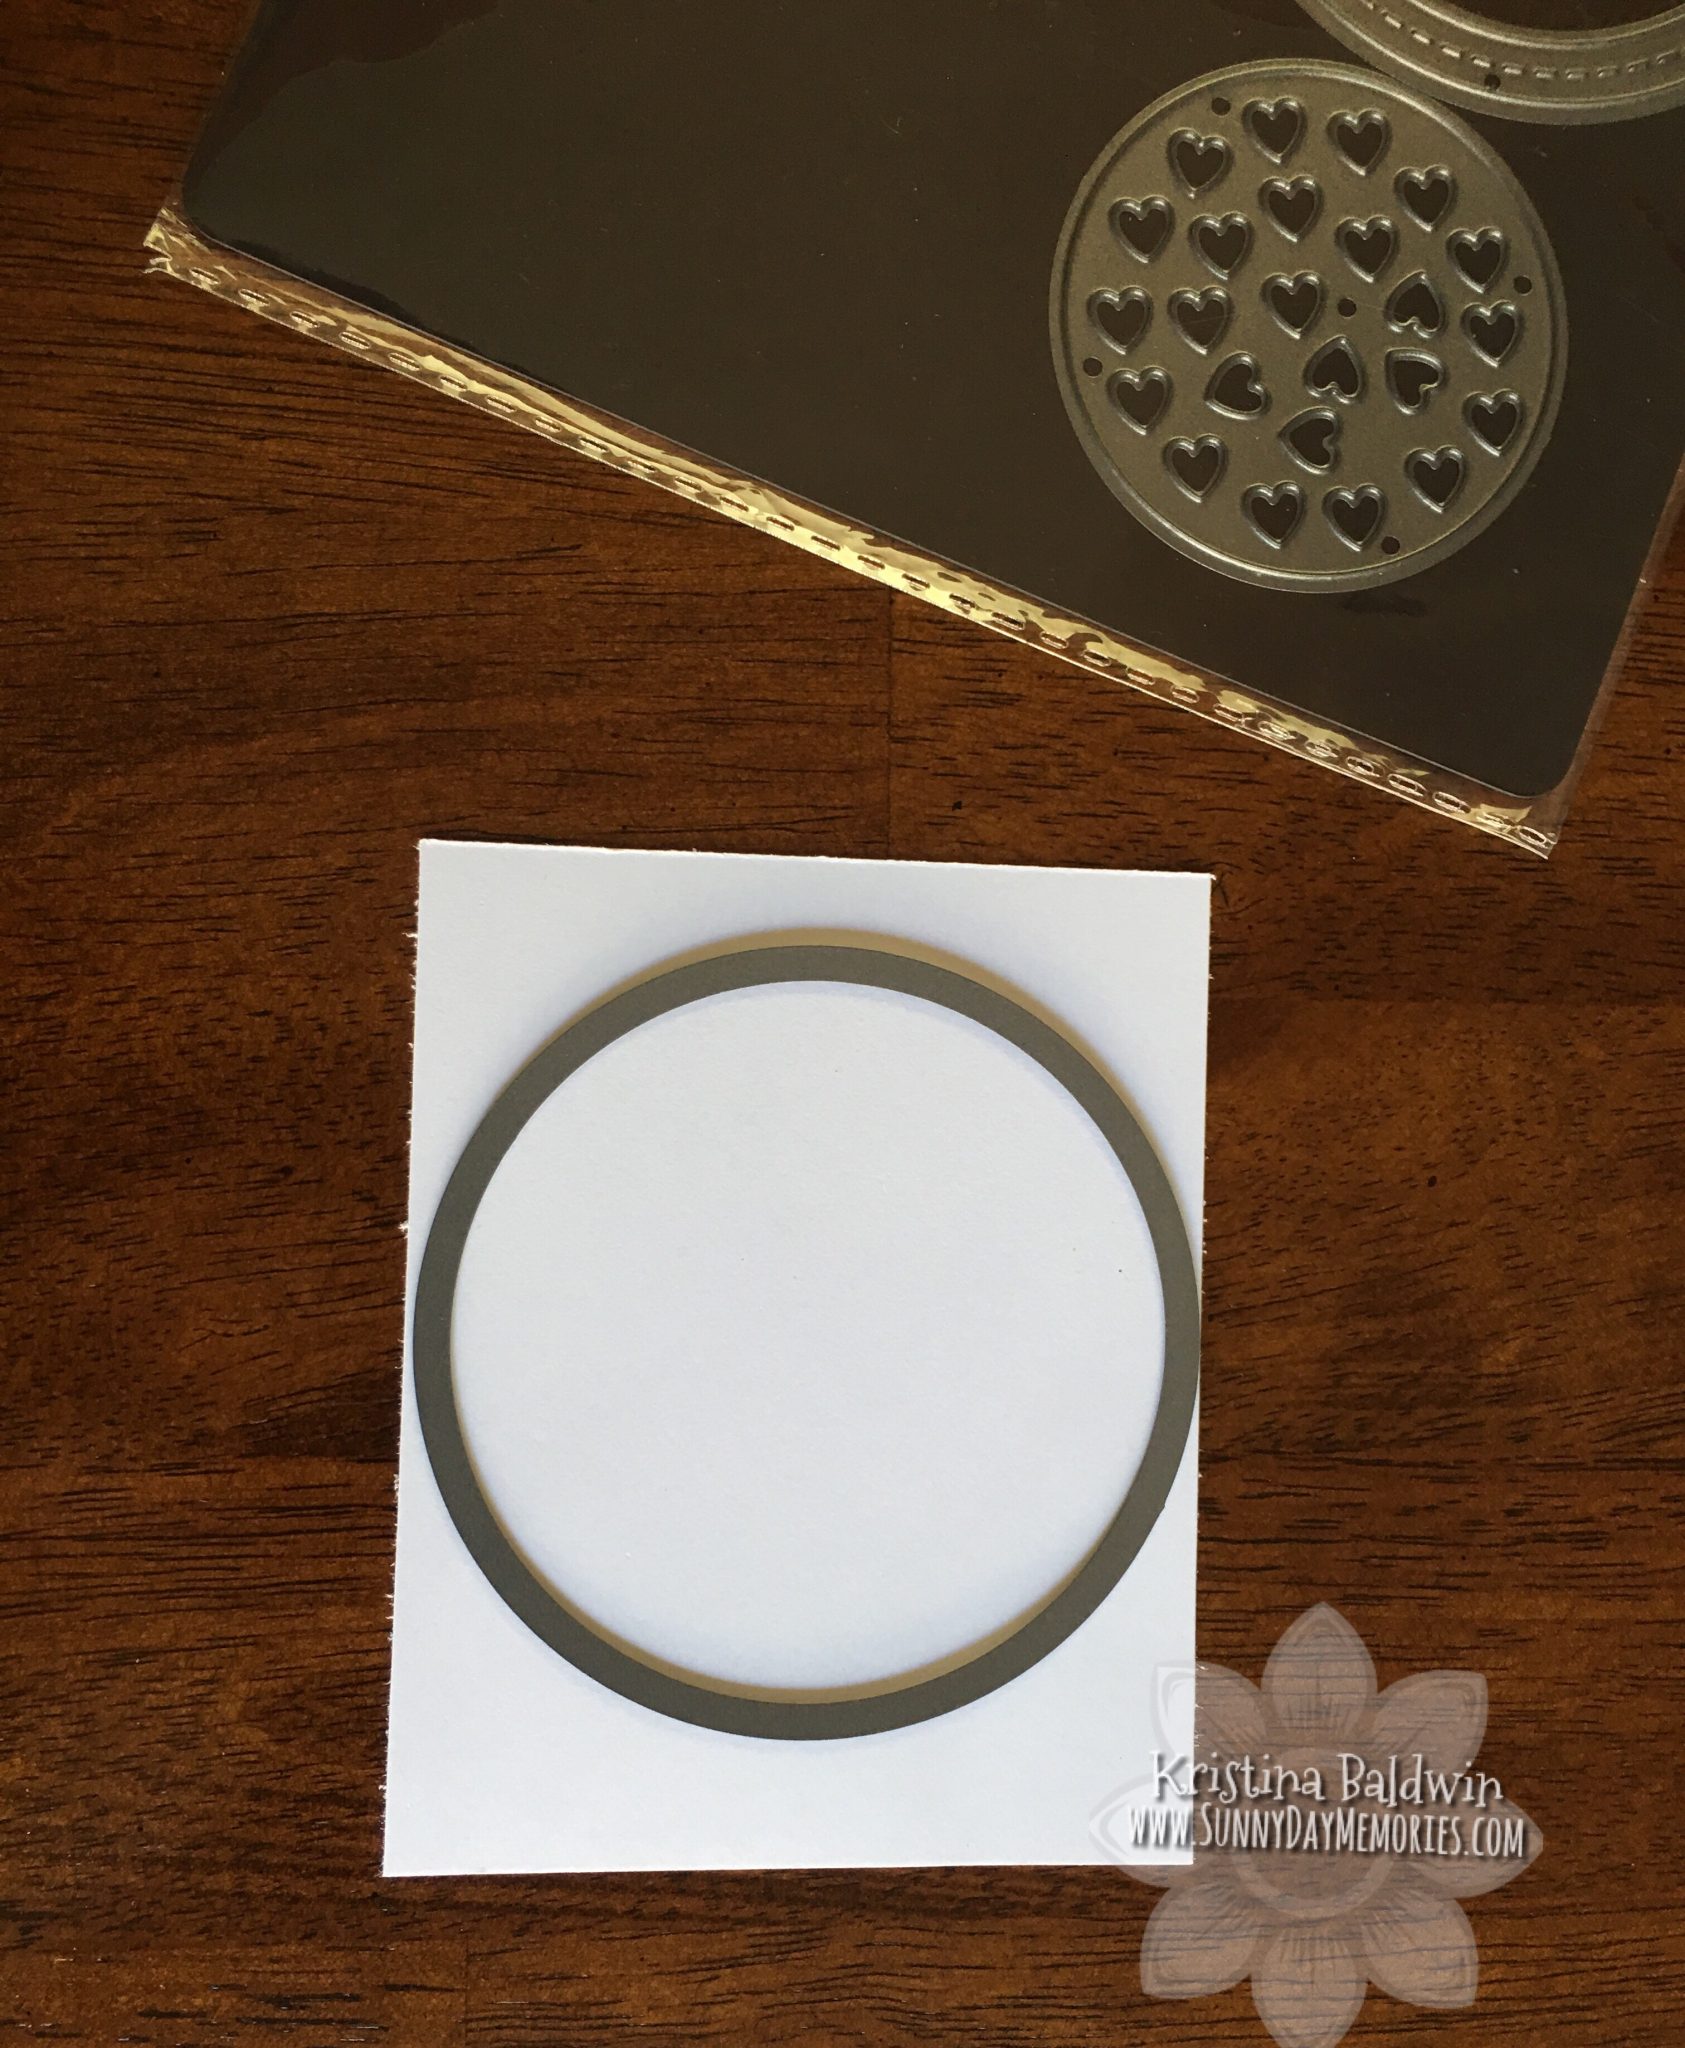
STEP 1A:
First, you’ll want to cut out your window for your Shaker. Or in the case of my card, this is going to be my background piece for my Shaker Card. To do this, you’ll use the open circle die with your choice of paper and die cutting machine. This will create a 2-1/2″ Shaker Window (or base.)
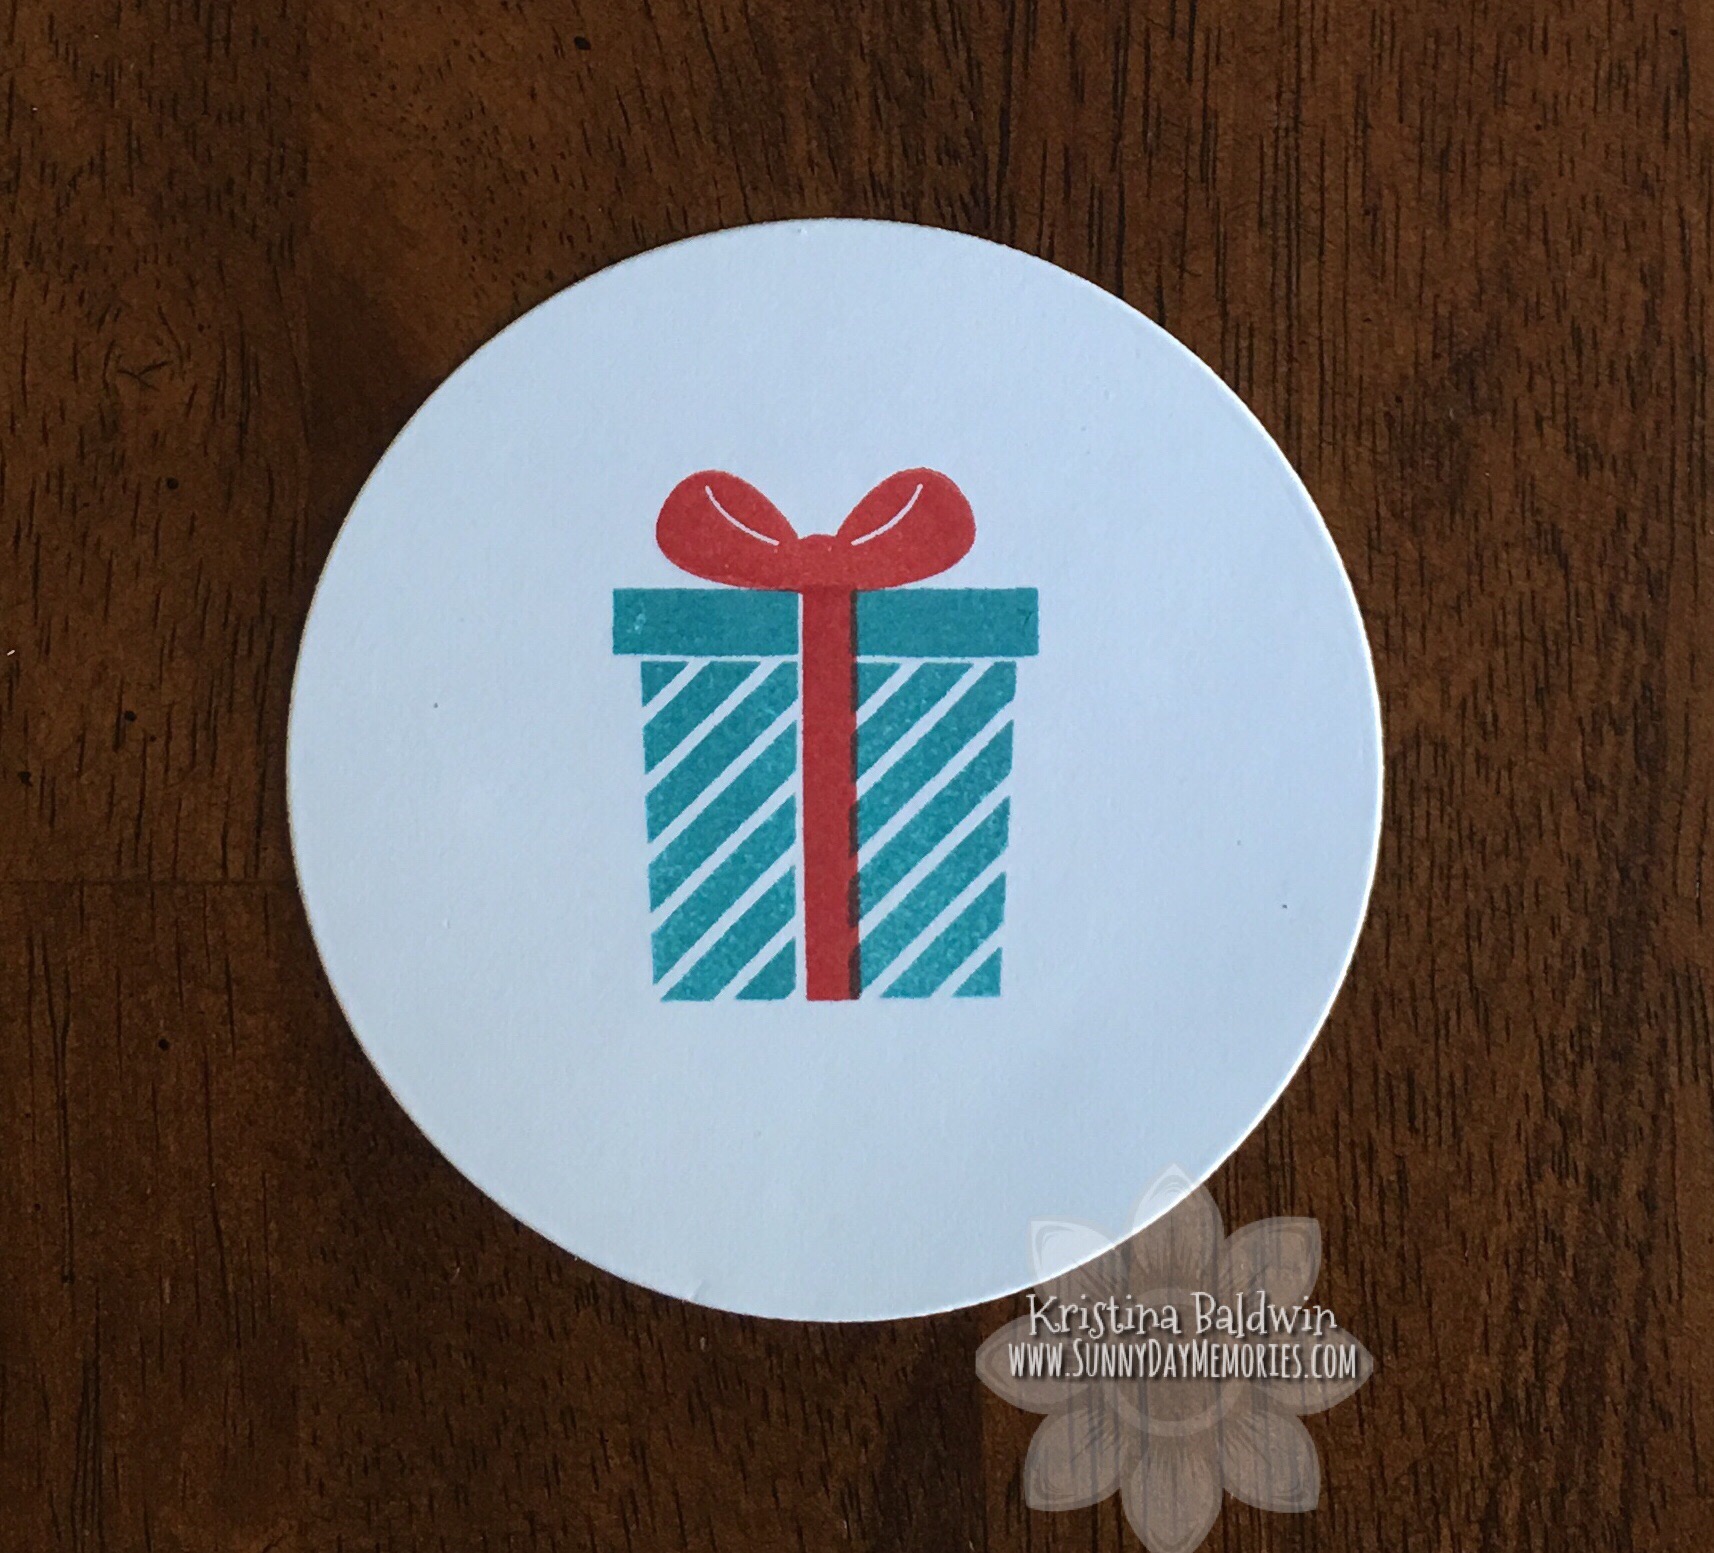
STEP 1B (optional):
Next, if you’d like to stamp on your piece, this is when you’d do it. Actually, if you prefer, you could stamp first and then do your die cutting–it’s a personal preference I guess.
STEP 2:
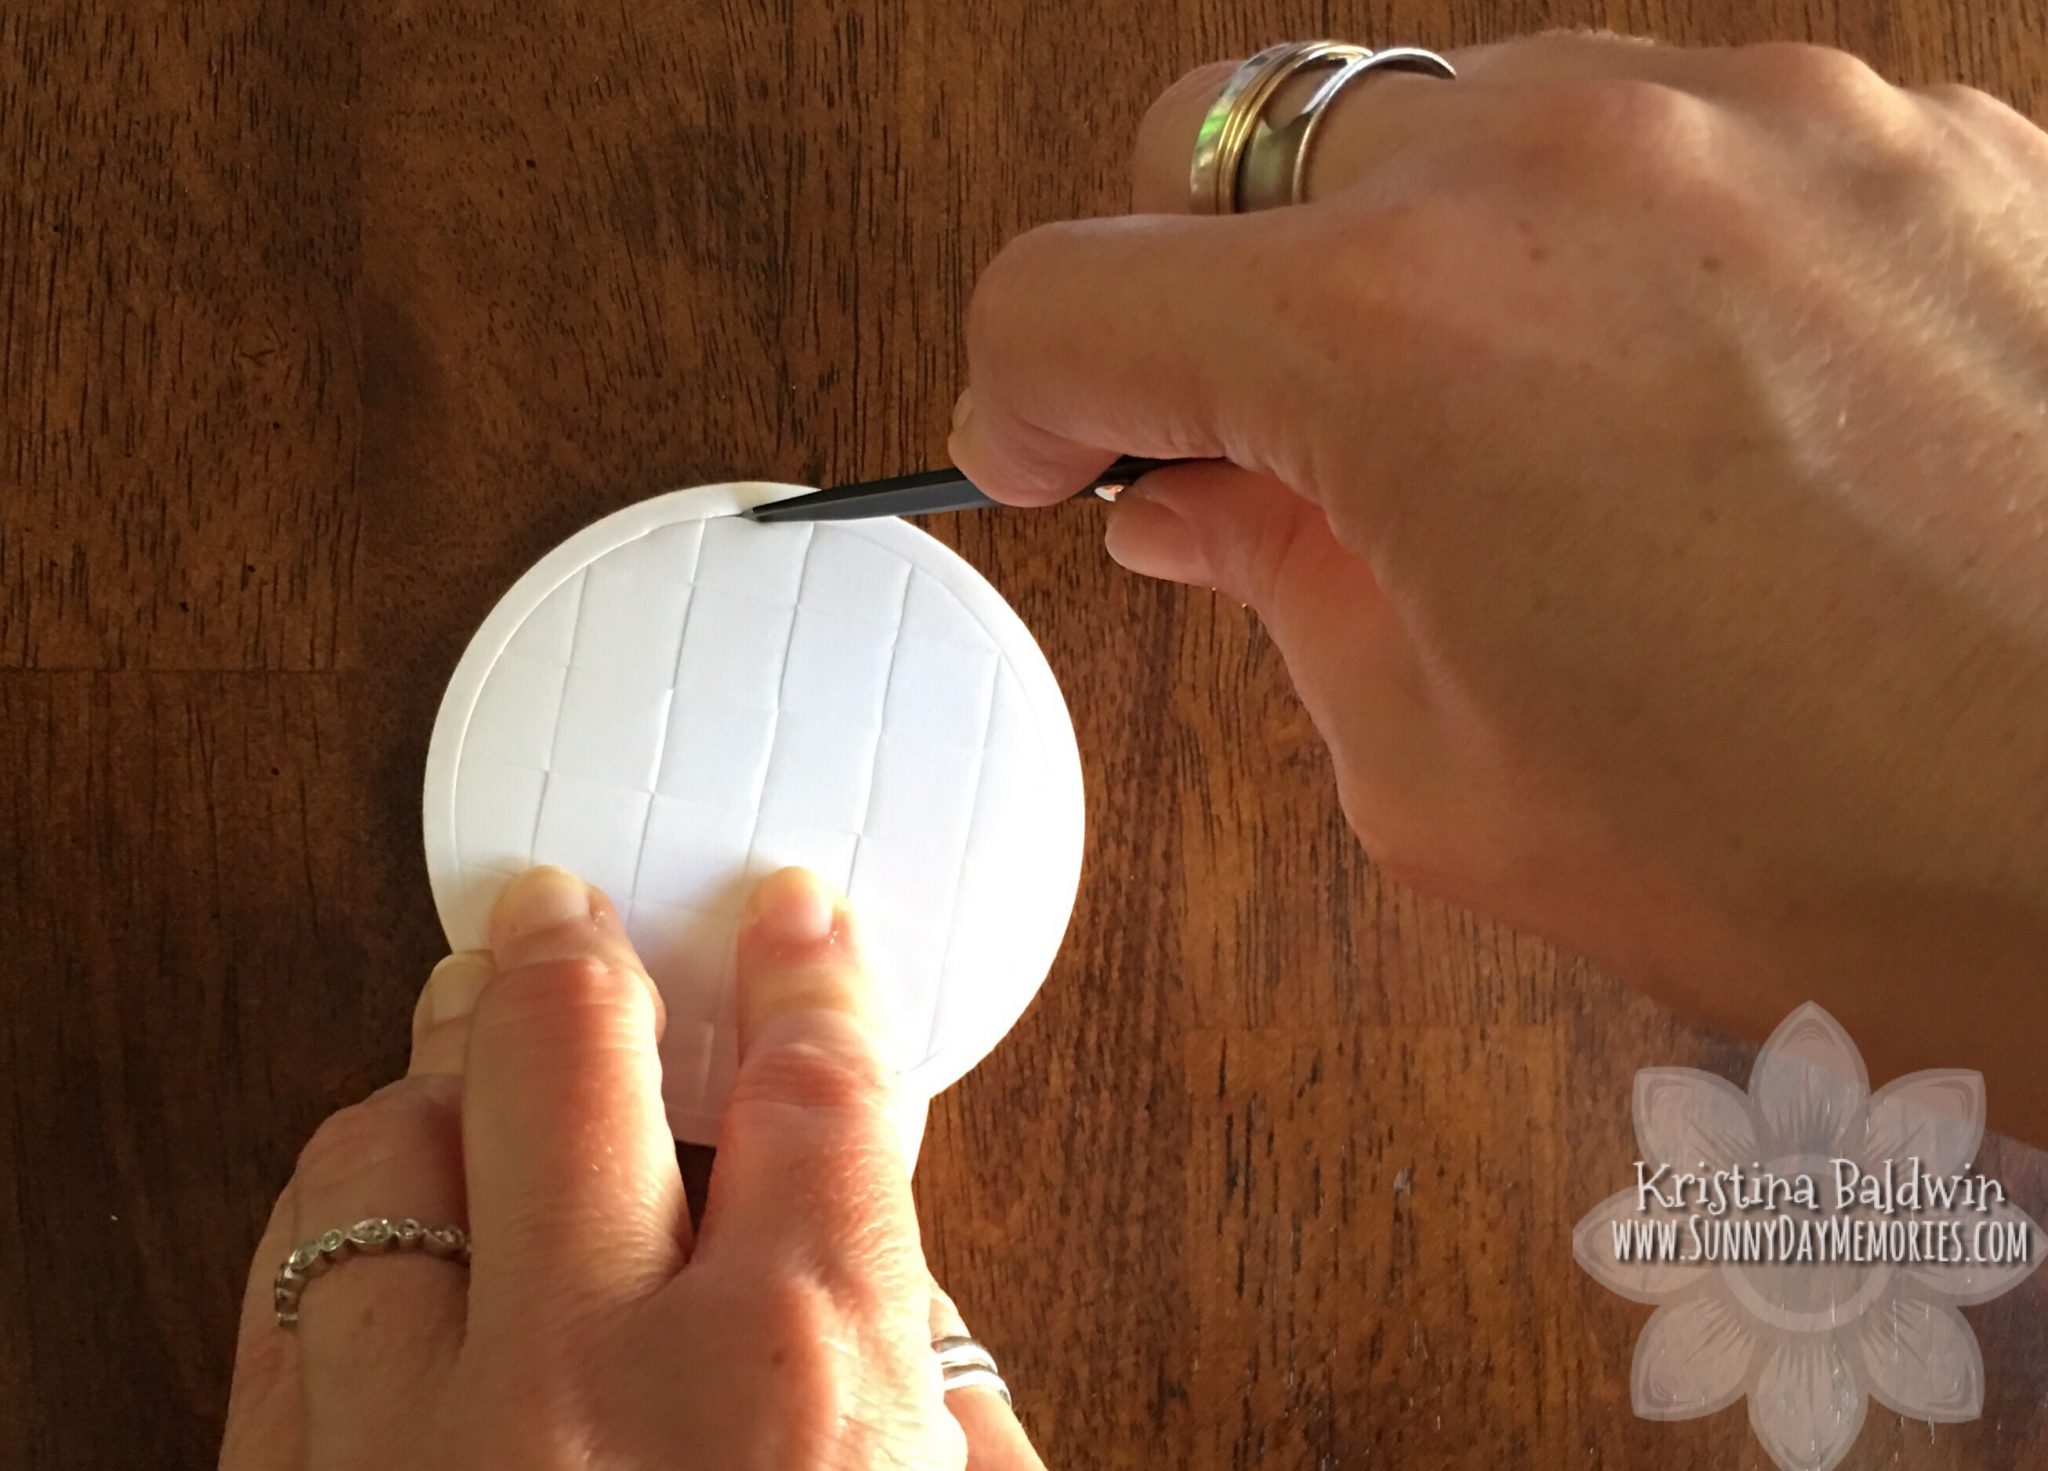
You’ll notice that your Shaker Window Foam has a thin circular frame as well as several squares in the center of it. We want to use the circular frame part for our Shaker.
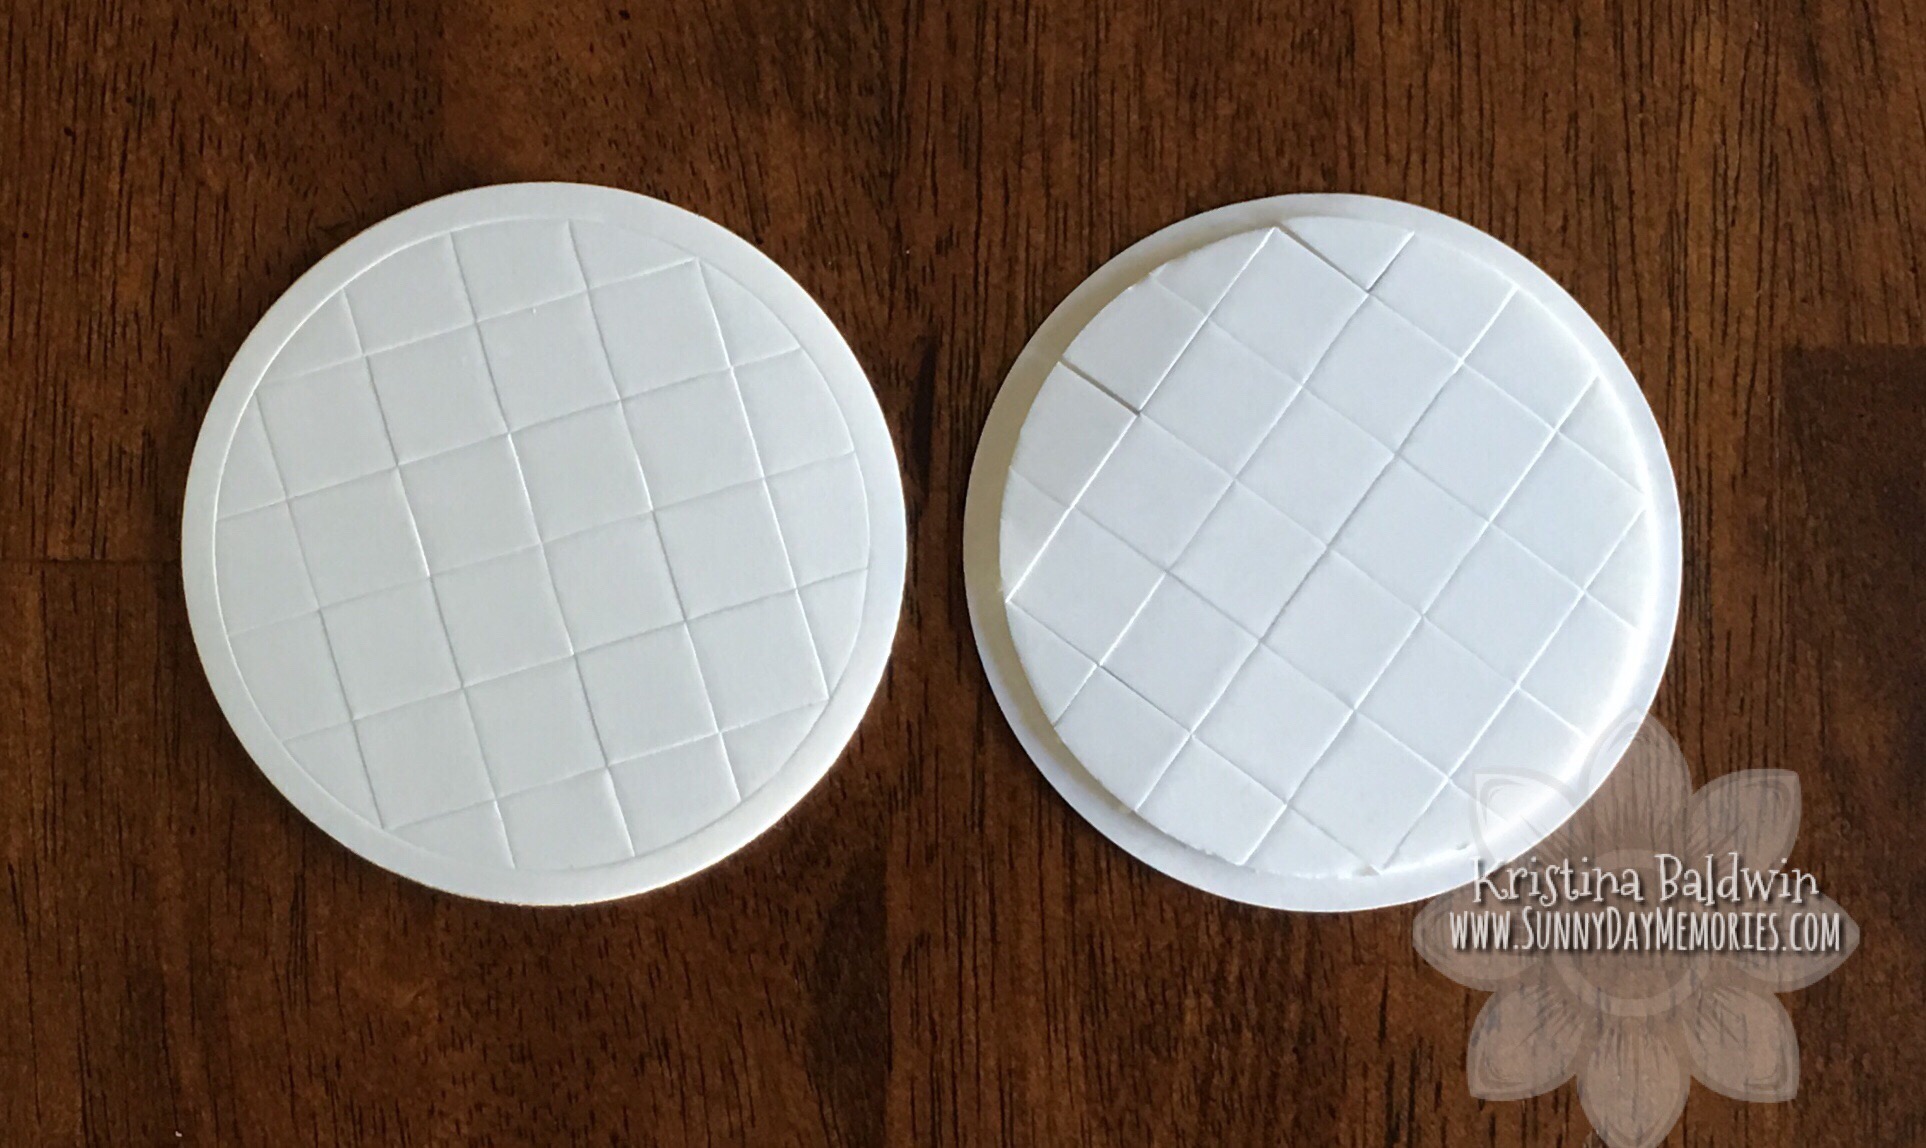
You’ll see on the left is a complete, unused Shaker Window Foam while on the right side, I’ve used the circular frame piece already.
To maintain the circular shape, the easiest process is to ensure the bond between the frame shape and the squares is broken. To do this, I use my Non-stick Micro-tip Scissors and trace around that seam between the two a couple of times before starting.
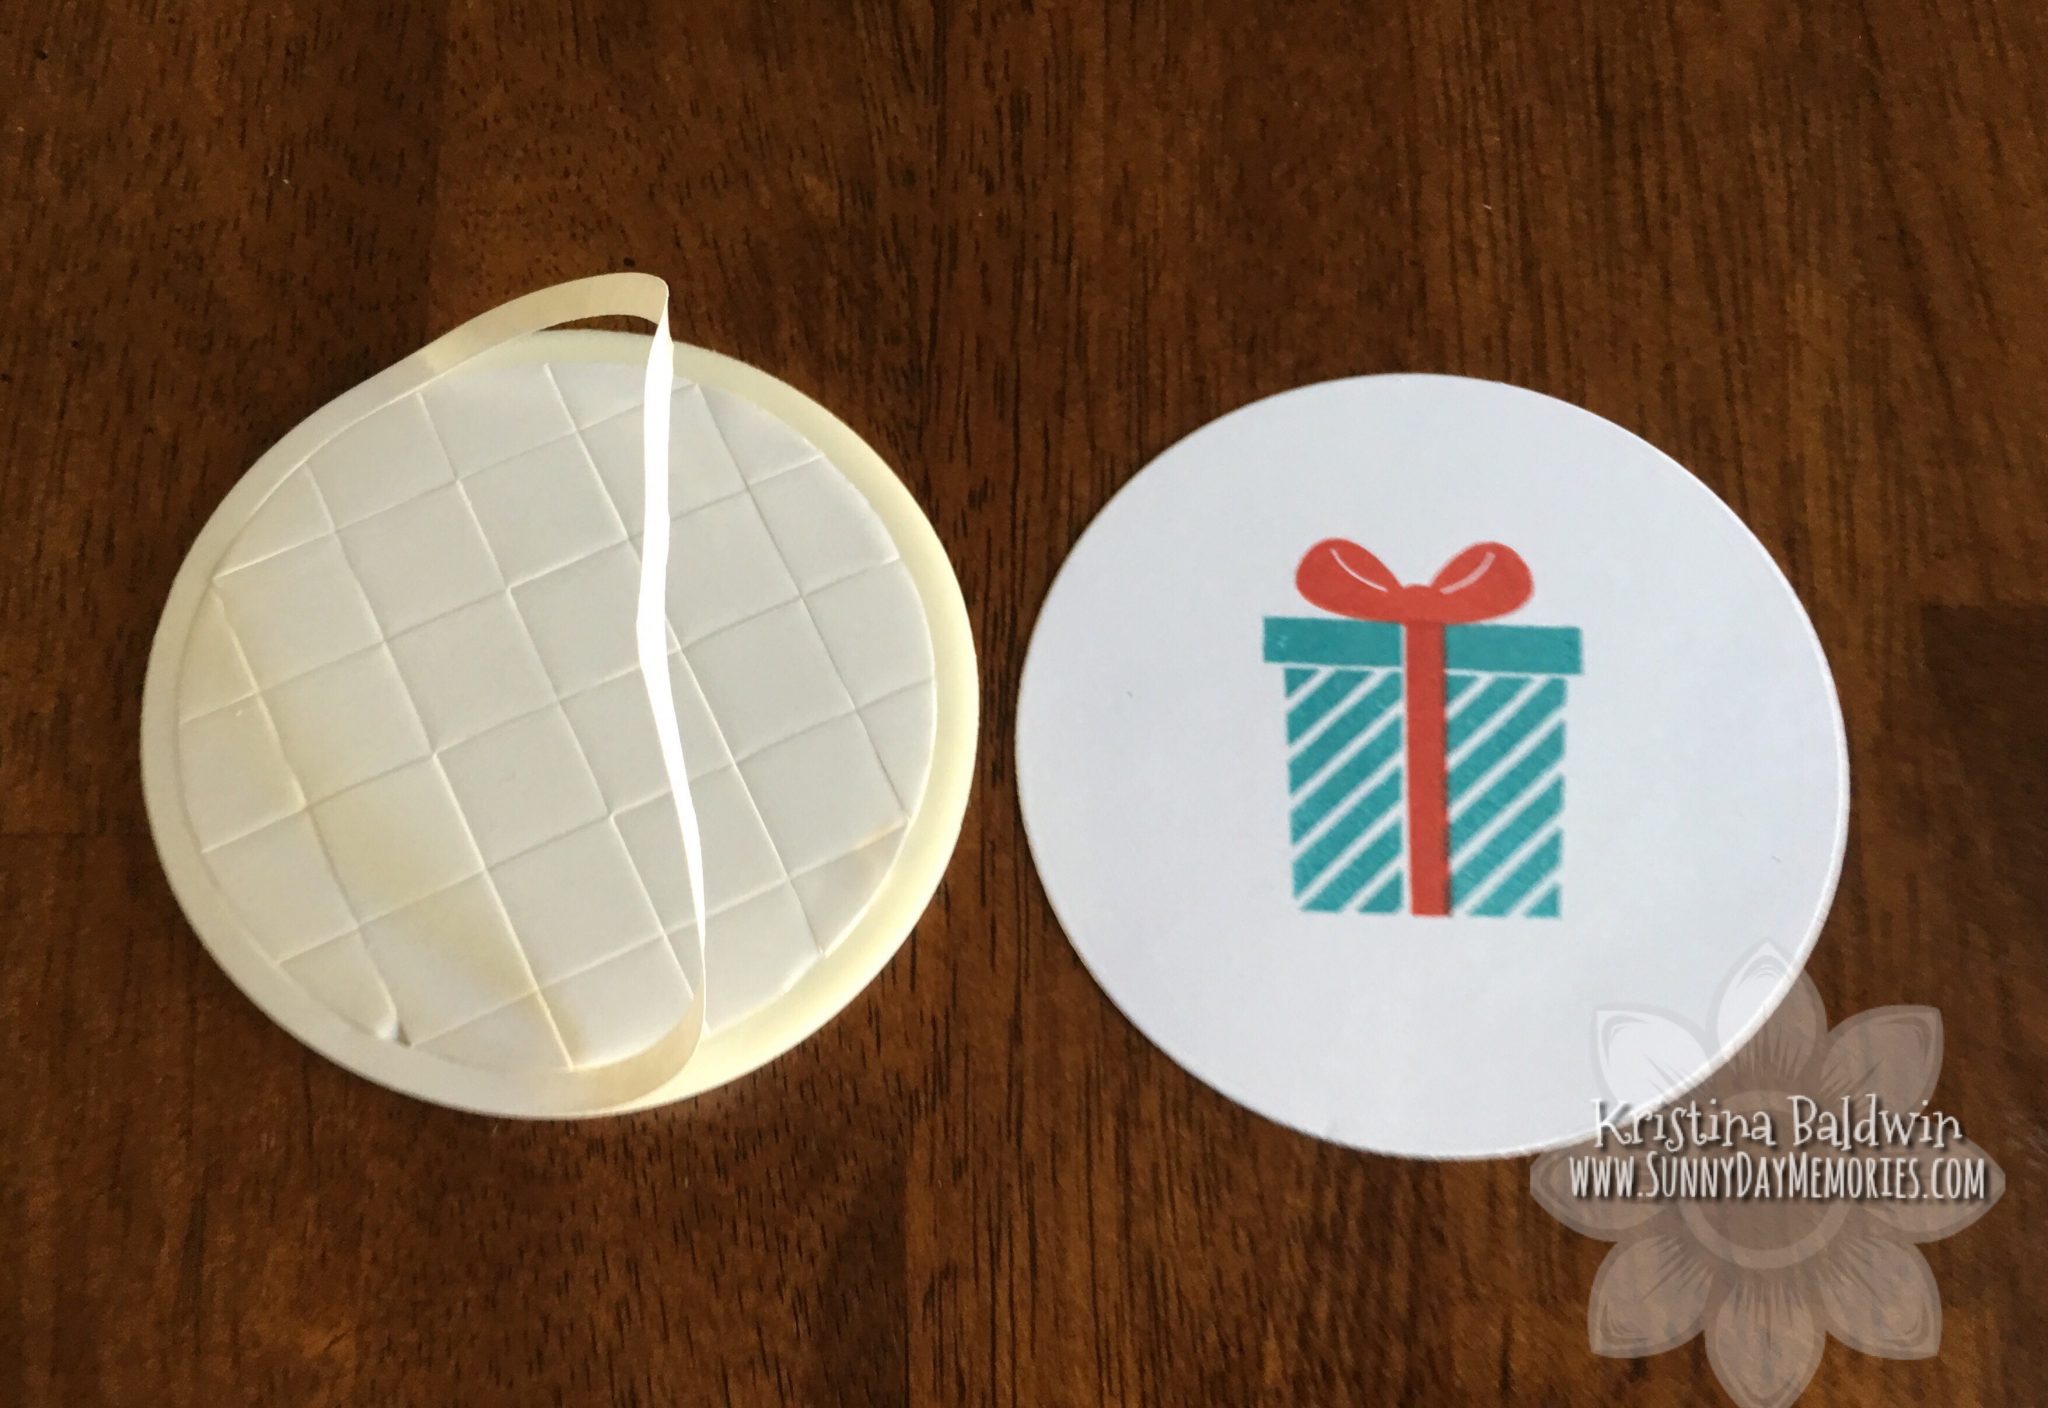
Remove the liner around the circular frame portion.
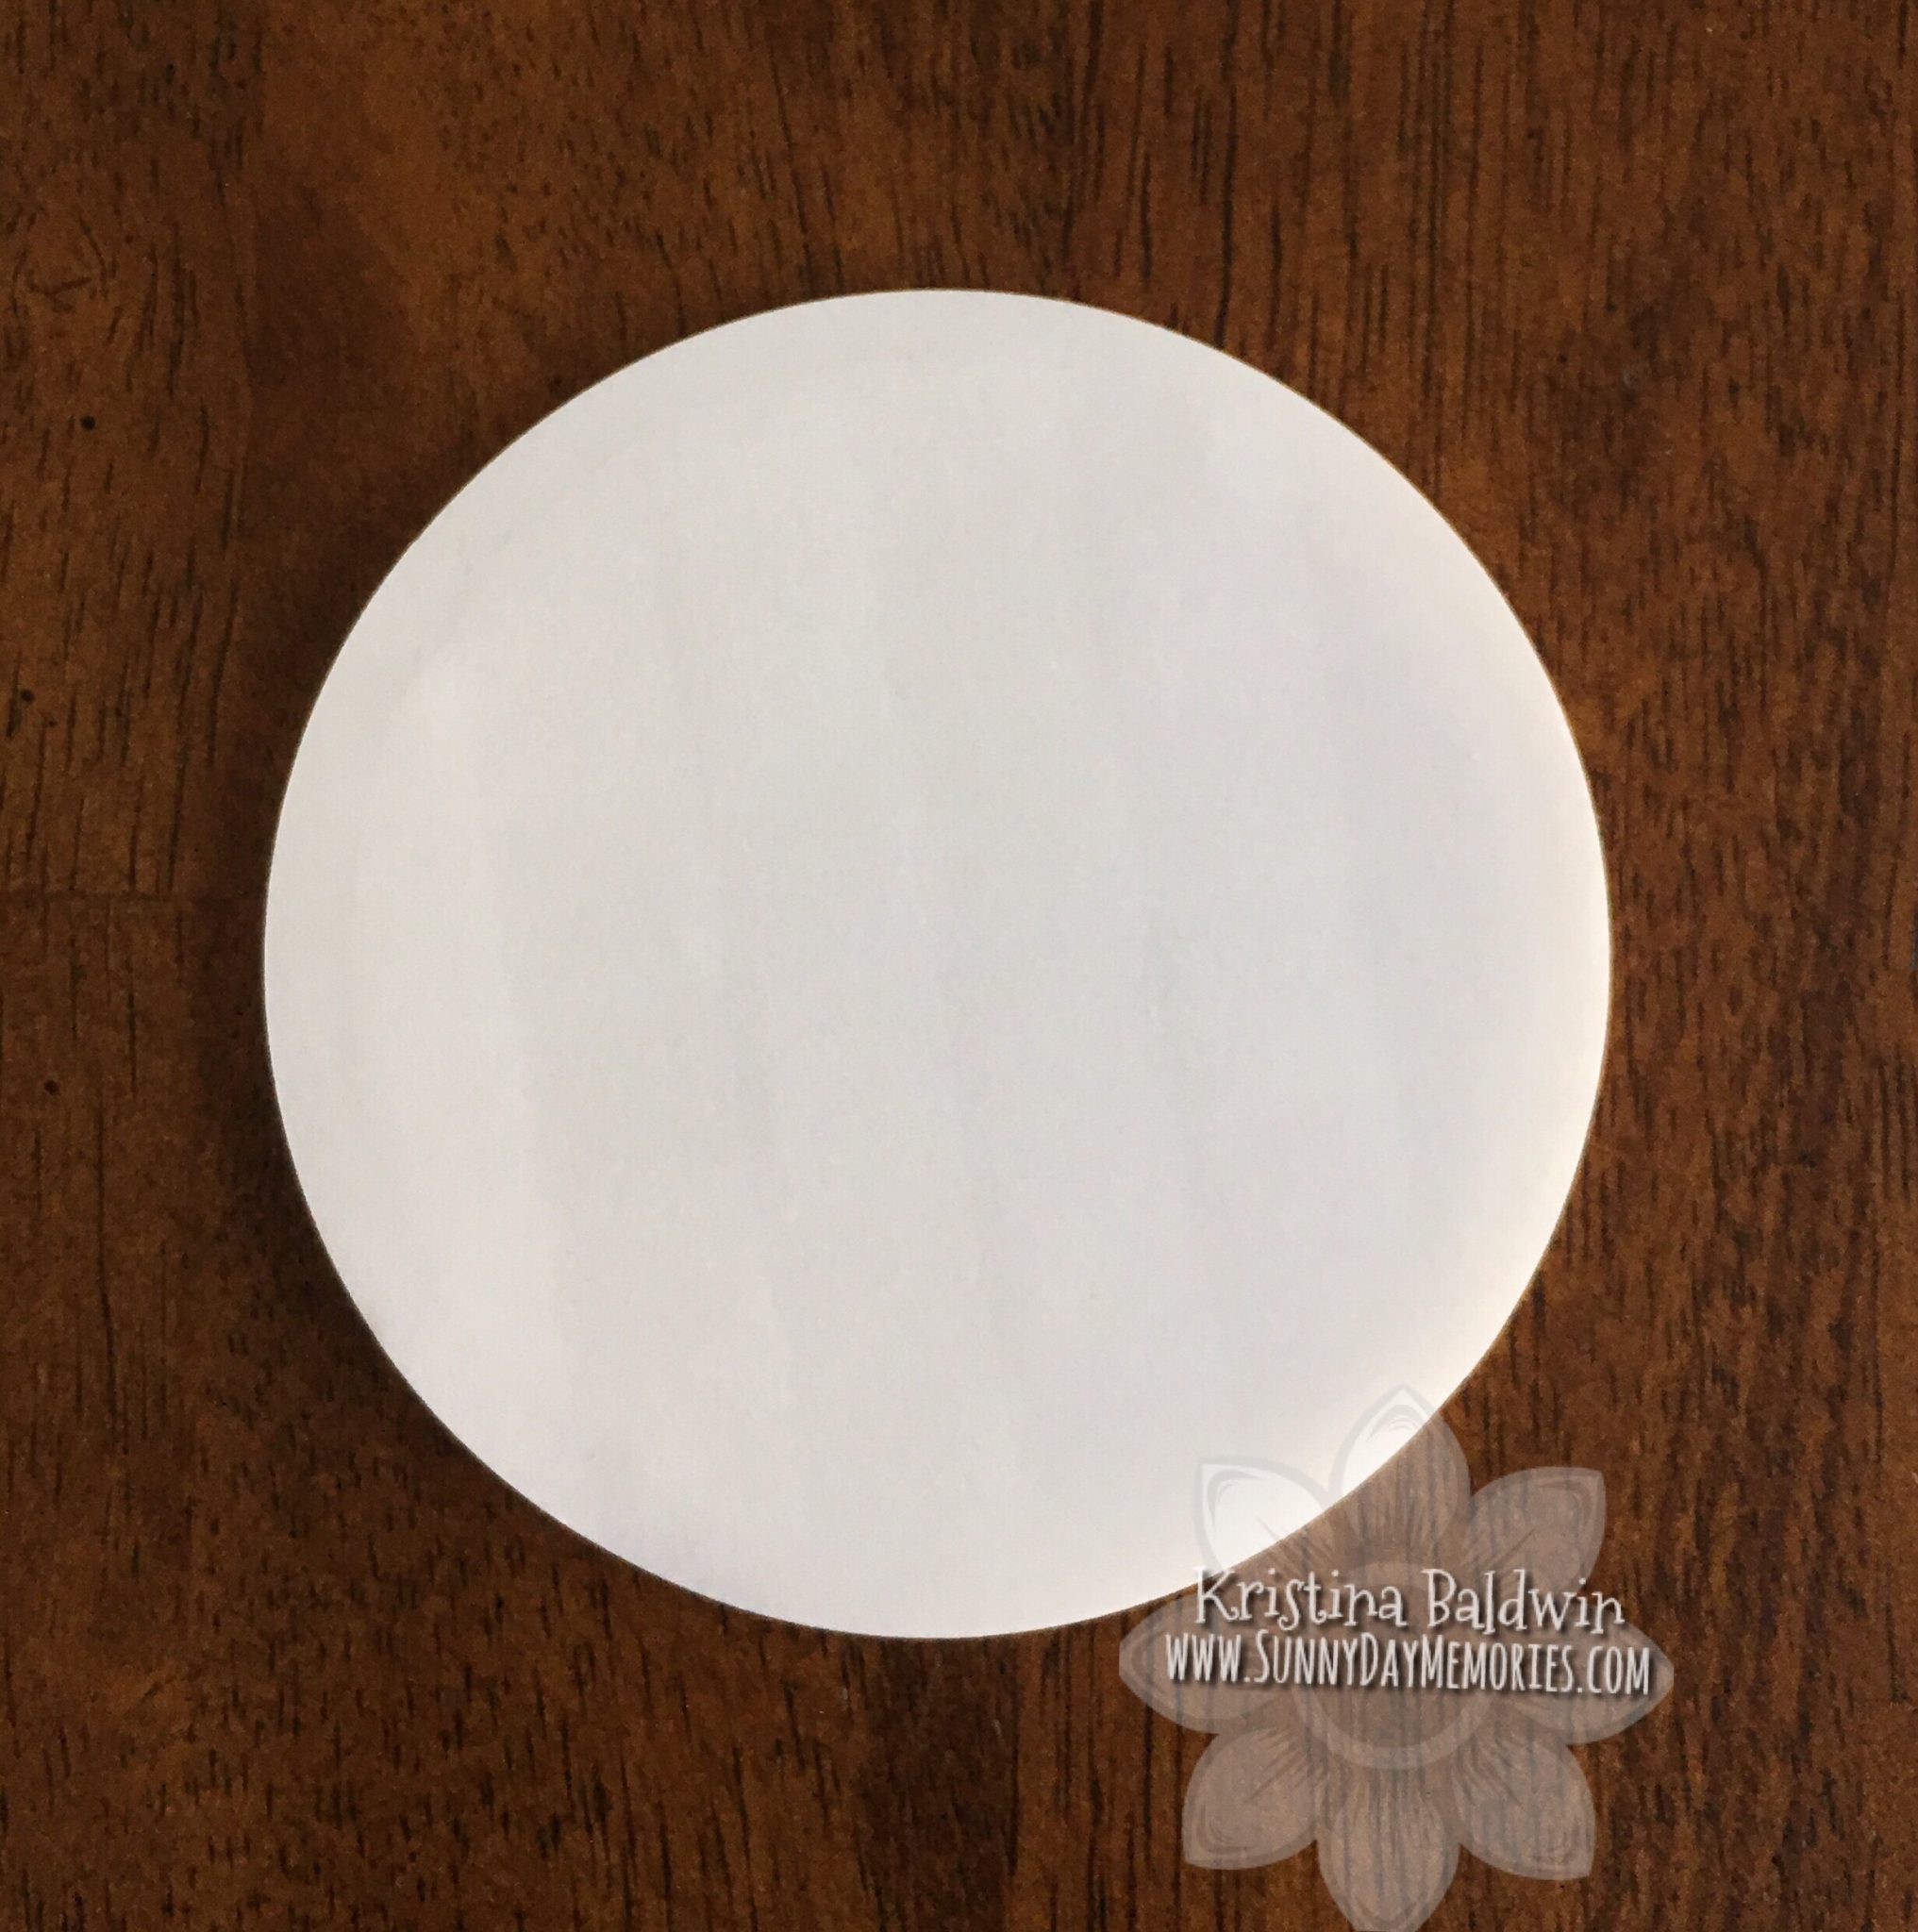
Then you’ll flip over the Window Foam piece and line it up over die cutout. At this point it will appear that it’s all adhered together. But we’re going to separate them!
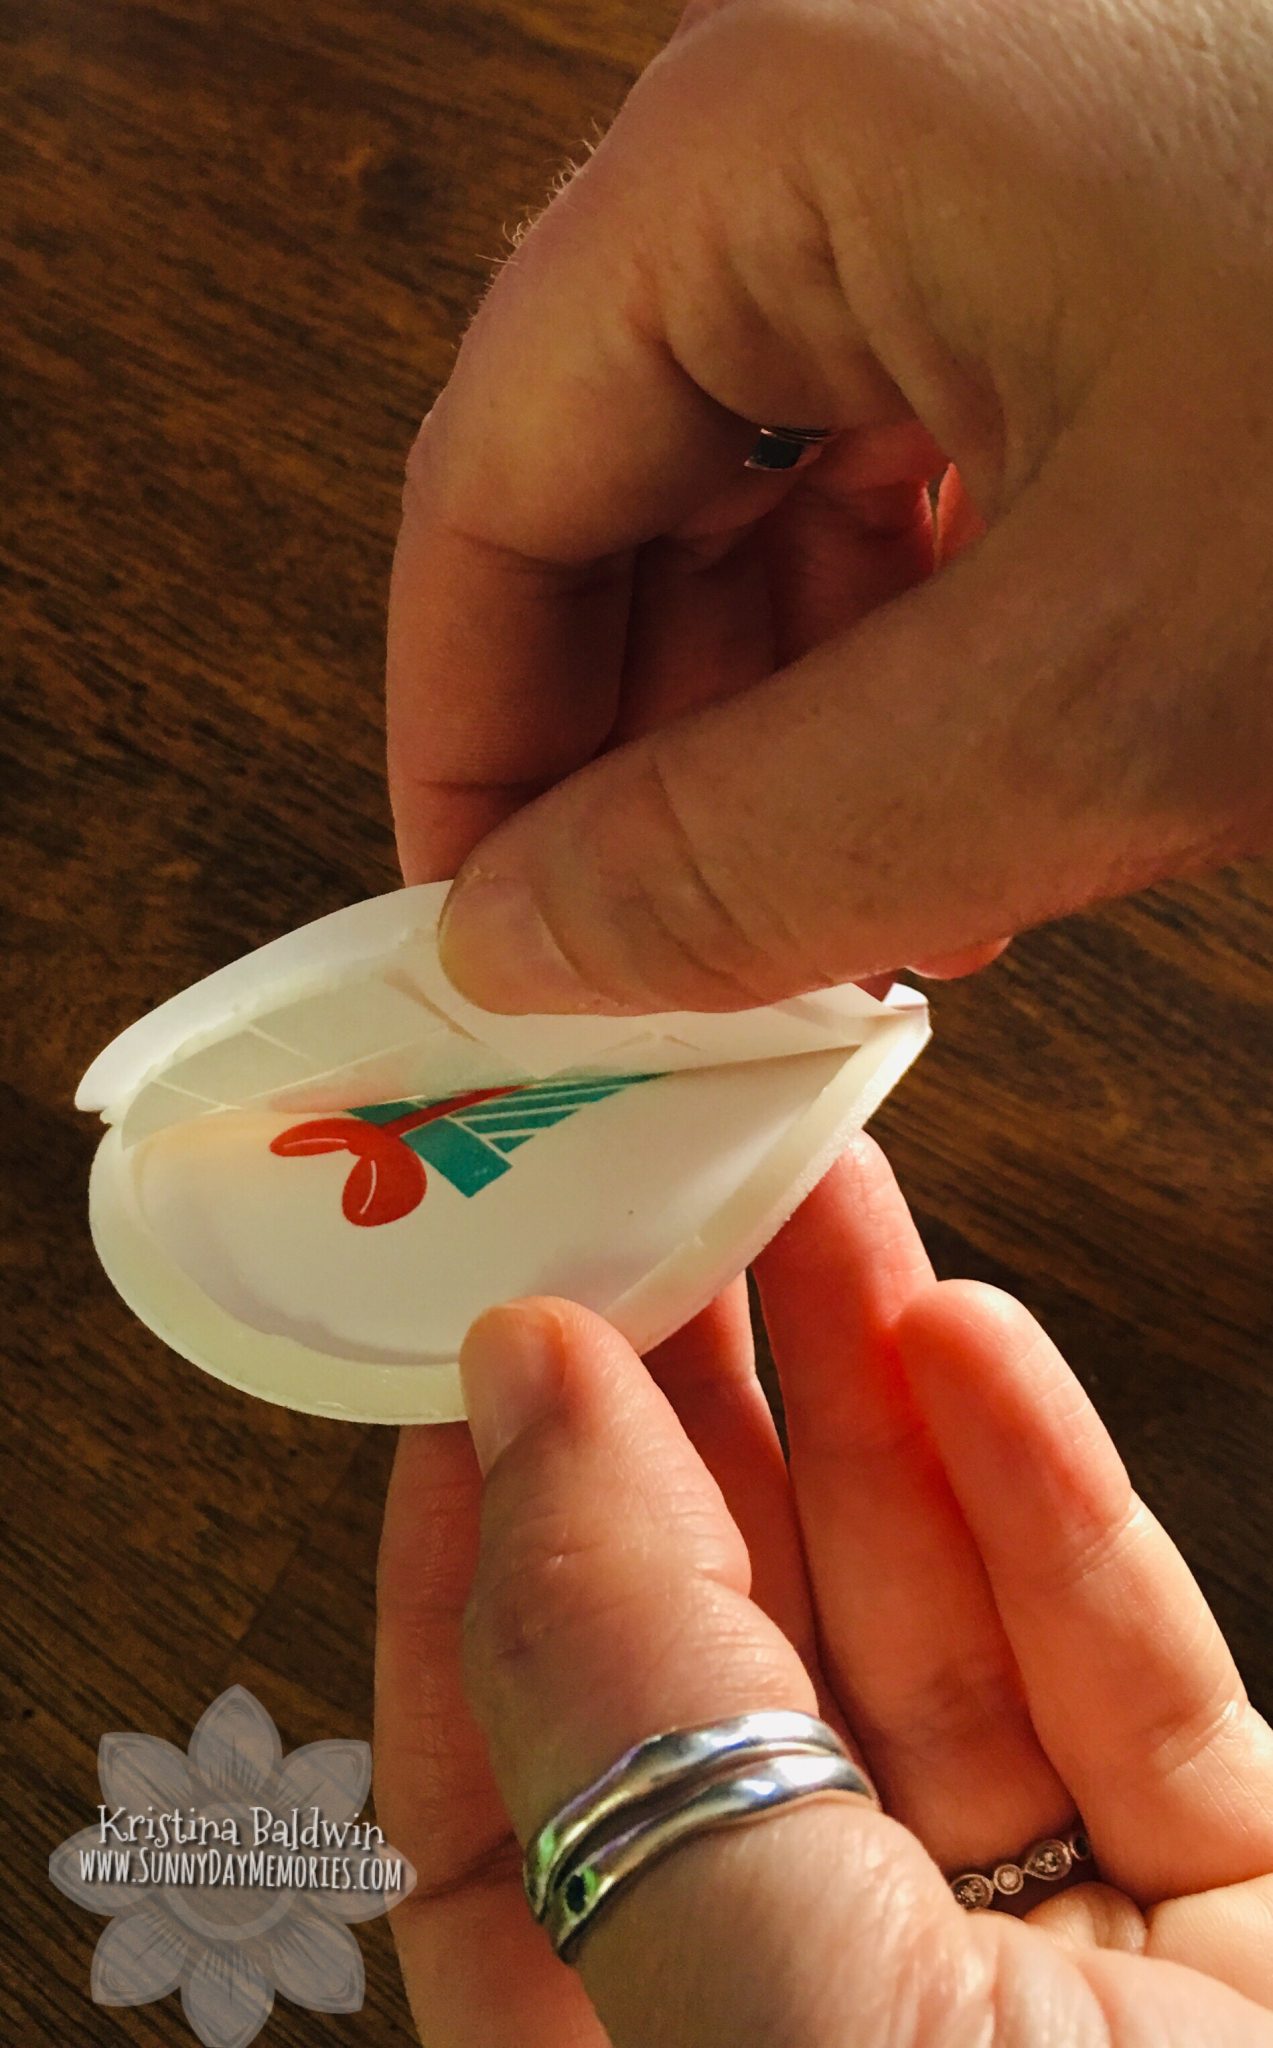
We left all the liners on the 3-D Foam Squares in the center so if you gently pull back the Foam Circle from the stamped circle, you should be able to keep all the 3-D Foam Squares in tact and the circular foam frame should stick to the stamped die cut.
Note: if you are not doing a circular shaker shape, you could remove the circular foam frame as you normally would and attach it to your project. You might not be able to maintain a perfect circular shape when adhering it down but that will be okay if your shaker component isn’t circular. This is the best way I’ve found to keep & maintain that true circular shape.
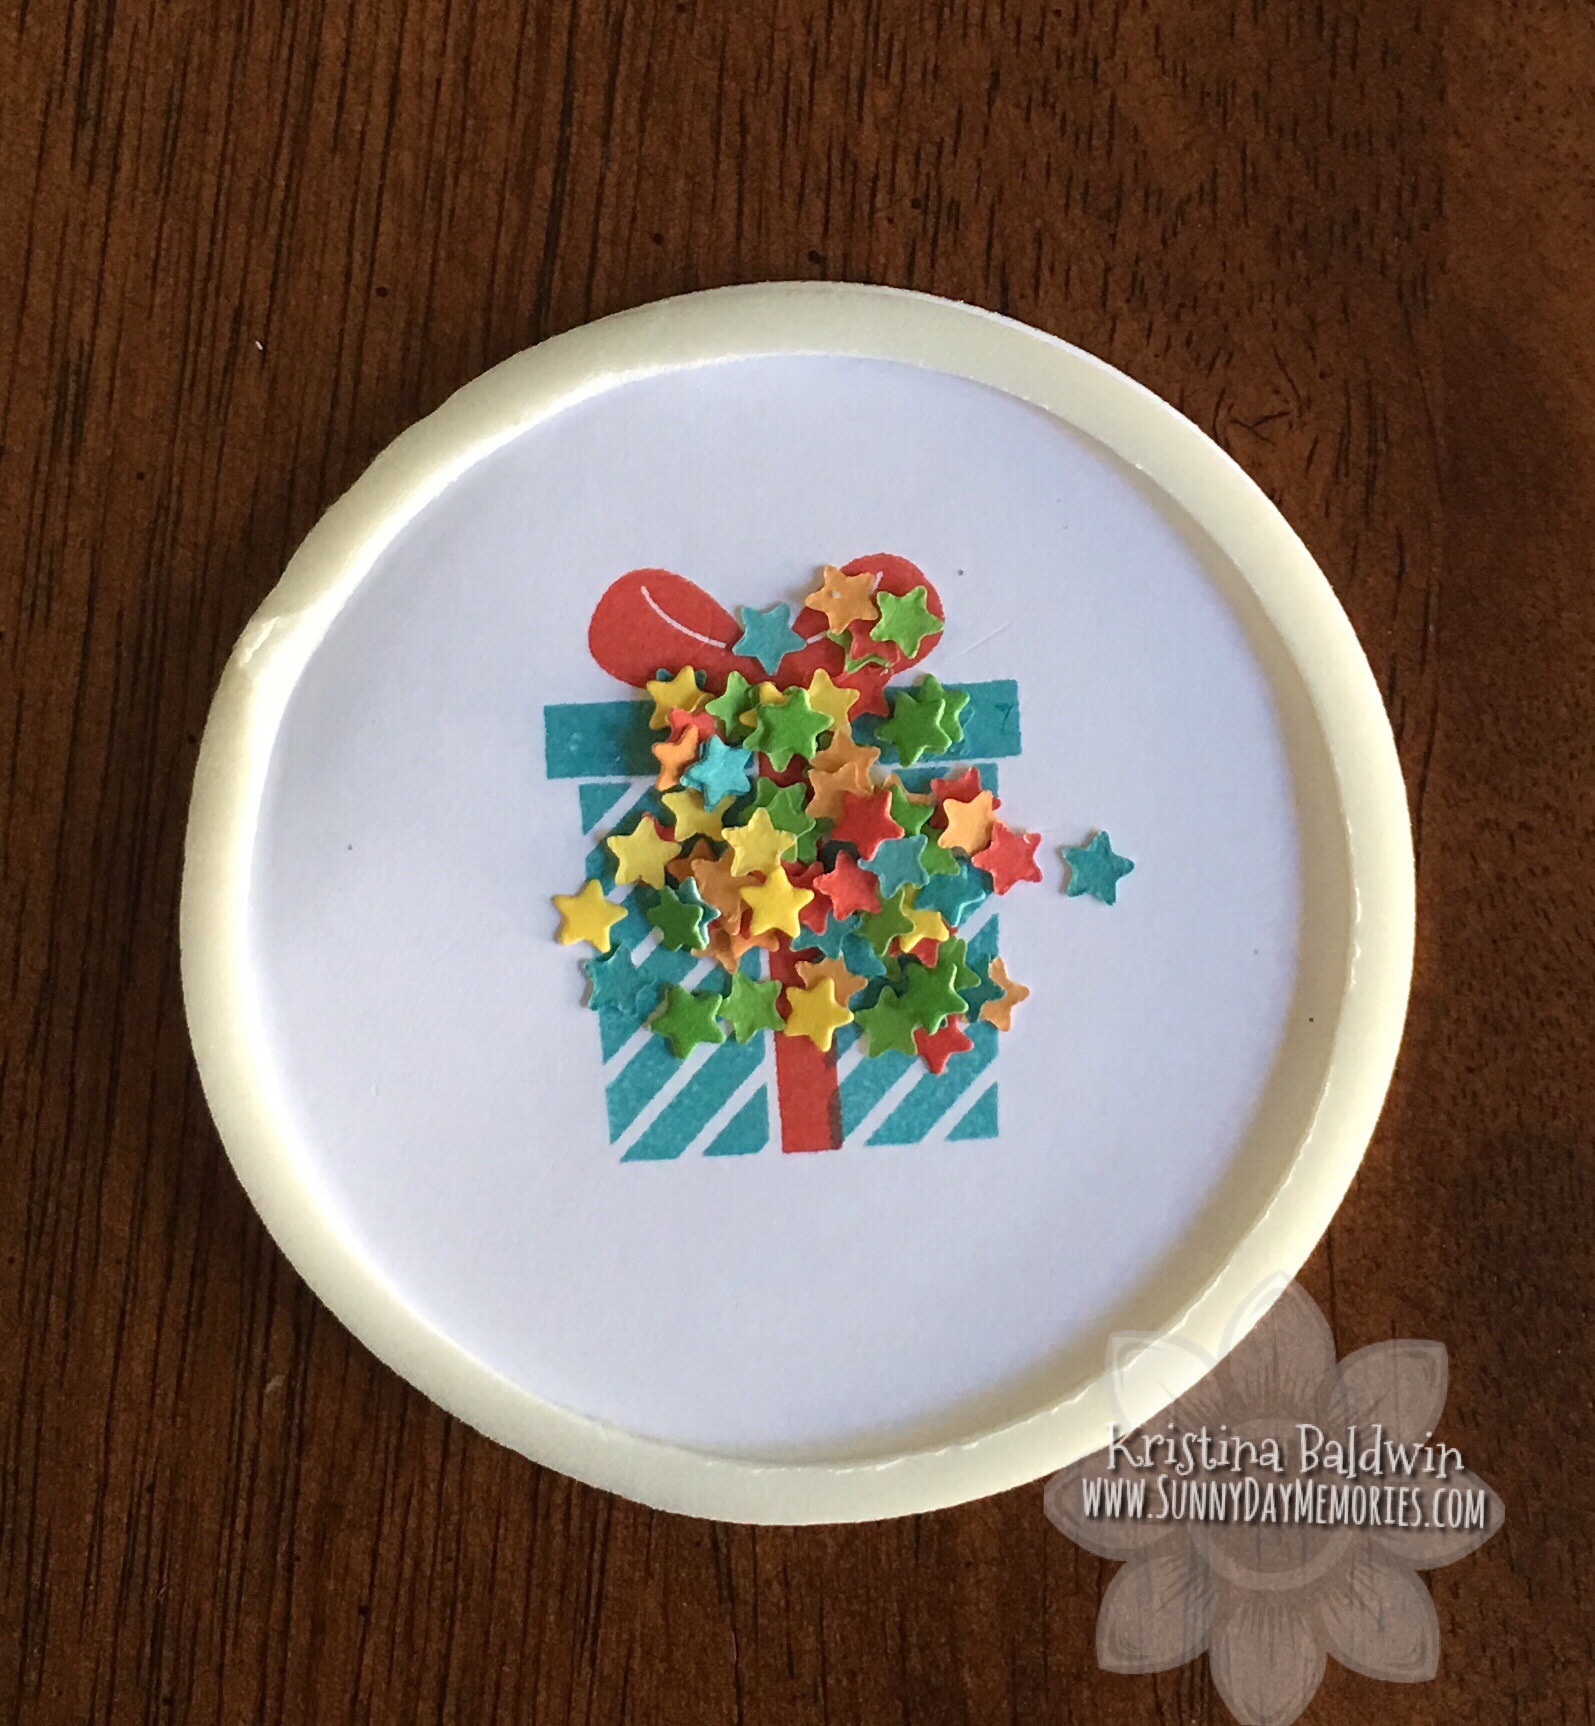
STEP 3:
Now you’ll add your custom confetti (using the Star or Heart Confetti Dies) or some sequins. I recommend you place your choice of shaker item in the center of your circle since the edges are now sticky since we’ve exposed the foam adhesive.
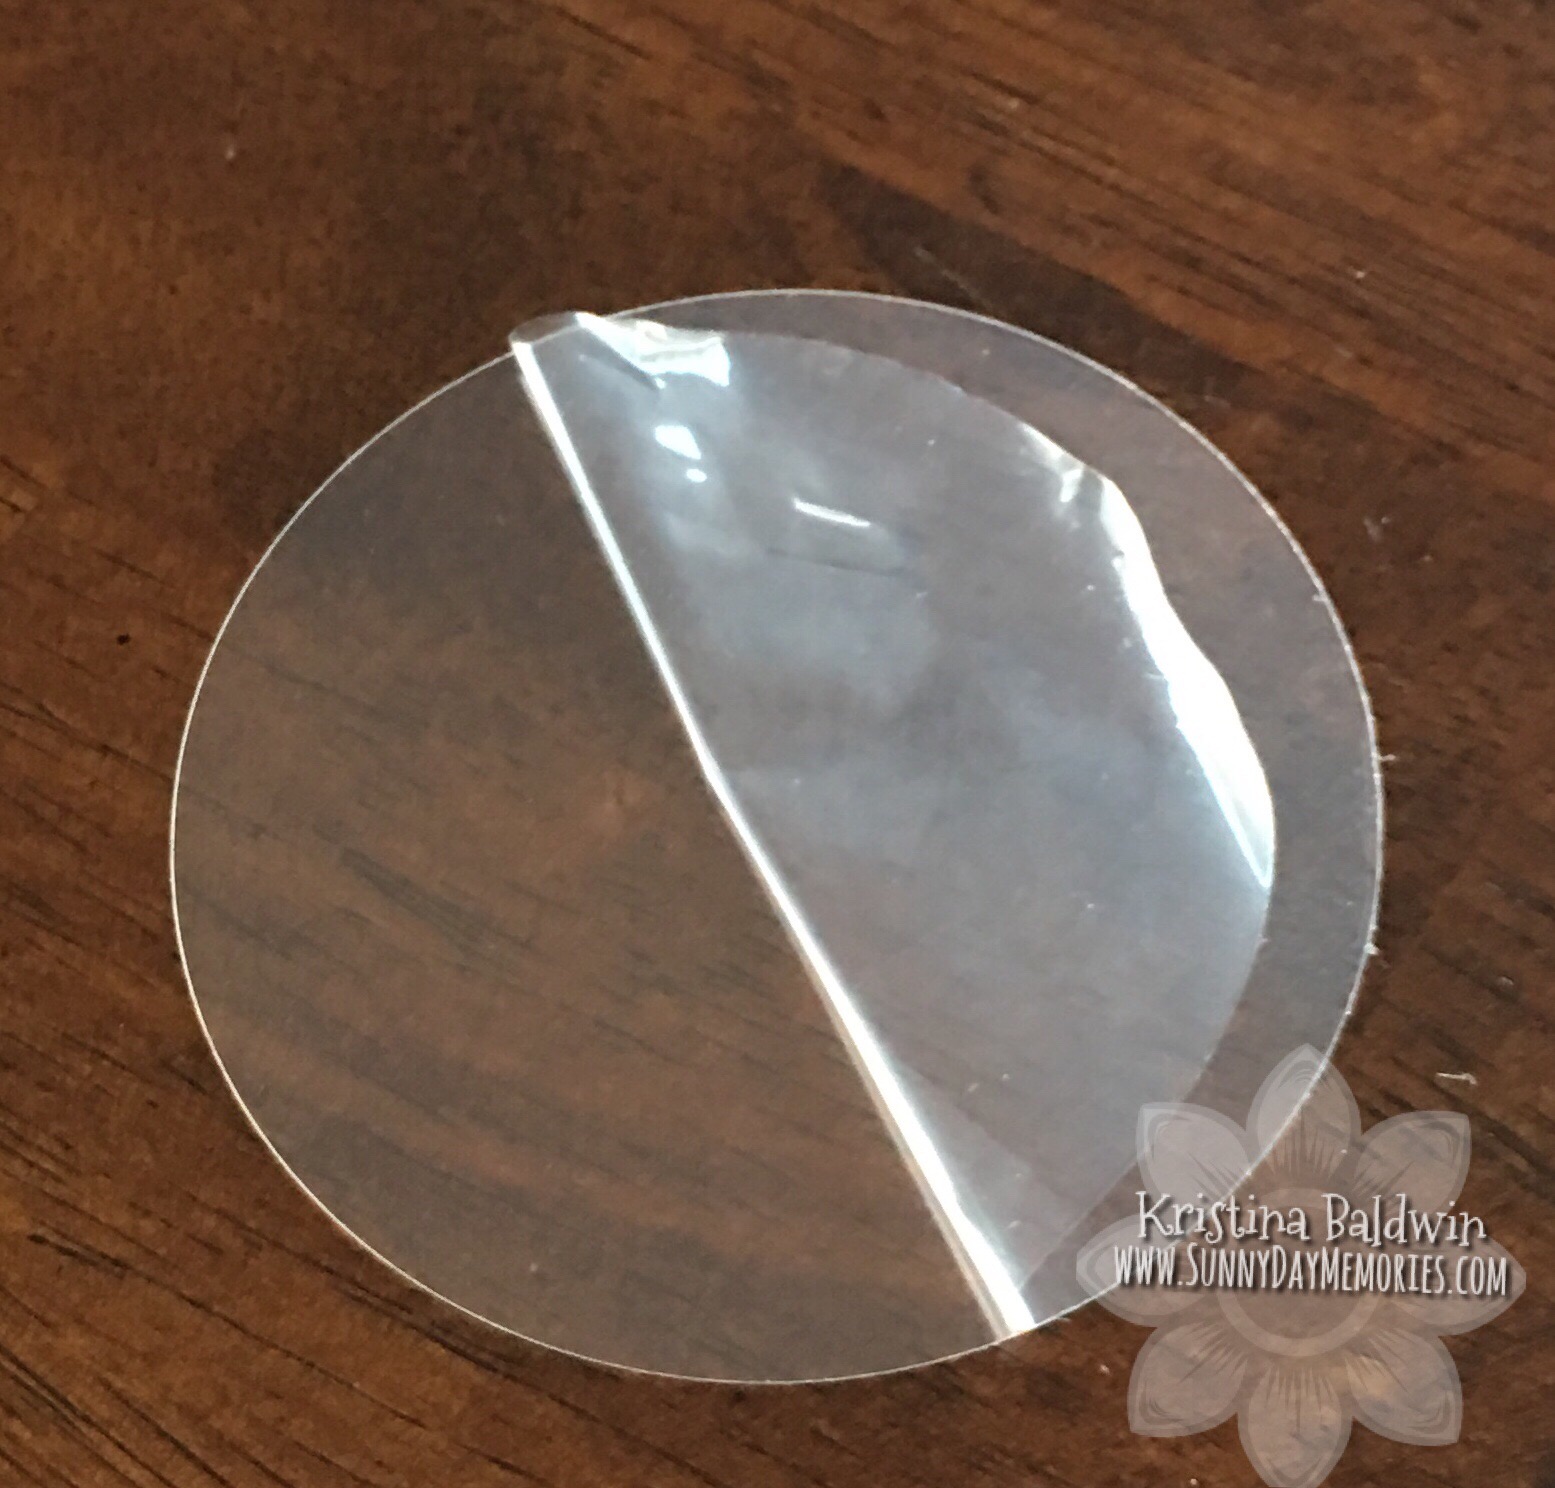
Take one of your Acetate Window Coverings and remove the protective film (it’s just on the one side of it.) If you skip this step, your shaker component might appear a bit cloudy.
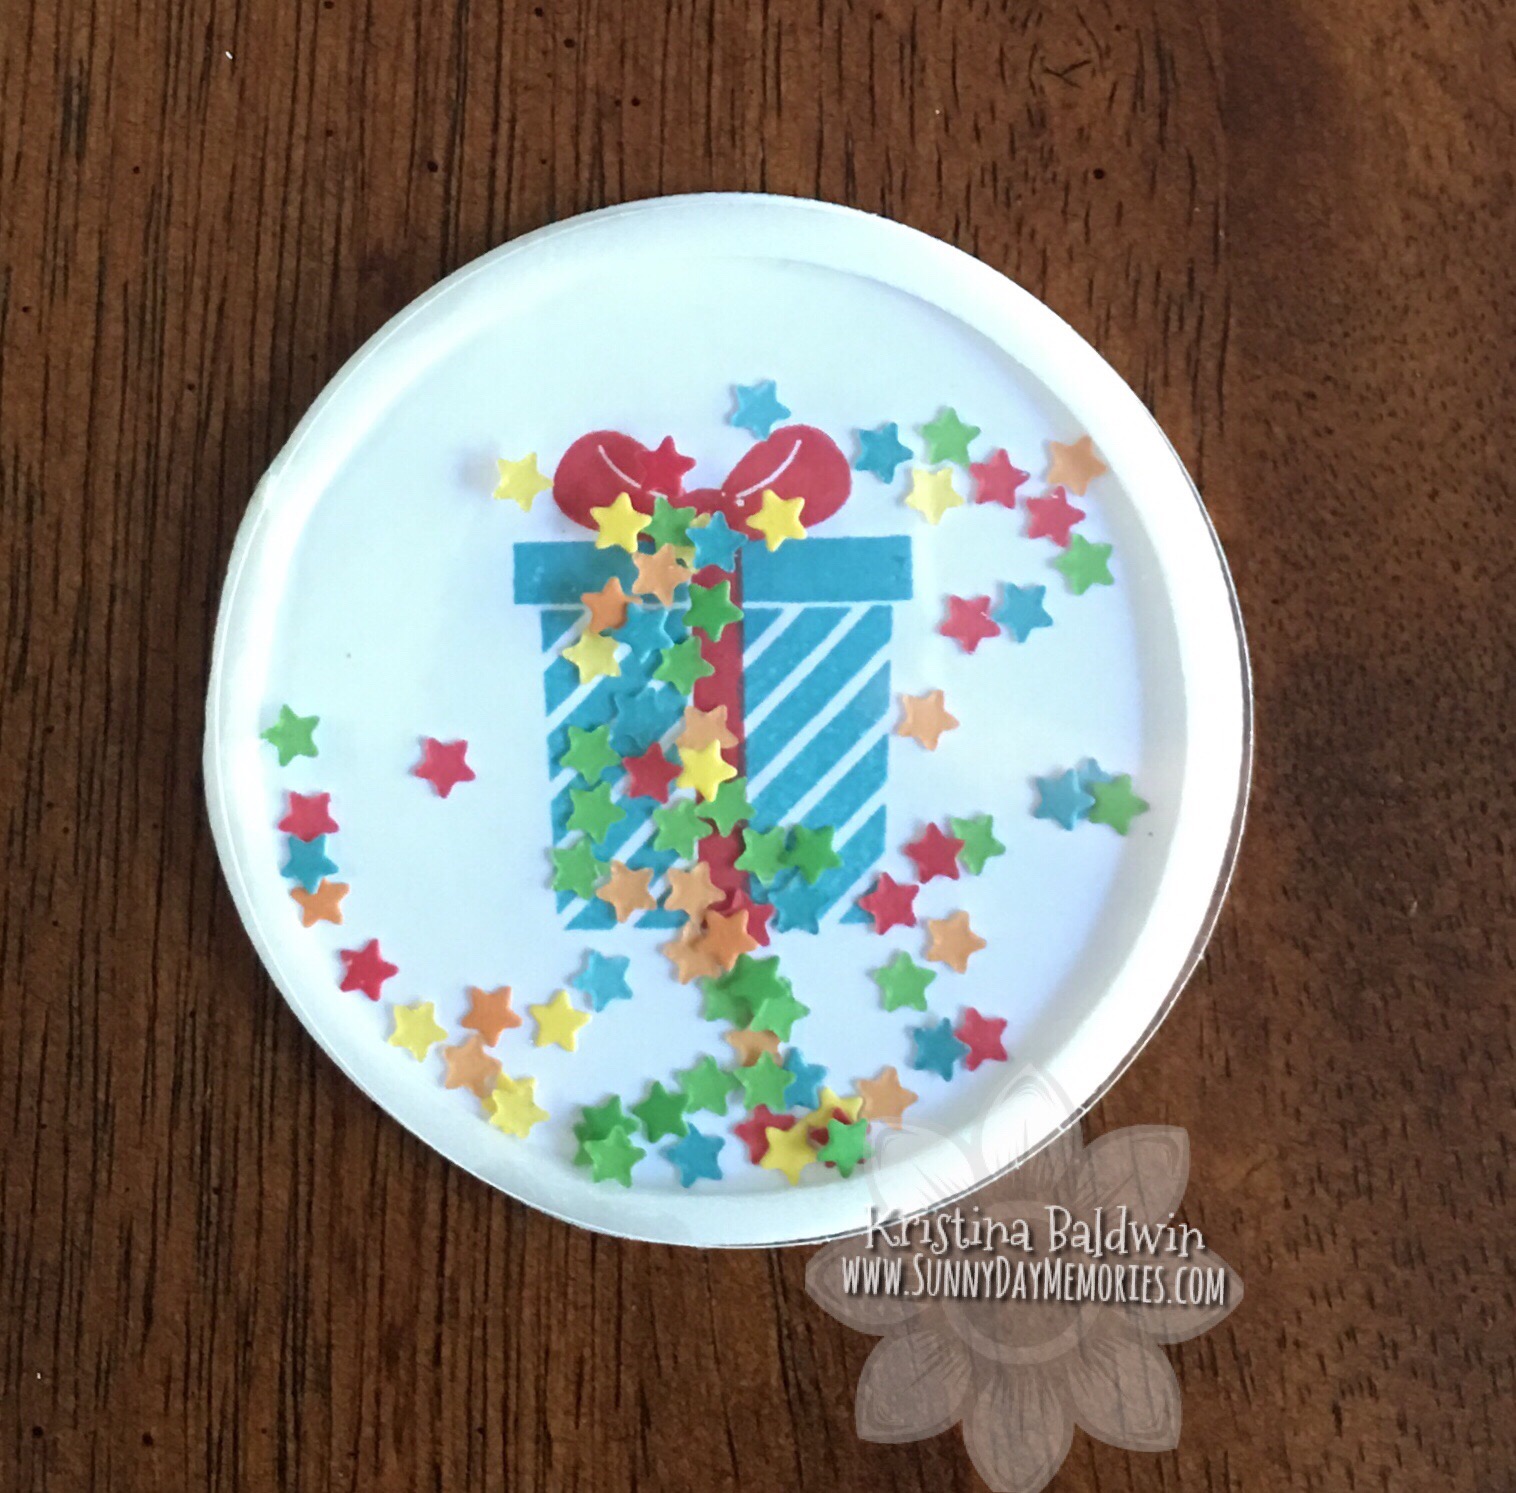
You’ll find the Acetate will be very staticky. You’ll want to be quick with this step because of that as your shaker components will be attracted to the Acetate as soon as you get close enough.
Tip: hold your Acetate Window so that the center of it bends in toward your palm–thereby being further away from the confetti as you begin to seal it closed.
Don’t worry if your Acetate Window doesn’t line up perfectly at this point. We’re going to fix that in the next step!

STEP 4:
Cut out a Stitched Window Frame with your preferred paper along with the die and your die cutting machine.
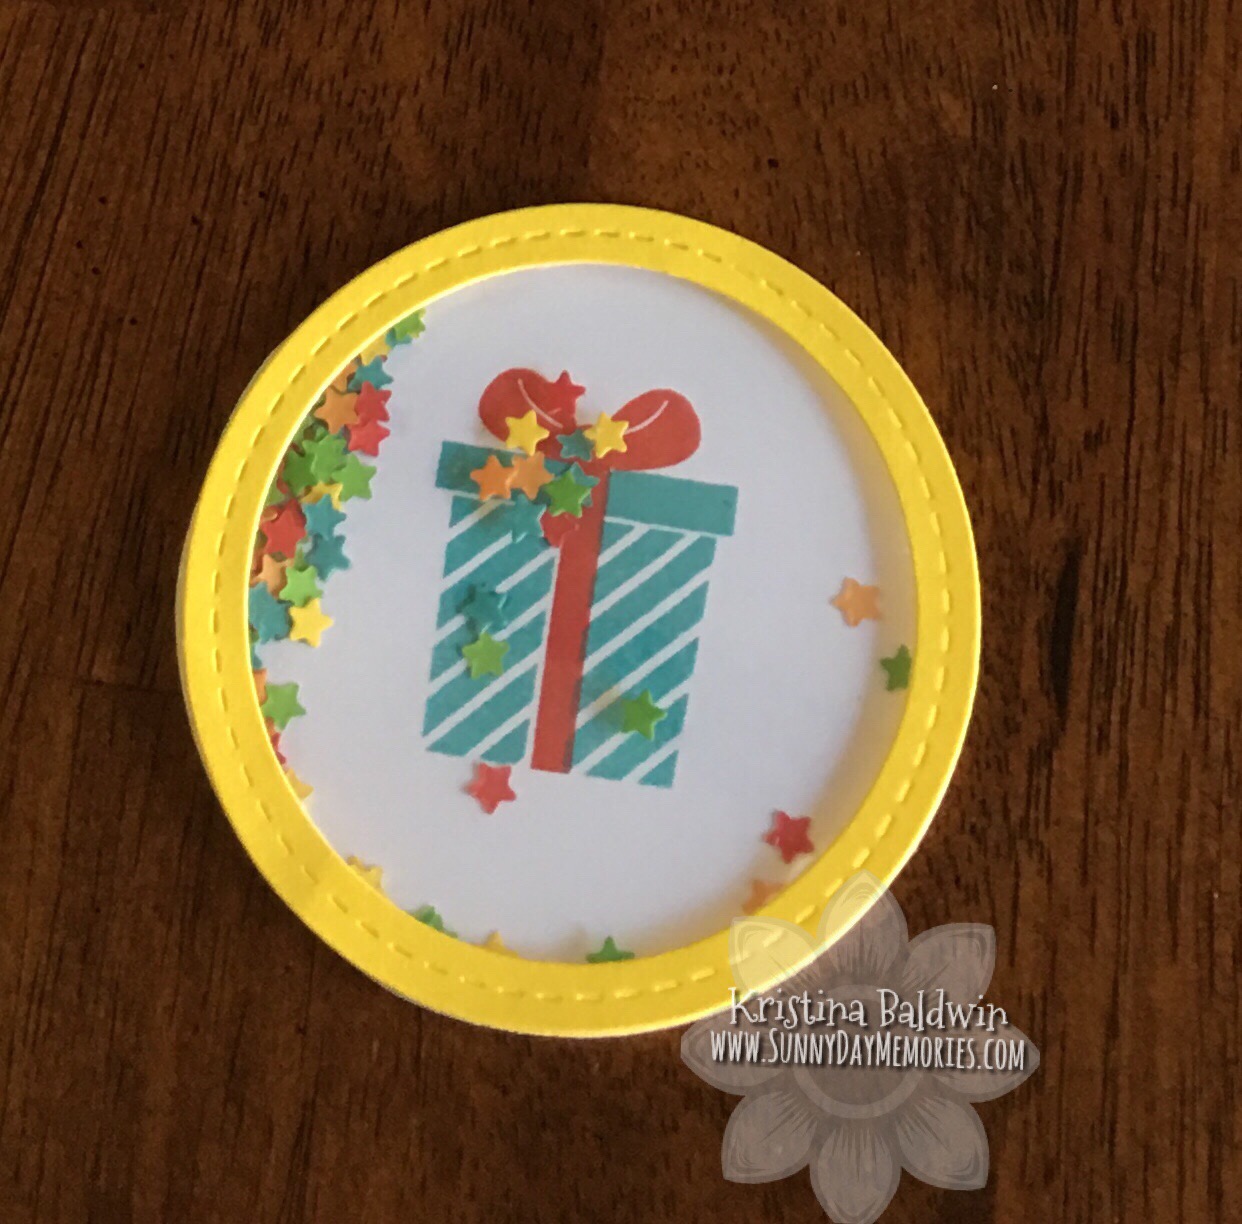
Adhere the die cut to the shaker component. I recommend Close To My Heart’s Liquid Glass. If you do a thin amount of it along the stitching on the backside, it will be strong enough to hold and won’t ooze out onto the Shaker Window.
There you have it. Pretty easy once you know how to use all the elements. And the beauty of these Shakers is that you can use them for cards or scrapbooks. Either look fabulous. If you’ve never tried one before, I encourage you to do so!
For this particular Birthday Shaker Card I used the following colors:
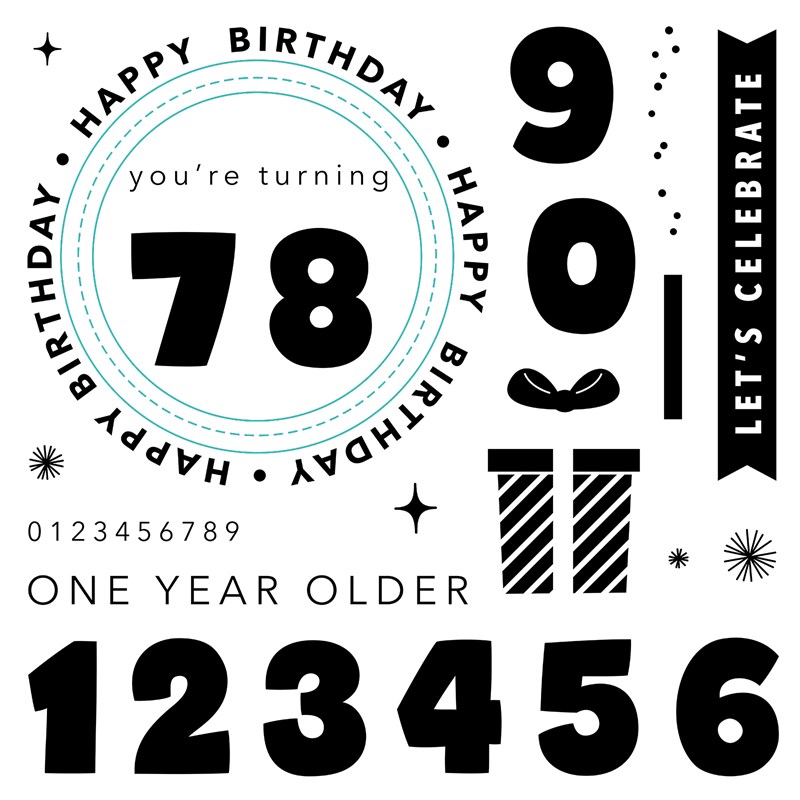
And it’s stamped with the One Year Older Stamp Set (D1850)–a must have! 🙂
If you need some supplies to get started, visit my ONLINE CTMH STORE. Have fun creating Shaker Cards!
