Ready to learn some fun DIY watercolor techniques with a waterbrush? That’s what we’re going to do today! Last week on Close To My Heart’s blog, they did this wonderful posting about watercolor techniques and I couldn’t wait to share it with you (just so you didn’t miss out on it!)
We have a special treat in store today! Our Creative Arts Manager, Karen Pedersen, is showing us a few creative and easy watercolor techniques using our small round and medium round waterbrushes!
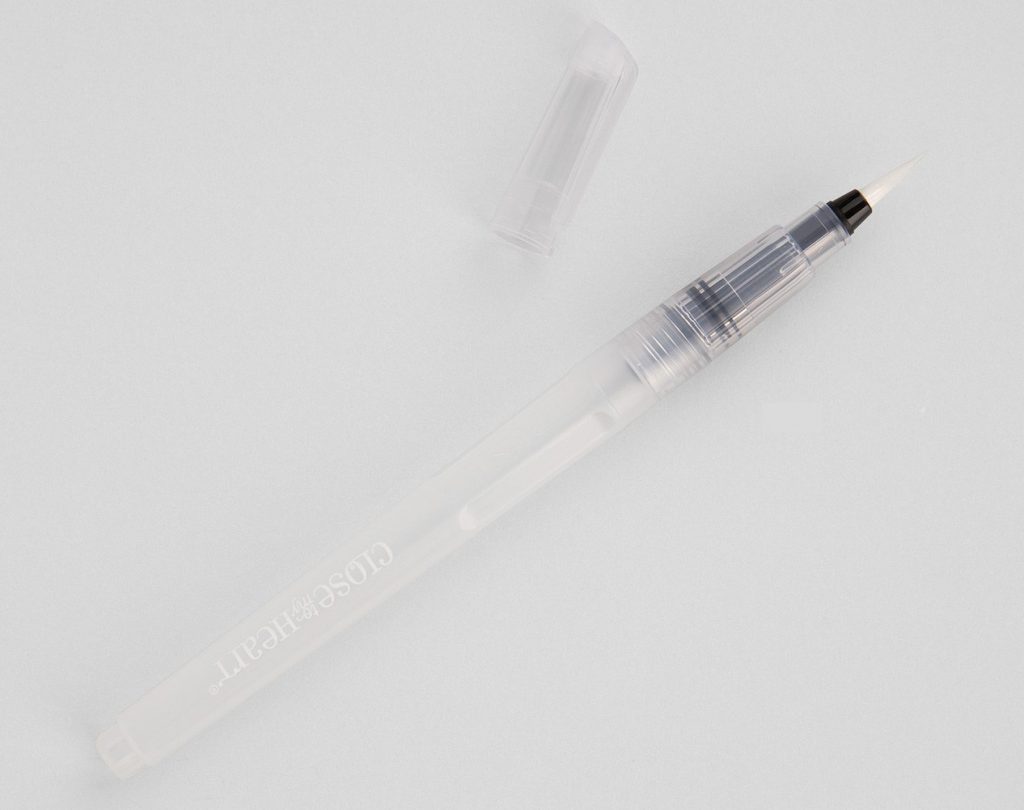
Unlike a traditional paintbrush, the handle of a waterbrush is made up of a water reservoir, eliminating the need for a water cup. The light colored bristles allow the painter to easily determine their color load and paint concentration, and the included cap protects the bristles and brush head while also sealing the water inside.
If you are accustomed to using traditional paintbrushes, you will notice that controlling a waterbrush is quite different. With a little practice, however, you too will find your groove and discovery why we love them!
Follow along with Karen, below, and pick up a few tips and tricks for making a waterbrush work for you!
Here’s a closer look at the artwork examples from the video:
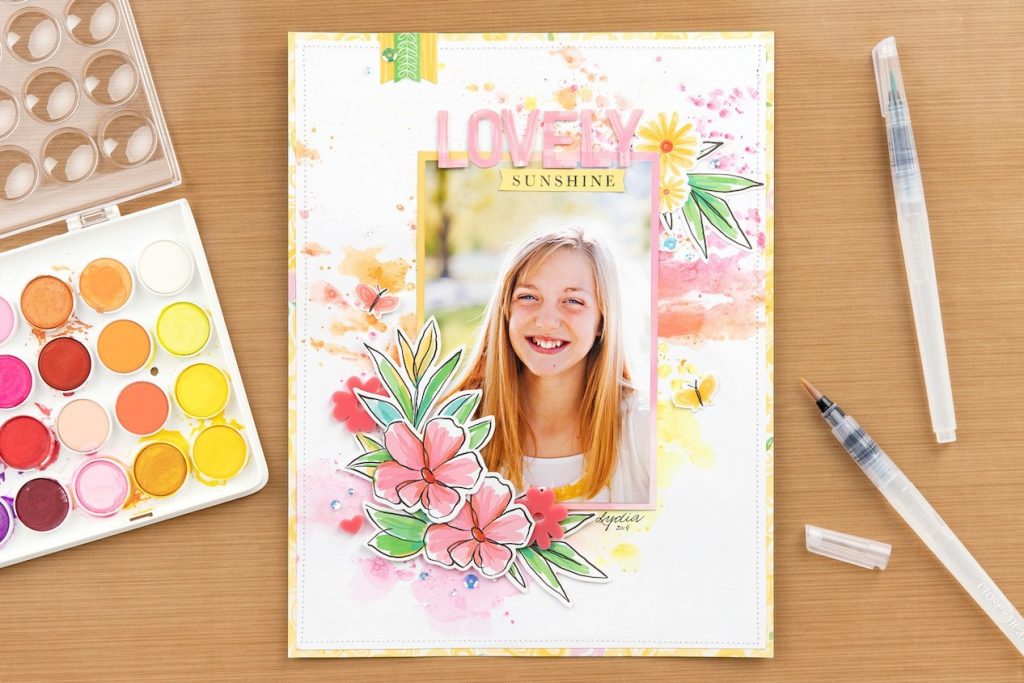
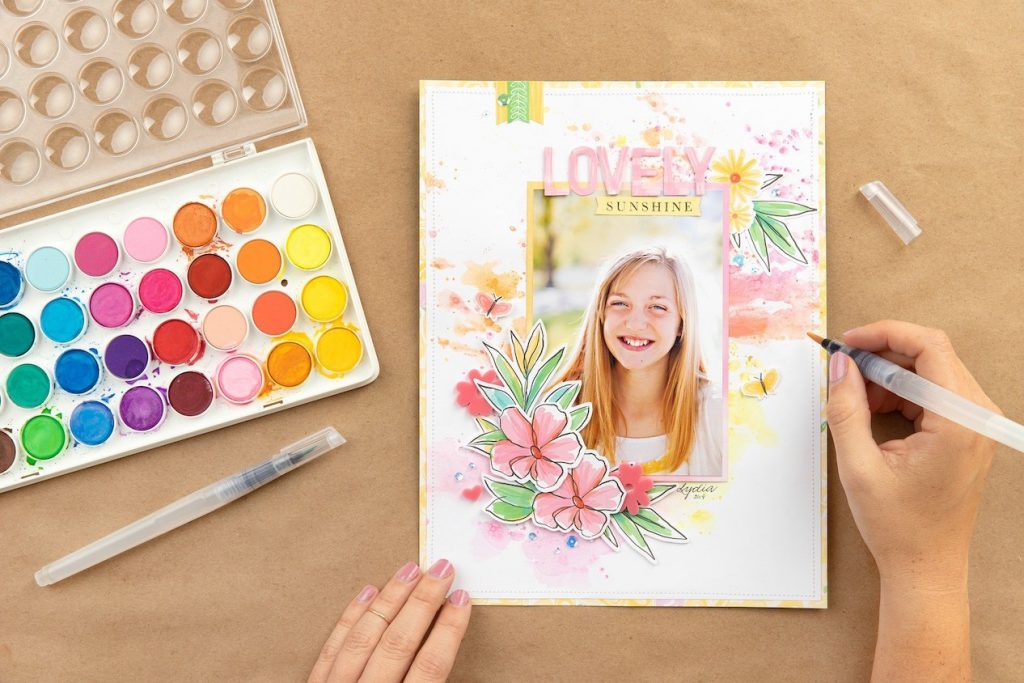
The first watercolor technique you saw teaches how to create a colorful background like the one on this page. Using a medium round waterbrush, lay down watercolor paint onto an all-purpose mat. Then, lay the paper you want to add the color to facedown onto the paint and allow it to soak up for a few seconds. Turn your paper right side up and let it dry before continuing with your project.
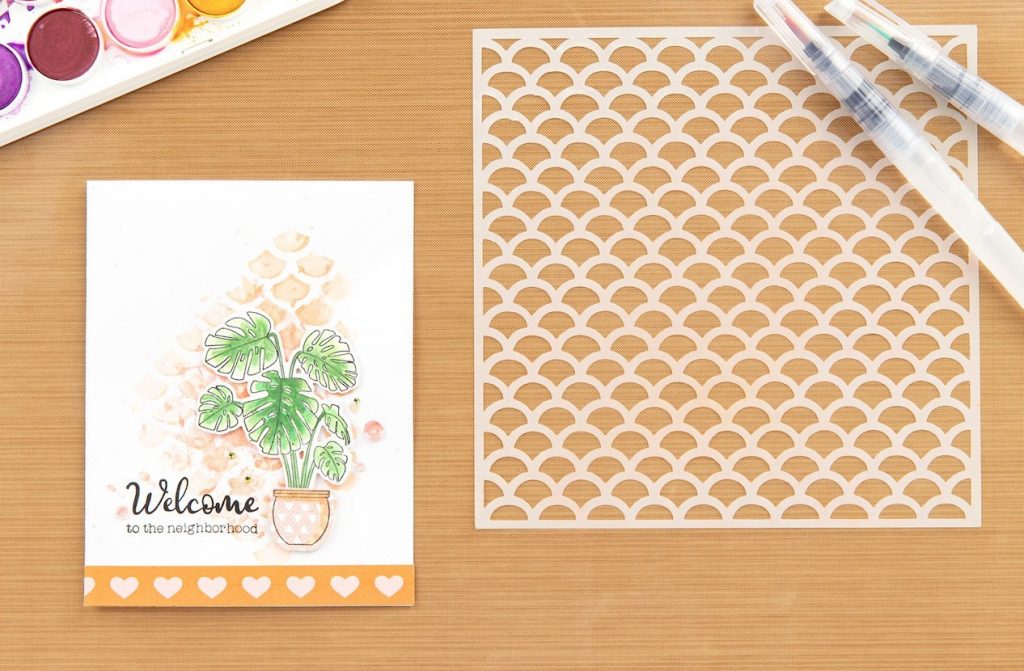
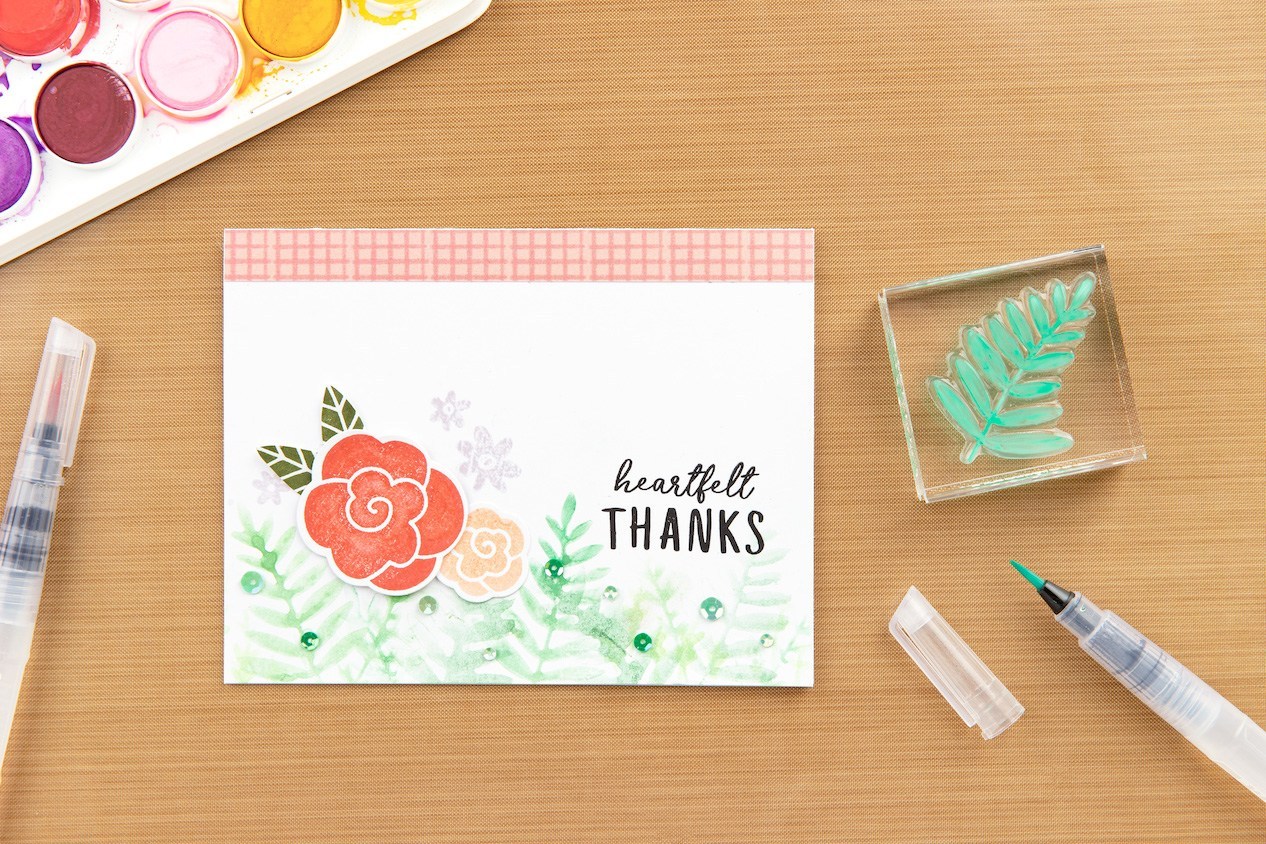
If you look closely, you’ll see that in this Welcome card, we have two different watercolor techniques to talk through. The first, is the stenciled background. Using a stencil we created out of a stencil sheet and a Cricut® shape, we were able to paint a beautiful watercolor textured background with a medium round waterbrush. The second technique Karen talks through is how to achieve the detail and color variation seen in the plants of this card using the small round waterbrush.
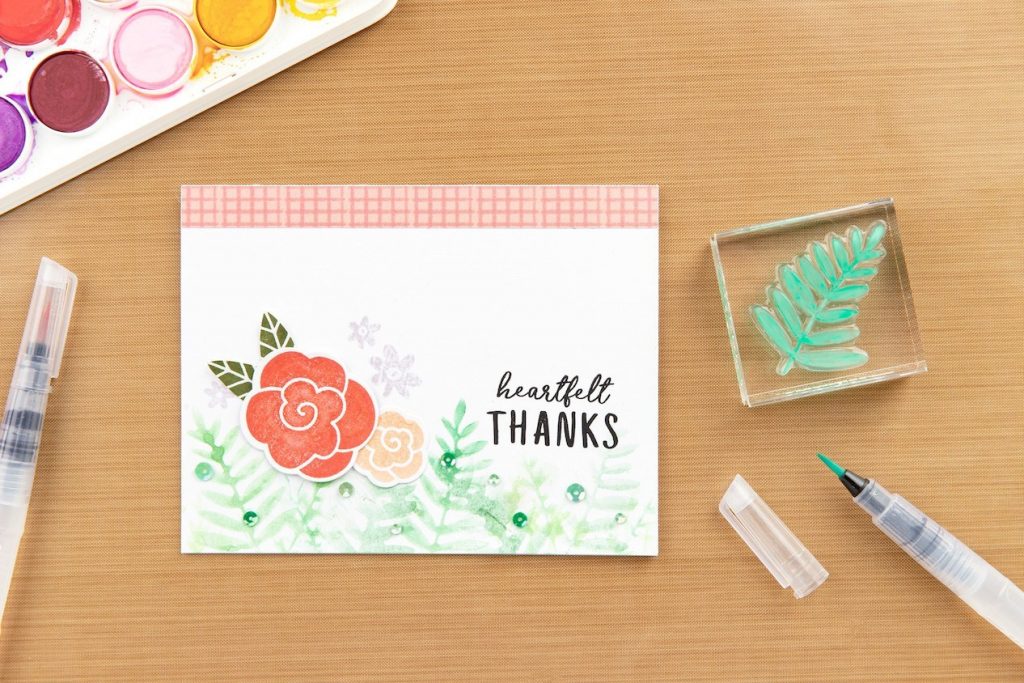
The last technique we share can easily make any of us look like watercolor experts! Instead of ink, add watercolor paint to a raised stamp and use it to create the image on your artwork! Look how beautiful those leaves turned out on this card! Make sure not to add too much water to avoid ending up with a blobby image. (In the video above, Karen shows you how!)
Which watercolor technique is your favorite? I’d love to know! I think I’m partial to the idea of using the watercolor paints in place of a traditional ink pad. I can’t wait to try that easy technique! I hope you enjoy trying out these DIY watercolor techniques with a waterbrush.

