Ever have a project you start and then it falls to the wayside and gets forgotten only to be found months, even years, later? Yep, this is one of those projects 🙂 I just finished it last week and LOVE how it turned out.

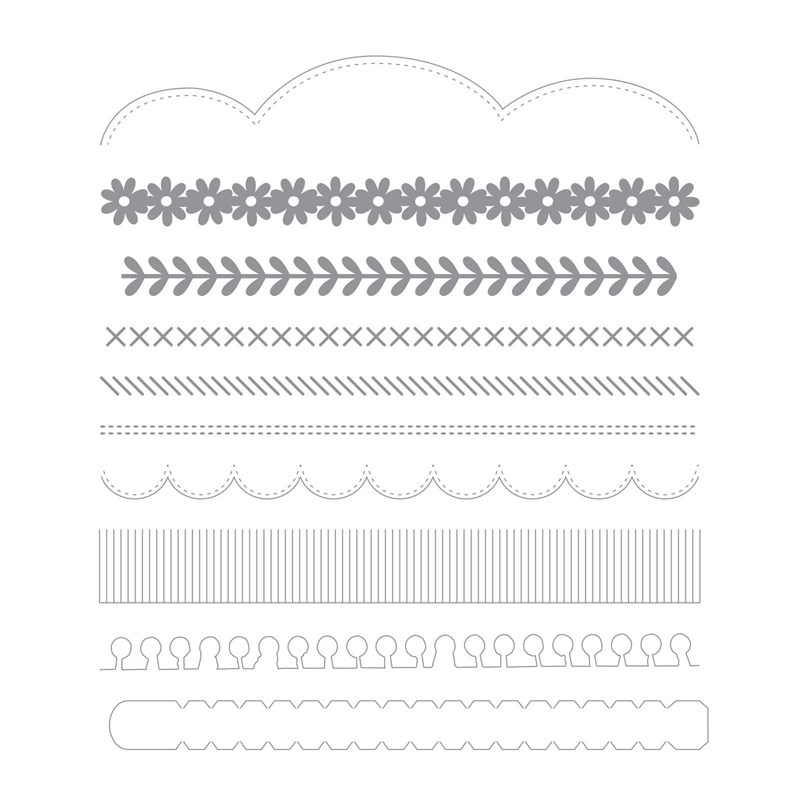
What’s even better than how great it turned out is the fact it can be so much simpler to create now! Our *NEW* Decorative Borders Thin Cuts dies contains a fringe border! Easy peasy way to cut out all your pieces to create one of these wreaths.
Want to create one for yourself? It’s easy and you need only a few supplies. Here is what you’ll need:
- 12″ foam wreath
- (45) 2″ x 6″ strips of paper (4 sheets of 12″ x 12″ paper)
- Decorative Borders Thin Cuts dies (Z4241)
- Paper Trimmer (Z1783)
- Hot glue gun
- Sizzix, Cuttlebug or similar die cutting machine
STEP 1:
Use your paper trimmer to cut your desired paper into 2″ x 6″ strips.
STEP 2:
Run your strips through your die cutting machine with the Fringe die.
STEP 3:
Organize your paper in the order you want to glue them onto your foam wreath. Then add hot glue to the non-fringed edge of a strip and wrap around wreath. Adhere next following same procedure. Continue until all strips are glued to the foam wreath. Note: if you wish to add a banner to your wreath as I’ve done, you’ll want to attach that first so you can glue around it and hide the ties.
I used our old Pathfinding Paper for this harvest wreath but I’m thinking I’m going to do another in either an all white one with a snowflake banner or a more traditional red and green one. I hope you give one a try. They are super easy to create and have a fun, unique look to them once completed.

