Supplies needed:
- patterned paper
- plastic straws
- Scotch tape
- pencil
- rubber bands
- decorative/duct tape (optional–Scotch tape could also be used)
Step 1:
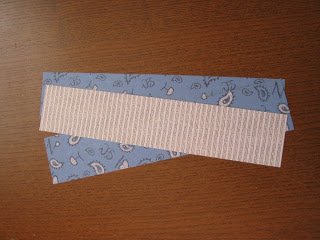
Cut your patterned paper into 2″ x 10″ strips.
Step 2:
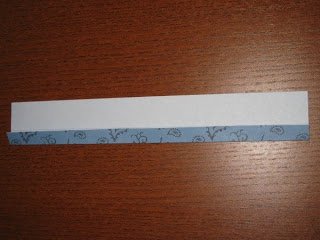
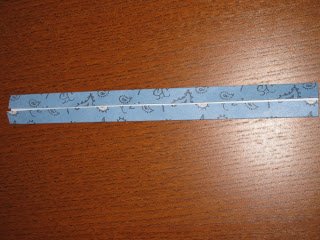
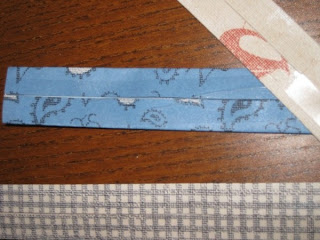
Using your pencil draw a line down the middle of your strip. Then fold left side to middle, followed by right side to the middle.
Step 3:
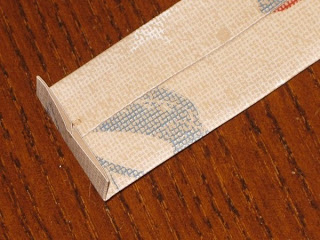
Tape seam entirely with Scotch tape. (note: I tried both cheapy tape and Scotch tape–trust me, you’ll appreciate the Scotch tape in Step 6!) Then fold one end up about 1/4″ and tape seam entirely.
Step 4:
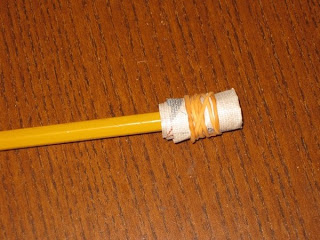
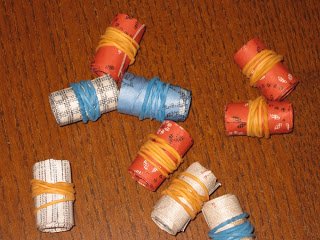
Starting with the sealed end, you want to roll up the strip or “tongue” of your party blower tightly around a pencil and then secure it with a rubber band. You can then slide them off and repeat the process as many times as necessary. Leave these secured for at least a day or more to ensure they maintain the coiled form.
Step 5:
Cut your plastic straws to 6″ and set aside. (note: I found black straws for Halloween which worked well with my cowboy theme, but if you felt really crafty you could wrap regular straws with vellum and/or patterned paper using double-sided adhesive)
Step 6:
Step 7:
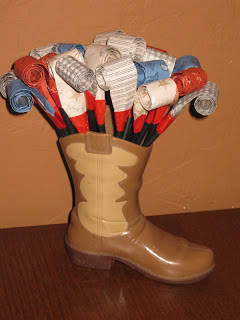
Place some liquid glue inside the folded corners and insert your cut straw. Then using decorative (I used red duct tape) or Scotch tape, seal the straw-tongue joint. Enjoy!
If you’ve been following me for at least a year, you may recall that last October I participated in Blogtoberfest. A fabulous challenge to post tutorials, tips, projects, etc. as much as possible all October. Well, I’m doing it again! And I’m striving to post daily. That’s right, I said daily! I came close last year, but didn’t quite do it. This is the year though…I can feel it! So be sure to keep coming back or better yet, become a follower!



Woot for the tutorial!