Want to know how to change up a card sketch? It’s easy. And there are many ways you can do it. You can rotate the sketch. You can scale the layers to fit different sized cards (i.e. using a standard A2 card sketch to create a Slimline Card.) But perhaps the easiest thing you can do is slightly tweak one or more of the layers.
For today’s Make It Monday (89th edition), that is what I thought I would share with you. How making a small tweak to a card design can actually change up the look quite a bit. That’s what I did here. I used one of the card designs shared by Close To My Heart on their blog last week.
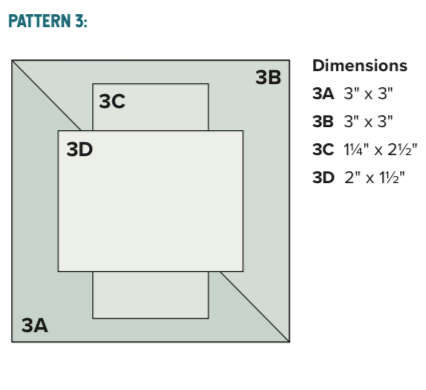
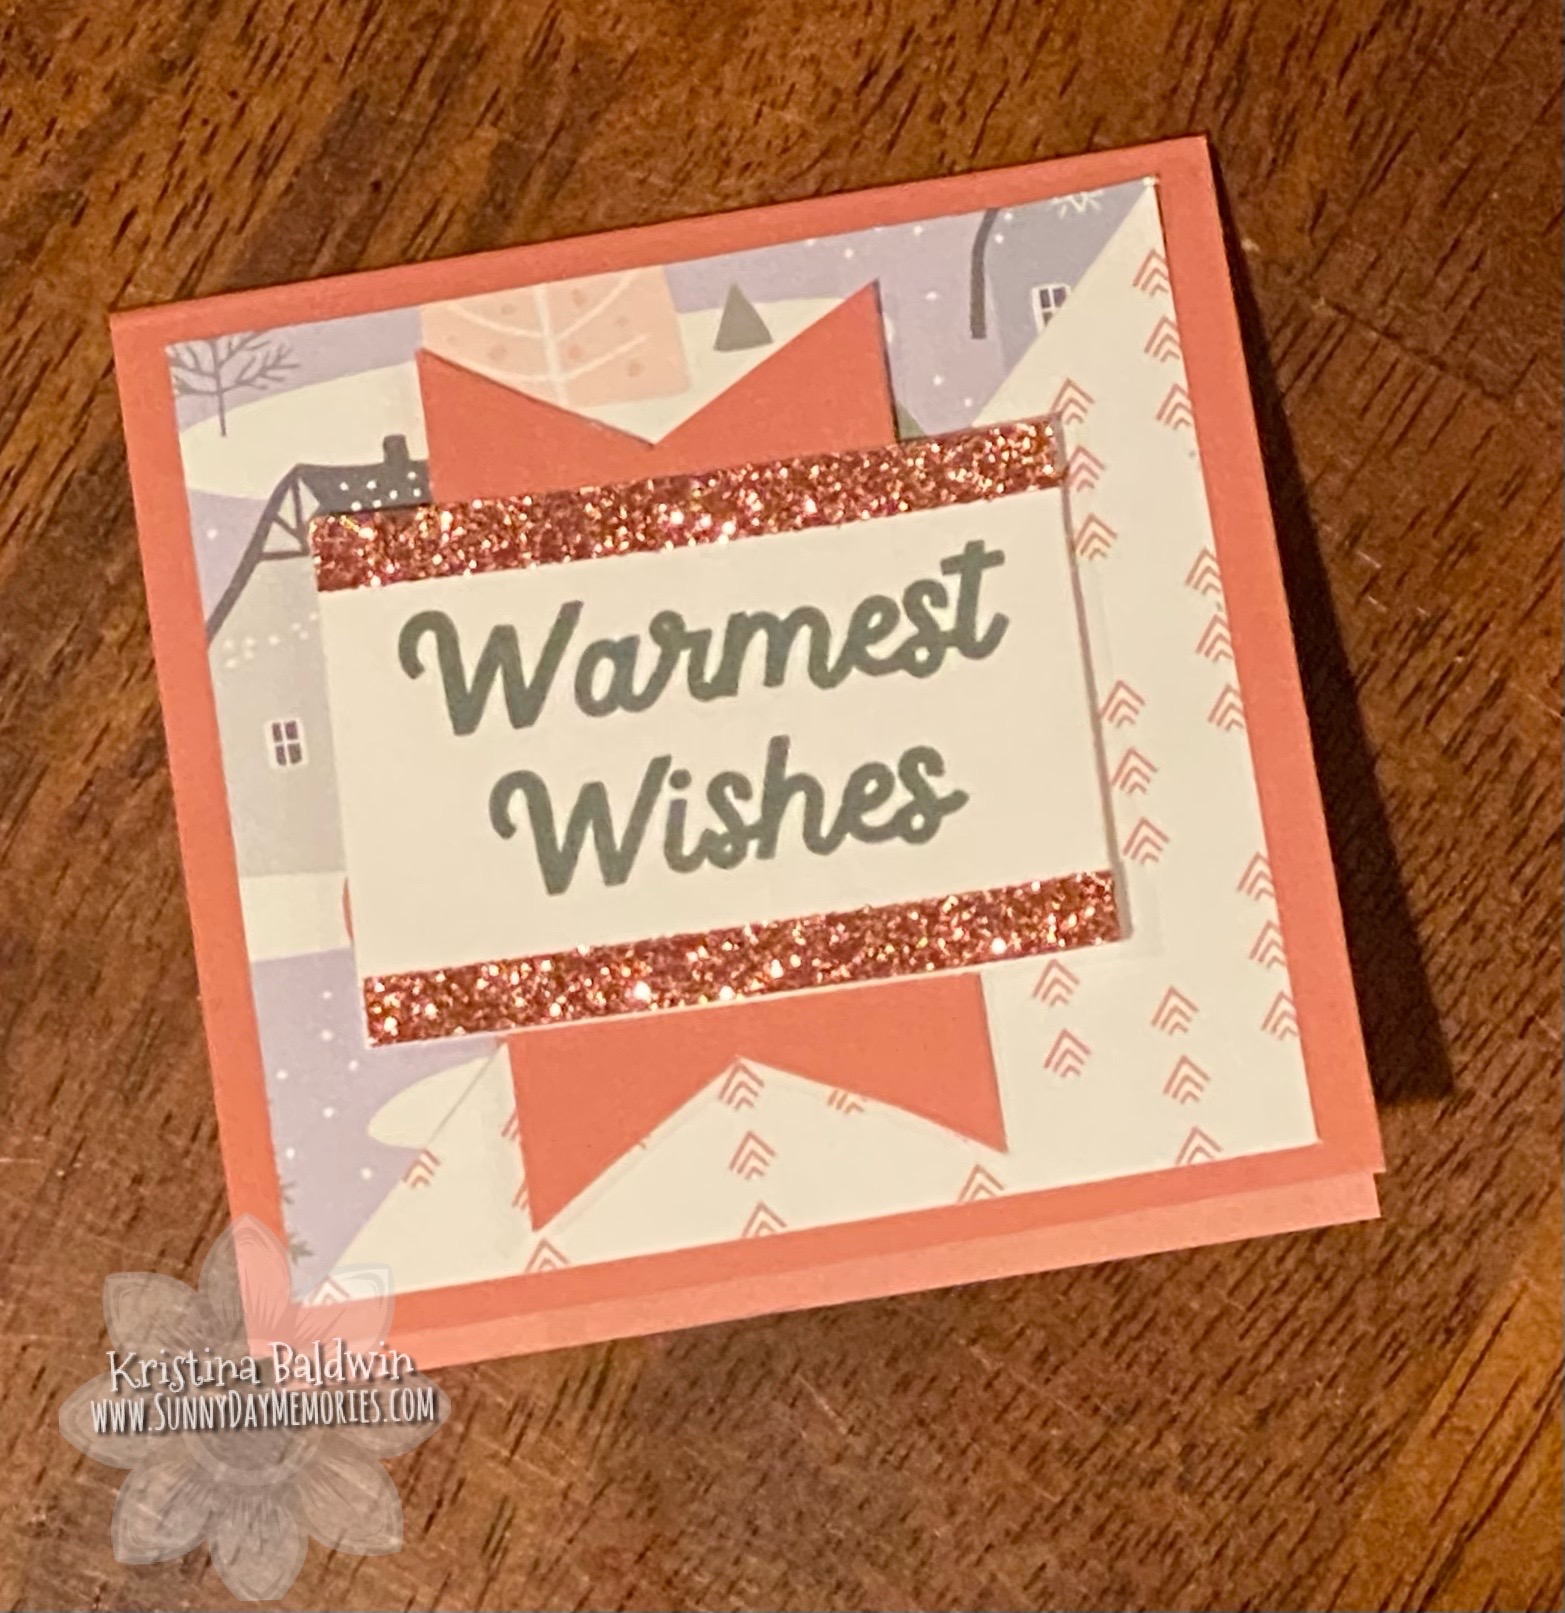
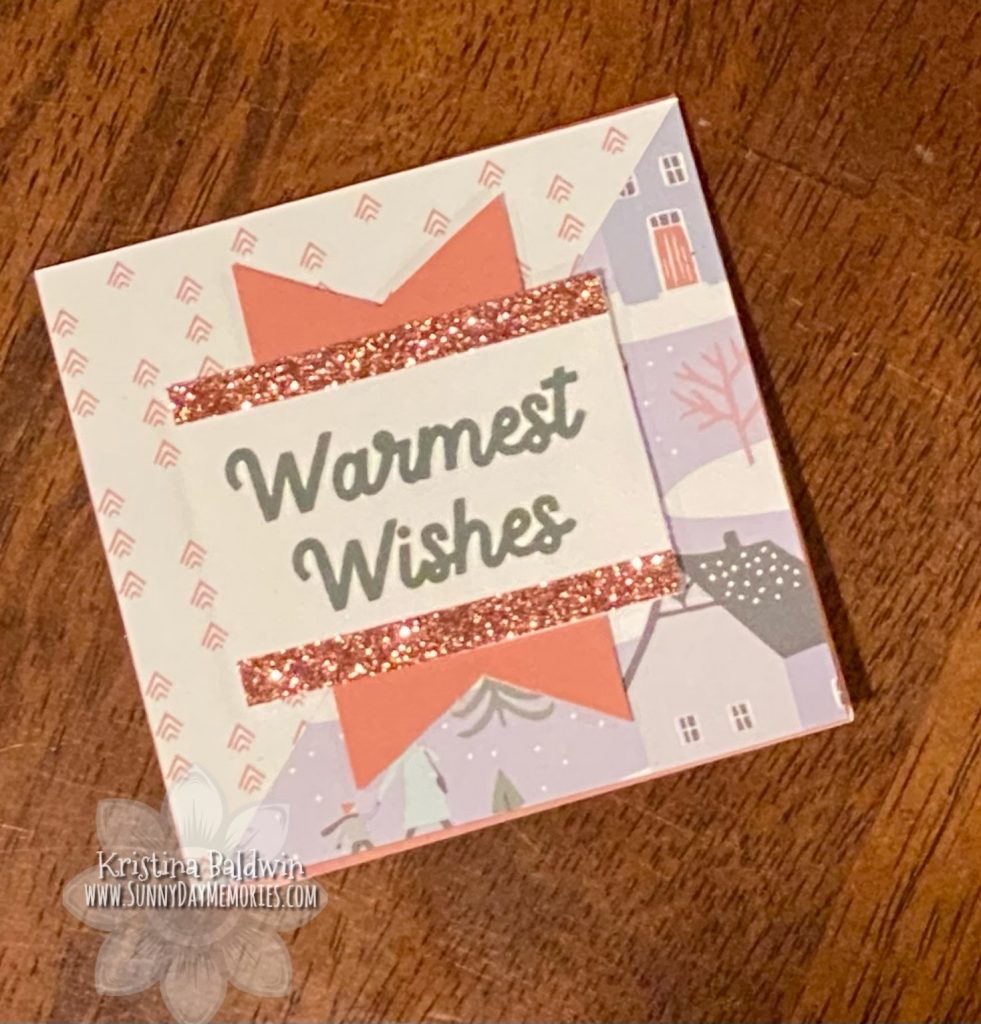
Both of my cards are fun little mini 3″ x 3″ cards. Perfect for accompanying a little co-worker or neighbor gift. For my first one, I followed the pattern exactly. Well, I guess not exactly as I did change the angle of the cut for pieces A & B! But essentially it’s exactly as the pattern.
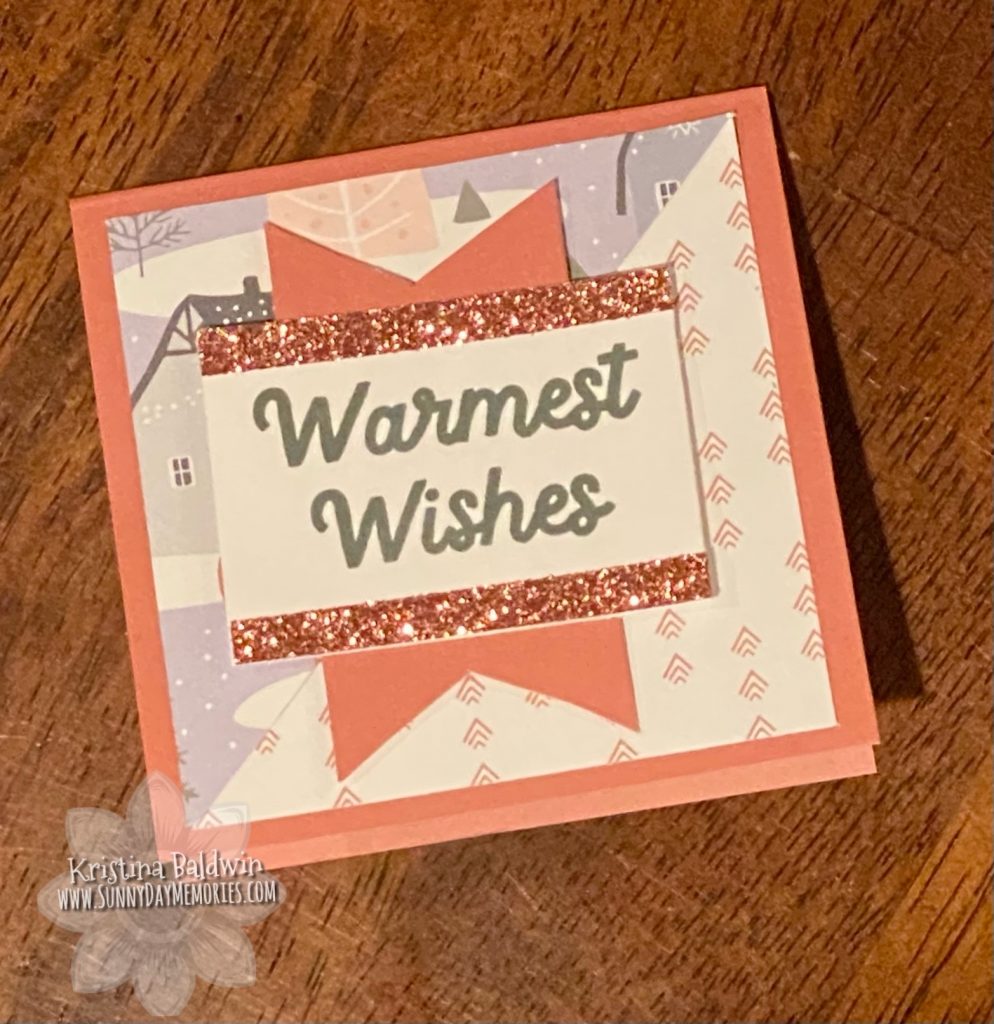
For my 2nd card, I used all the same elements, but…instead of cutting pieces A & B as indicated, I took a 1/4″ off each side so that I could have a slight border around the edge of my card. So instead of being 3″ x 3″ pieces cut at a diagonal, they were 2-3/4″ x 2-3/4″. Simple change, right? But they do look pretty different from each other.
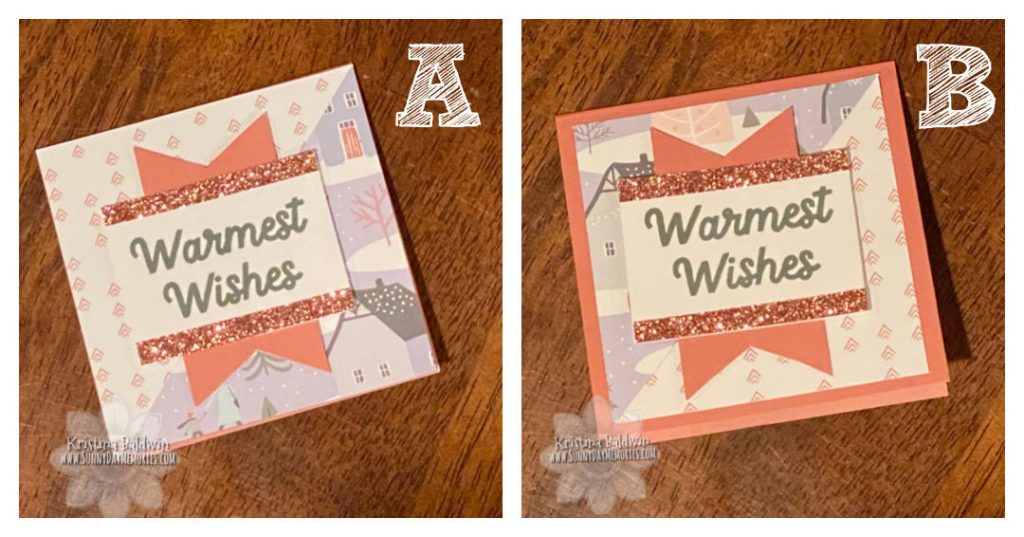
Which do you like better? A–the original design? Or B–the design tweaked a little?
Here are the supplies I used to create both cards:
STAMPS
- Deck the Palms Christmas (CC11219)
INKS
- Charcoal (Z2831)
PAPERS
- Wonderland Paper Collection (X7274B)
- Desert Rose Cardstock (X6055)
- White Daisy Cardstock (1385)
ACCESSORIES
- Thin 3-D Foam Tape (Z2060)
- Rose Gold Shimmer Trim (Z5017)
Now that you have this card pattern with all the dimensions, you could scale the measurements to fit a standard sized card. Or you could just alter Pieces A & B like I did. With one card design, you can have multiple looks. Because now you know how to change up a card sketch!

