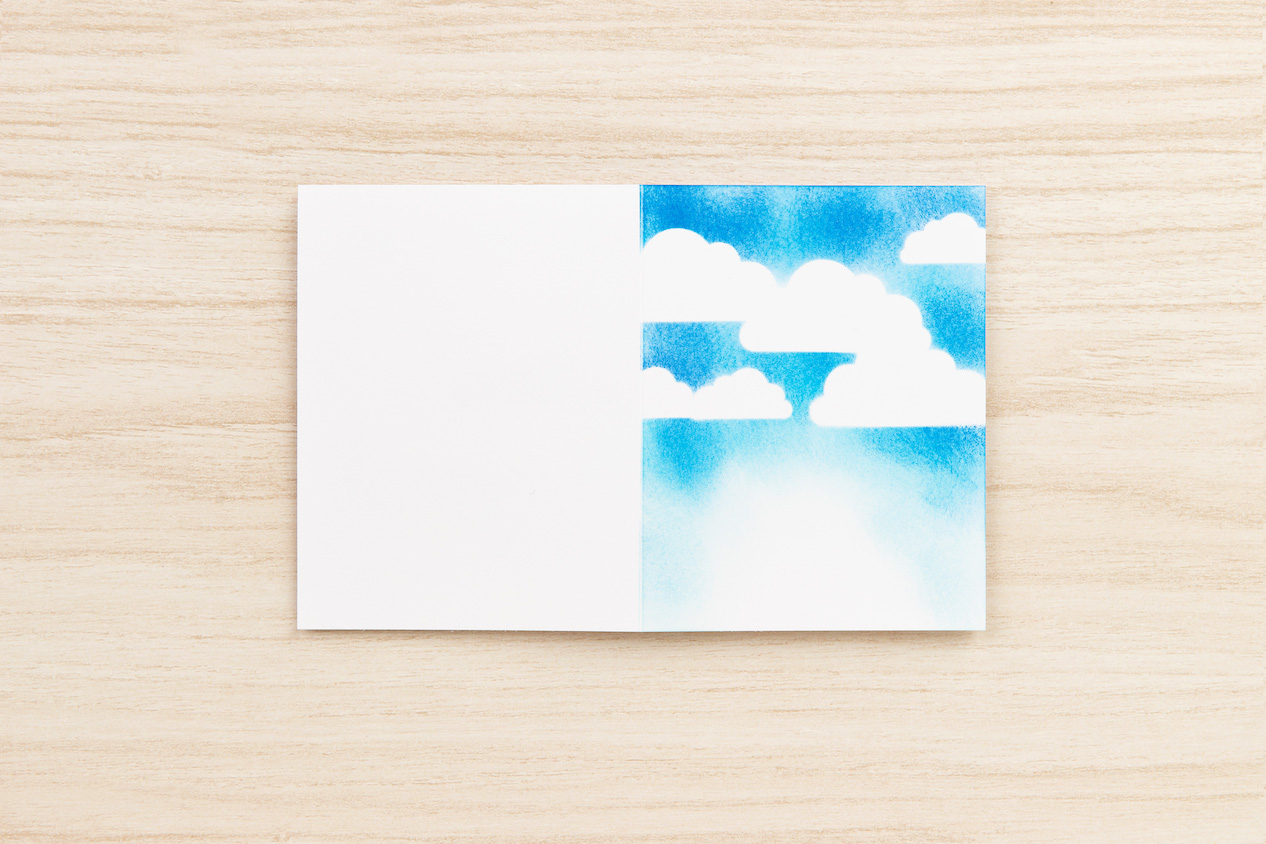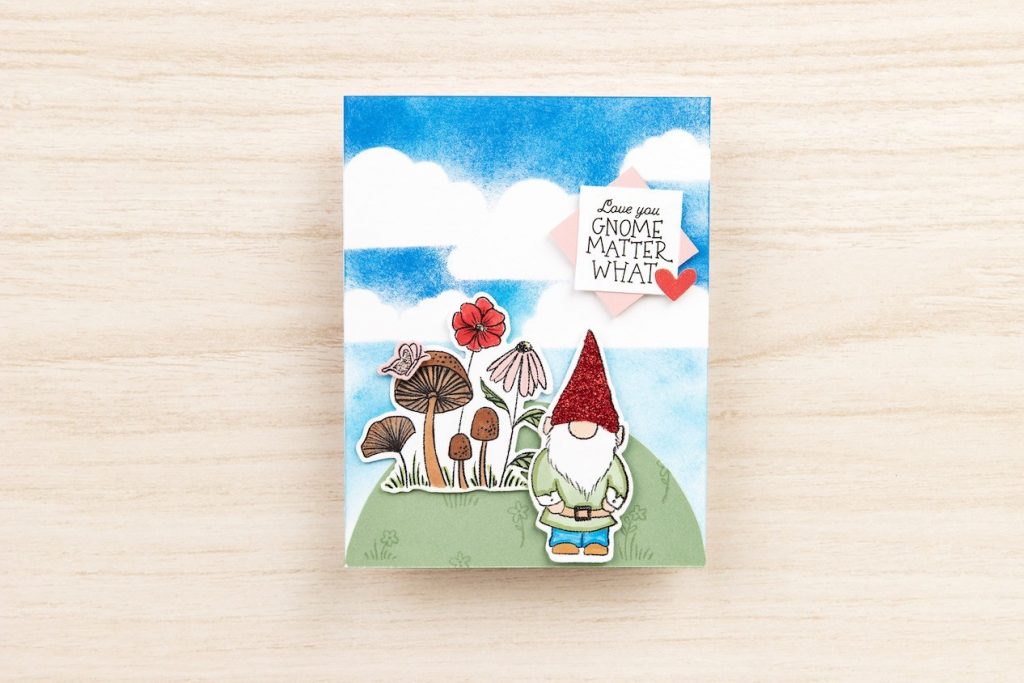
Today I wanted to share how to create a sponged sky background. Close To My Heart shared this on their blog a few days ago and it’s such a great technique. It’s also an adorable card with our Gnome Matter Stamp Set. To make sure you could also enjoy this technique, in case you missed it on their blog, I’m sharing it with you today.
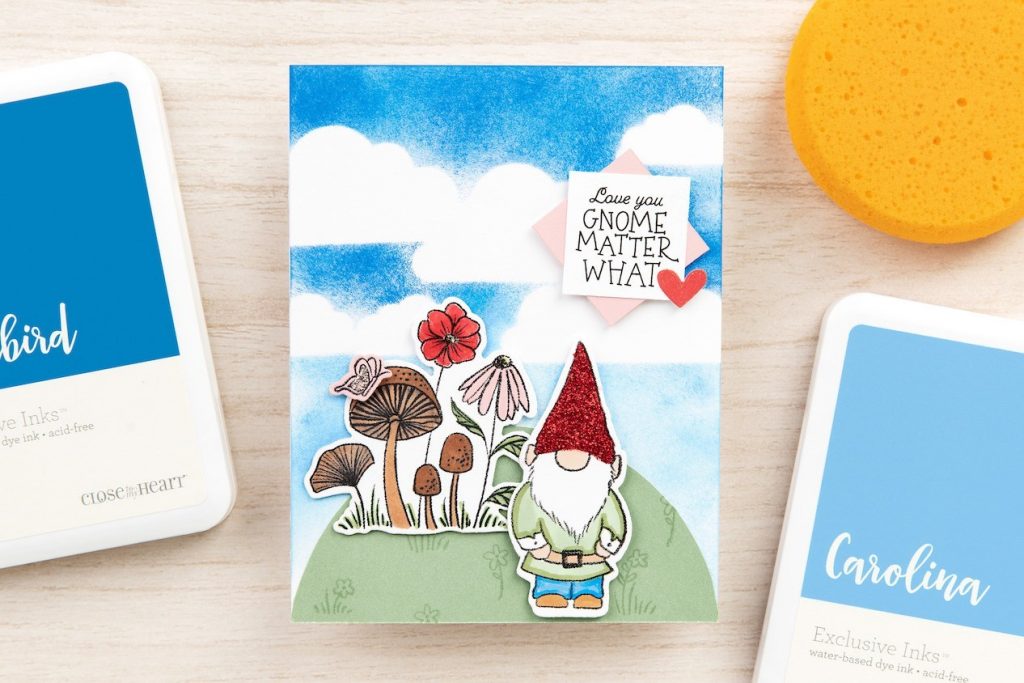
Today we are assembling this incredibly endearing Love You Gnome Matter What card! To help us get things just right, we asked our Creative Arts Manager and trusty friend, Karen Pedersen, to join us!
If you’d like to assemble your card along side Karen as you watch her in action, you will need to prepare a few things first.
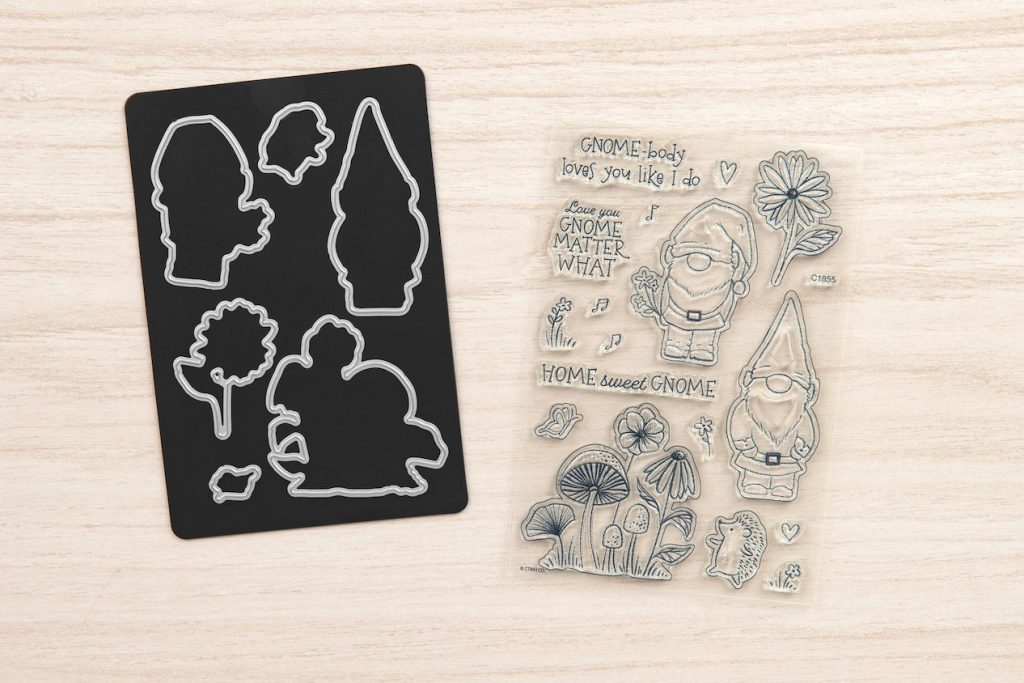
Using the Gnome Matter Stamp + Thin Cuts, stamp the gnome with the pointed hat and the toadstools with flowers on white cardstock using Archival Black ink, then die-cut the shapes. For the hill, cut a half-circle out of Sage cardstock and stamp it with a few small flowers using Sage ink.
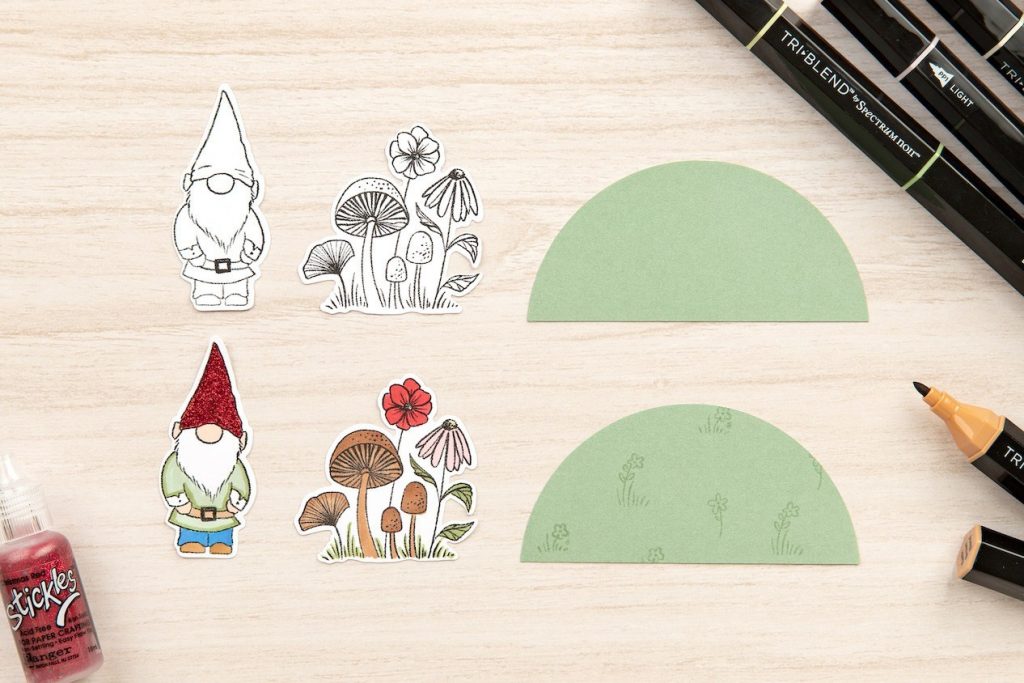
Karen talks about how to color your stamped images, and also shares some tips for using Stickles™ glitter glue. (If you’d like to duplicate our card exactly, we used Silver and Christmas Red Stickles™ glitter glue, and Dull Green, Earth Brown, Light Yellow, Pale Pink, and Fair Skin TriBlend™ markers.)
The first thing Karen will show us in the video below, is how to recreate the beautiful sky background of this card using a simple sponging technique. For this step, you will need a blank card base, Carolina and Bluebird stamp pads, a round sponge and scissors, sticky notes, and several cut-out cloud shapes. (We made our clouds using Cricut® shape #M412A0C, from our Artistry Cricut® collection.)
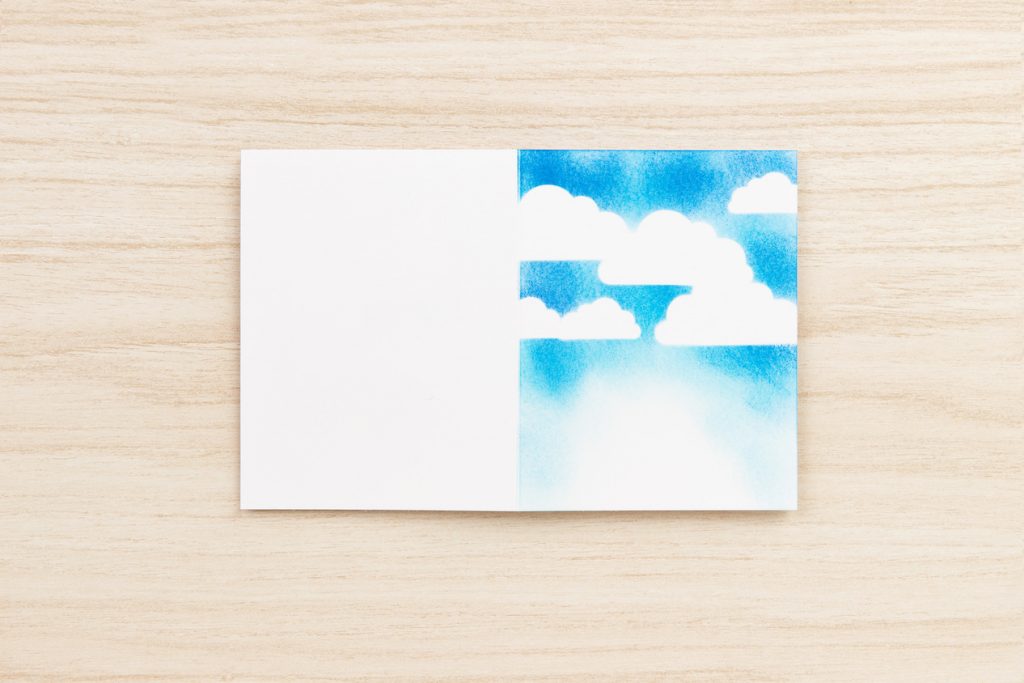
If you’re all set (and even if you’re not and just want to watch a video for some inspiration) here’s our friend Karen recreating the Love You Gnome Matter What card:
Now that you know how to create a sponged sky background, I hope you’ll have fun creating lots of projects with this technique.

