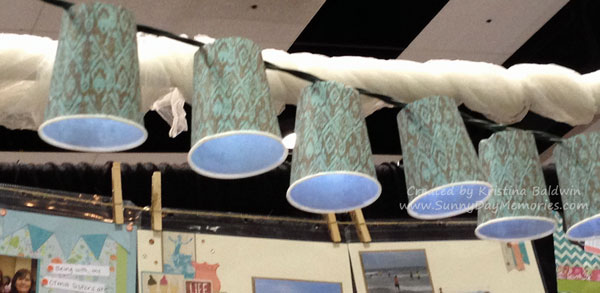
If you stopped by our Close To My Heart Scrapbook Expo booth in Santa Clara, CA this past August, you would have seen these Dixie Cup Party Lights I made and strung across our booth. I had every intention of posting instructions (they are really quite simple!) shortly after the event, but life somehow always gets in the way! But I decided it’s better late than never, right?!
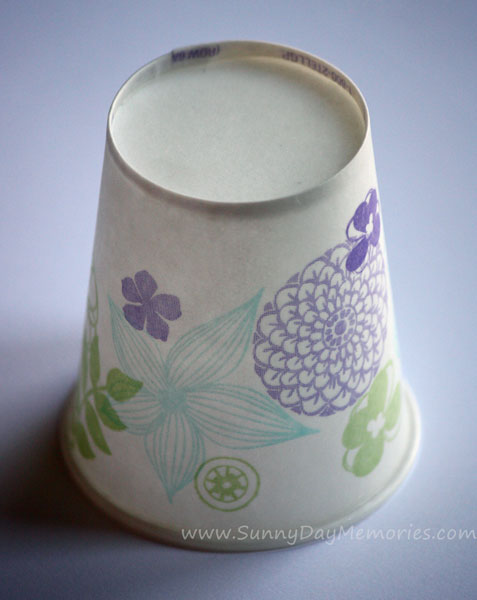
STEP 1: Gather enough Dixie Cups to cover your strand of lights–plus 1 extra (for the template!)
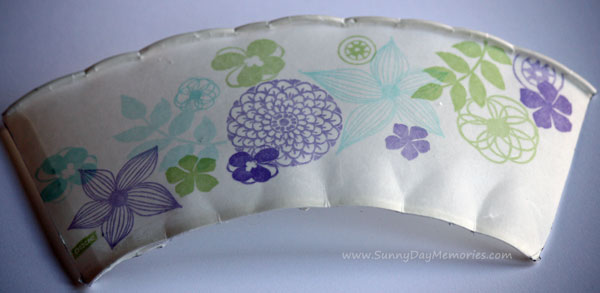
STEP 2: Create your Dixie Cup Template by separating the cup at it’s seam and then cut away the base of the cup. Don’t worry if it doesn’t look perfect. Remember these lights will be strung up so no one is going to get a close look at them and see tiny flaws–only you will know if there are any!
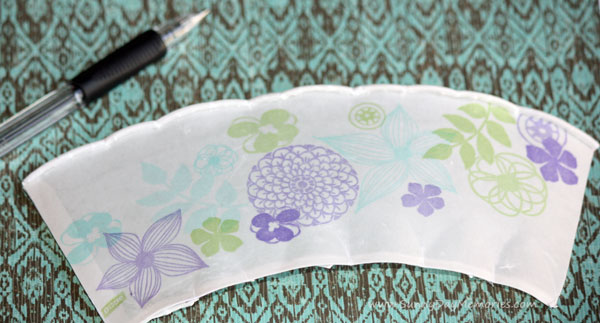
STEP 3: Trace your template on patterned paper of choice. Make sure to trace enough to cover each of your cups.
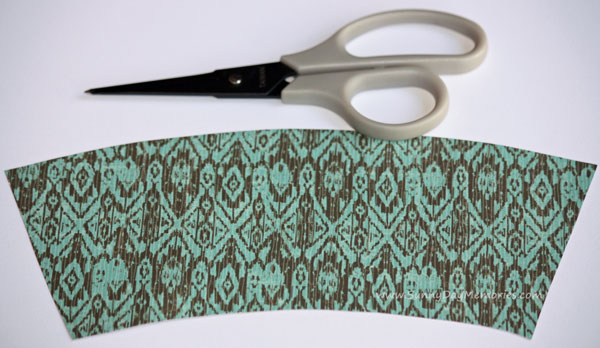
STEP 4: Cut out all the covers you traced from the Dixie Cup template. If you want to, you could sponge the edges to add more depth. Again, remember no one is going to be too close to them so if you are short on time–this is totally not necessary.
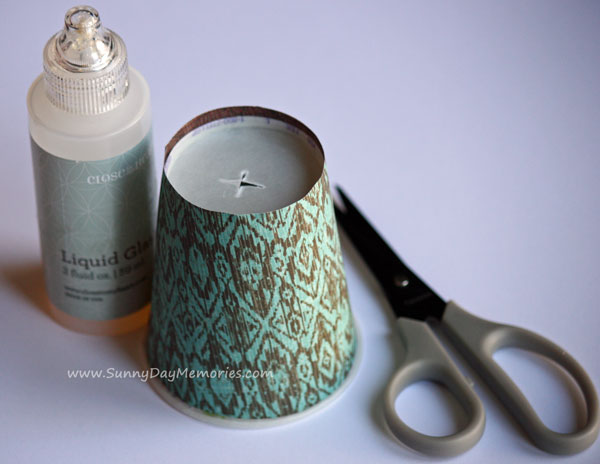
STEP 5: Adhere the cut out covers to Dixie Cups using strong adhesive–I recommend Close To My Heart’s Liquid Glass (this stuff is the BEST!) Then you’ll want to make a small “x” in the center of each cup base to push the bulb through.
Easy, right? I will say it was so fun to see so many of the men that were accompanying their crafty ladies at the Expo studying and looking at these lights. They really are easy to make and definitely create a nice ambiance to an occasion.
Have fun creating your own set of Dixie Cup Party Lights!
