Today we are going to learn how to do Masking, Base & Shade and Backside Stamping. It’s the 3rd how-to video in the 4-part series I shared with you over the last 2 weeks. As was true with last week’s video, you’ll continue to build on the same techniques you’ve learned previously.

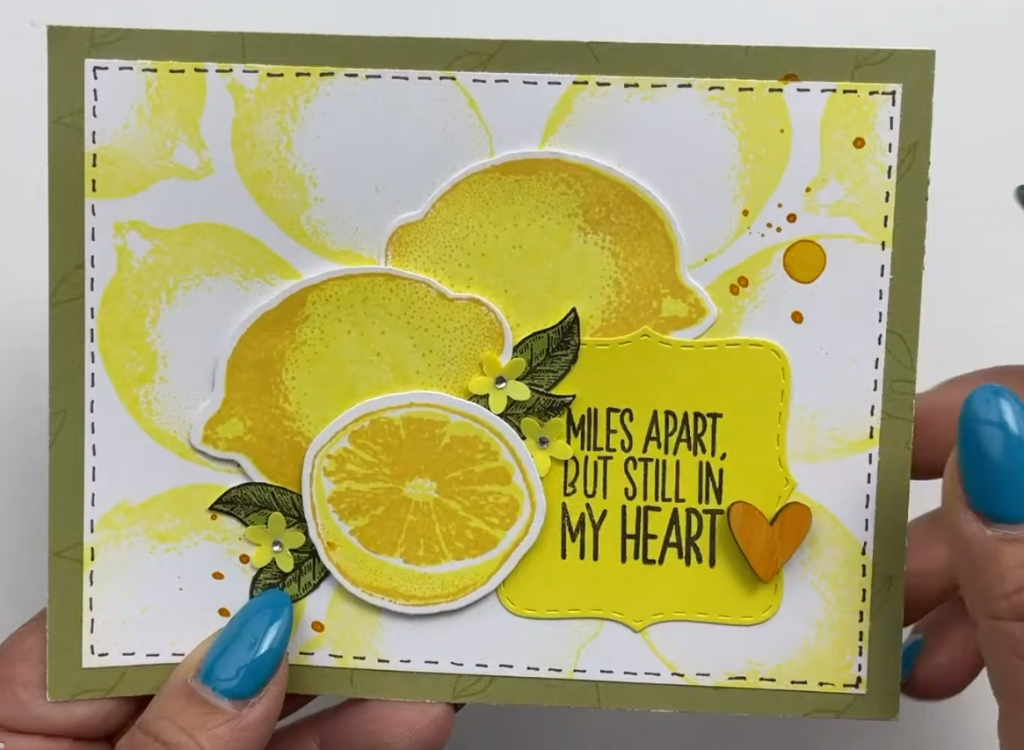
The first technique we’ll learn this week is Base & Shade Stamping. It’s always so fun doing this simple technique as it has such a great results every time. It adds great depth to your stamped image. And the stamp set, Sweet Fruit, that they use for this technique is a must-have. I was initially drawn to it, but a little torn on how often I’d use it. But once I got it and created my first card with it, I was hooked!

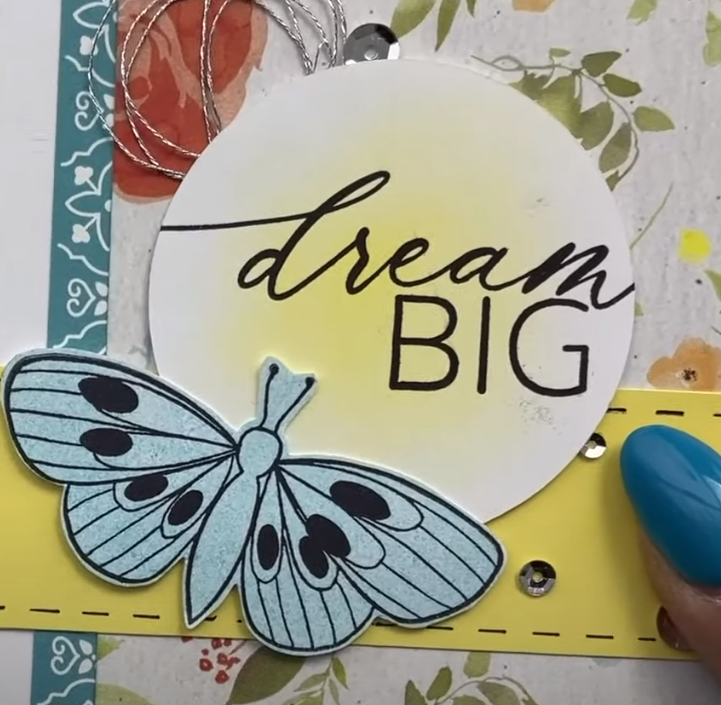
The second technique is Backside Stamping. I’ve used this technique a lot over the years. It really opens up so many possibilities!

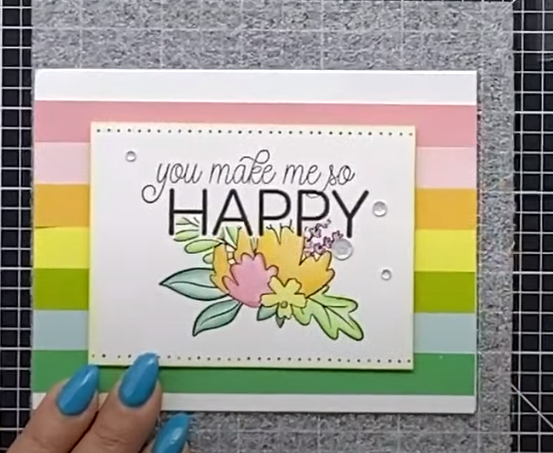
Finally, the last technique for this week is Masking. People do this technique a number of ways. What is shown in the video is just one way you can do it. No matter how you do it though, it always is so rewarding to get a different look and feel with your stamps through this technique.
Are you learning new stamping techniques? I hope so! It’s always fun to see how many looks you can achieve with your stamps through simple techniques such as these ones we’ve been sharing. Here is a listing of the products used in this week’s video:
- Sweet Fruit Stamp + Thin Cuts
- Florals & Flutters Stamp Set
- So Happy Together Stamp Set
- Lagoon Exclusive Inks™ Stamp Pad
- Sundance Exclusive Inks™ Stamp Pad
- Lemonade Exclusive Inks™ Stamp Pad
- Black Exclusive Inks™ Stamp Pad
I’ll be sharing the final video in this stamping technique series next week. That means 3 more wonderful stamping techniques to explore. So exciting! I hope you enjoyed learning how to do Masking, Base & Shade and Backside Stamping today.
