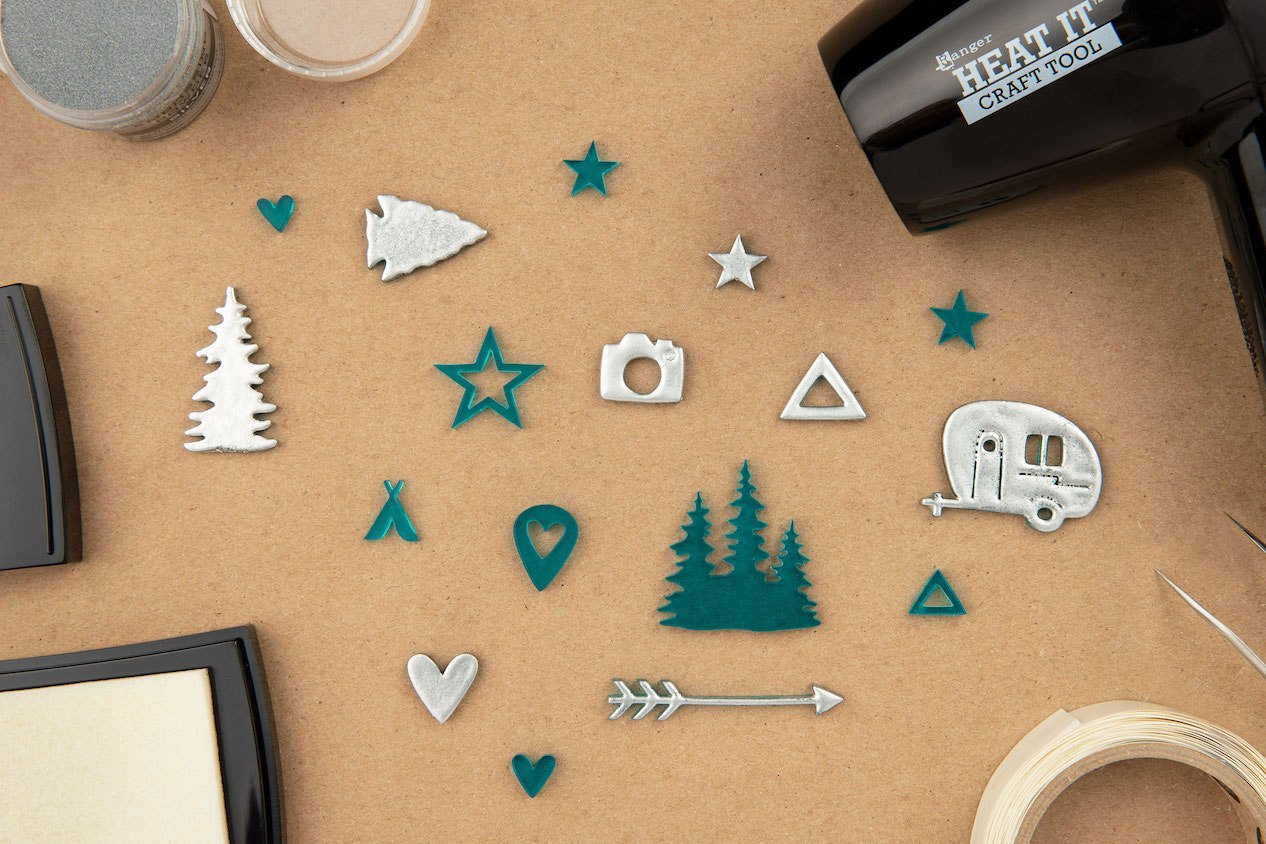
Today we are going to talk about how to heat emboss on acrylic shapes. This is a fun technique. One I had not even considered. That is, until yesterday when Close To My Heart did a blog post about it! So in case you missed it, here is the post they did:
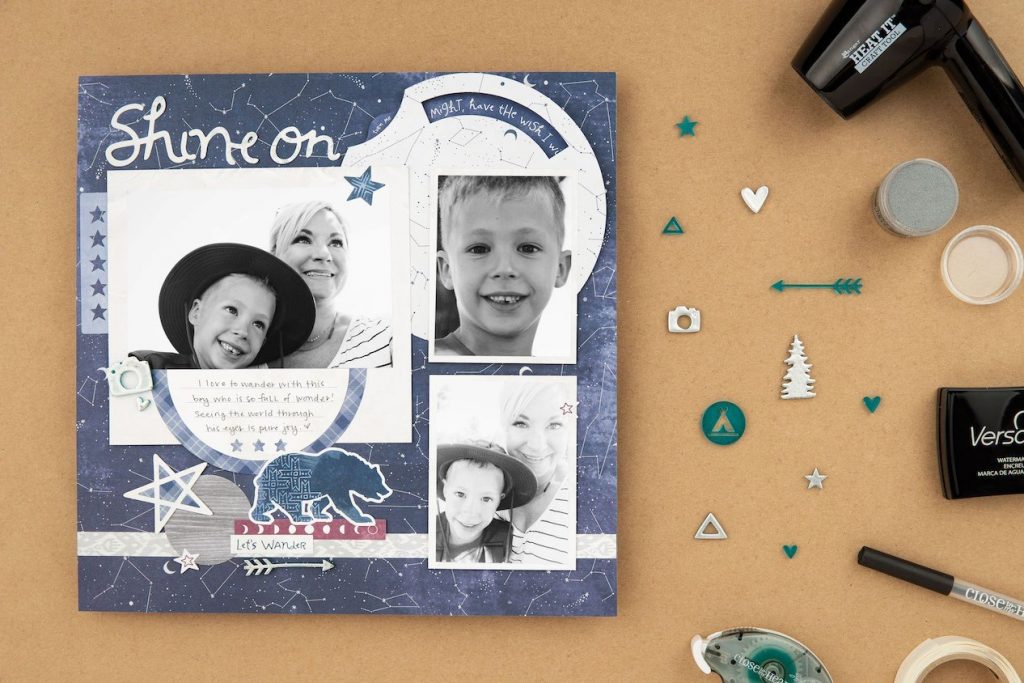
One of the most satisfying parts of crafting is finding the perfect accents to polish things off. Even the simplest embellishments can go a long way but, because we like to take creativity just that extra step further, today we’re going to show you how we’ve heat embossed on acrylic shapes to open up even more embellishment possibilities!
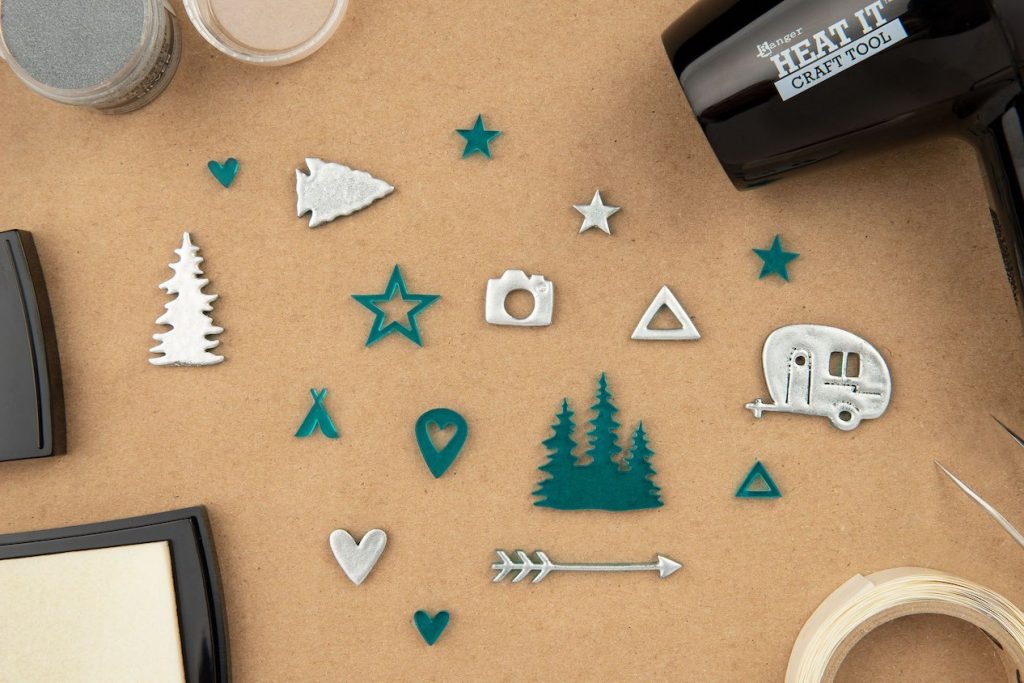
Today we will be using the Aurora Acrylic Shapes, which are part of the wilderness-inspired Aurora paper collection and are featured in our Aurora Scrapbooking Workshop along with this embossing technique.


(Download the free workshop guide by clicking on the link below.)
Aurora Scrapbooking Workshop Guide (US/CA)
Aurora Scrapbooking Workshop Guide (AU/NZ)
Follow along with Karen, our Art Studio Director, in the video below and see how you, too, can effectively apply heat embossing to our acrylic shapes.
This technique is quite simple, taking only a few minutes, and adds a unique element to any project. In the video, Karen shows that you can change the color of the acrylic shapes by covering them with embossing ink and a colored embossing powder.
For a thicker, glossier finish, you can re-coat your shape in embossing powder while the first layer is still wet and re-heat it. (If you choose to re-coat your shape, be careful—it will be hot!)
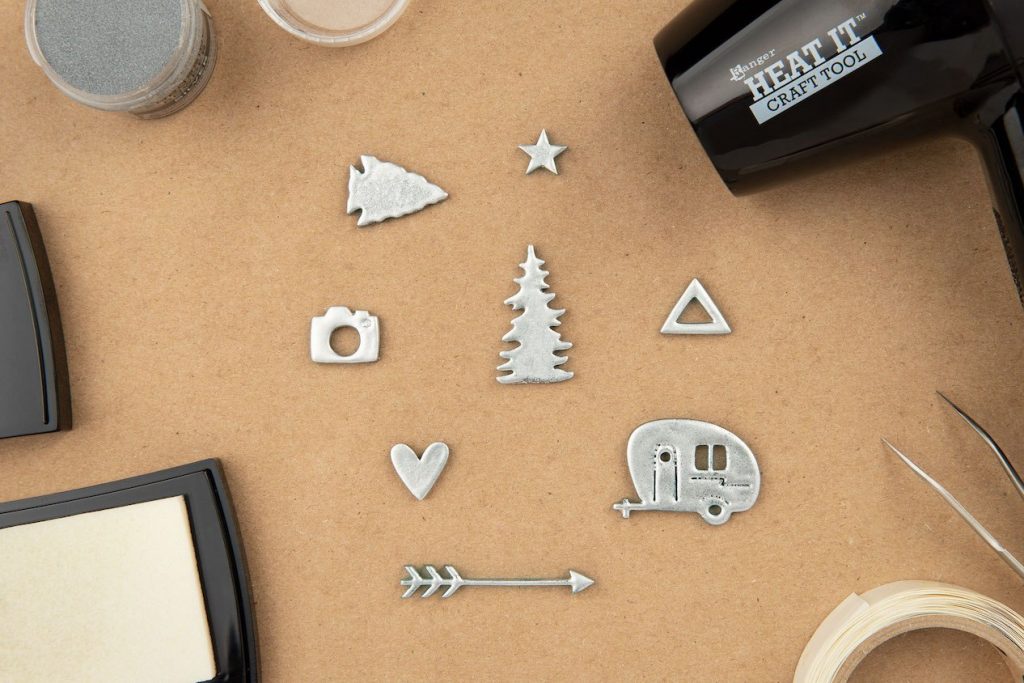
There is another way to heat emboss acrylic shapes in order to make them coordinate with any Close To My Heart exclusive color scheme that you may we working with. Did you know that you can pair any of our Exclusive Inks™ pigment pads with clear embossing powder to achieve that exact same exclusive color of the ink? (Yes, really!) It works on paper and it works on our acrylic shapes!
Keep in mind that as you heat acrylic shapes with a heat tool, even our top-of-the line acrylic, they may develop a tendency to warp or bend. While this can add a fun twist, if you plan for it intentionally, make sure to apply heat with your heat tool intermittently rather than continuously if you want to keep the original shape.
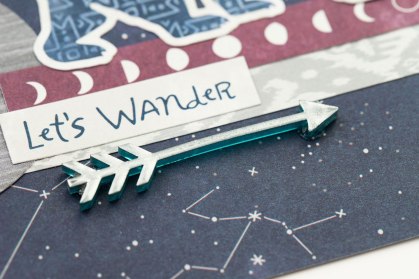
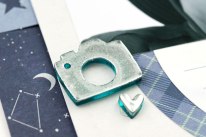
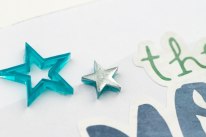
Give this embellishing technique a try with our beautiful Aurora Scrapbooking Workshop and enjoy the rest of this exciting National Scrapbooking Month!

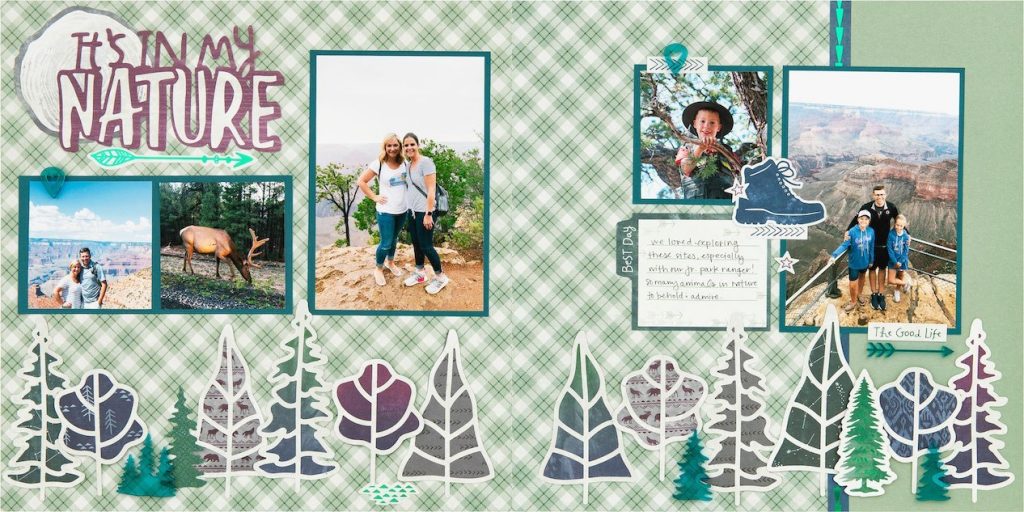
Are you in love with this technique? I know I am! I can’t wait to give it a try myself. While I’ve never tried this, I have tried a couple of other techniques with the Acrylic Shapes. First, I’ve colored them with our Alcohol Markers. You can see an example in this post HERE. Similarly, I’ve used Stickles on top of the Acrylic Shapes. It not only changes the color but also adds sparkle and shine. You can see an example in this post HERE. Perhaps the best news though is that more and more Acrylic Shapes continue to debut. Different shapes. Different colors. For instance, I just saw some fun new ones for summer. They’re coming soon. You’re going to love them!
So now it’s your turn! How will you alter your Acrylic Shapes? Color them with alcohol markers? Add a little bit of Stickles? Or perhaps now that you know how to heat emboss our Acrylic Shapes, you’ll give that a try!

