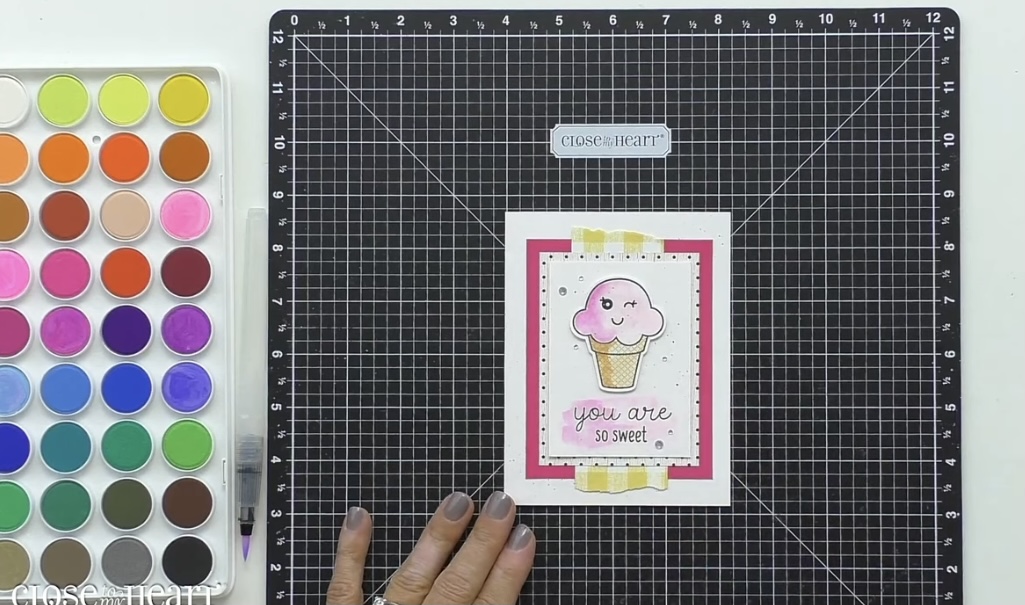
Ready to learn how to Shadow Paint with Watercolor Paints? Today I’m sharing video 2 of our 4-part Watercolor Techniques series. Last week we learned about swashing and if you look at the card sample above, it’s used here, too. Additionally, this card uses Shadow Painting. Jill breaks down how easy this is to do in the video.
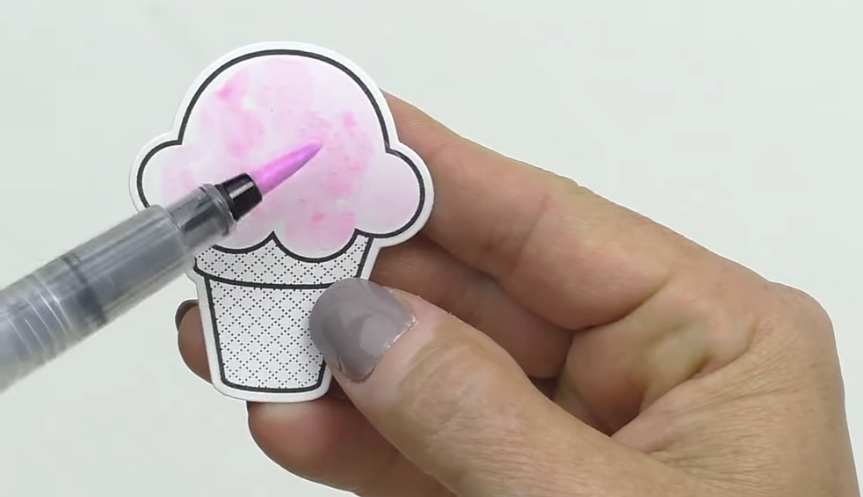
It all starts by adding that base layer of watercolor paints to your image. I like that she emphasizes how it doesn’t have to be perfect. That some of that imperfection is what makes it look so good.

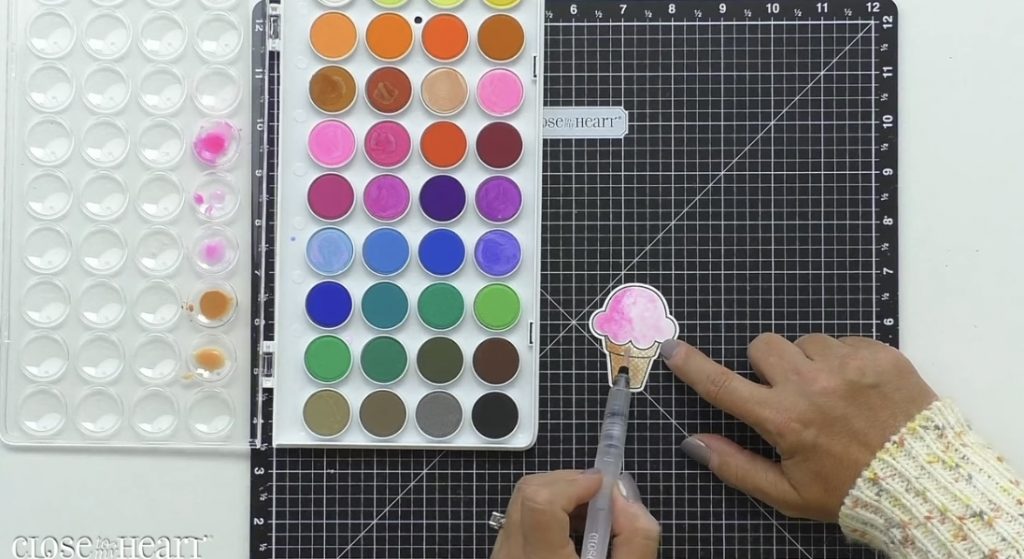
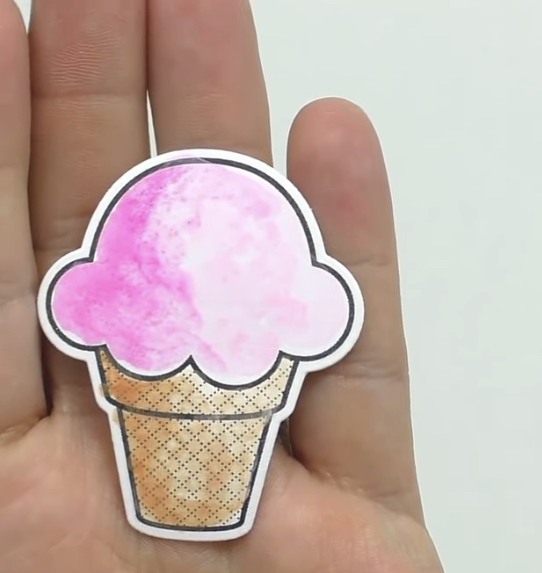
Then by adding in some darker shades to your original color, you can create a nice color that works beautifully for creating that shadow.

For me, the best tip of this process was to squeeze out the color and use that cleaned waterbrush to gently blend the base layer and the shadow so that it’s more natural looking. So simple. Yet definitely something I don’t think I was necessarily focused on doing.

The results are amazing. And Jill definitely makes it look so easy to do. Are you ready to give it a try? Here are the basic supplies she used in this video:
- Desserts a la Whirl Stamp Set (D2025) OR Desserts a la Whirl Stamp + Thin Cuts (Z3957)
- Intense Black Stamp Pad (Z4189)
- White Daisy Cardstock (1385)
- Watercolor Paints (Z3132)
- Medium Round Waterbrush (Z3225)
Now it’s time for you to give it a try! You’ve learned about swashing and now how to Shadow Paint with Watercolor Paints.
