As promised, here is the “how-to” on making your very own Present Gift Card Holder I showed you HERE last week.
STEP 1:
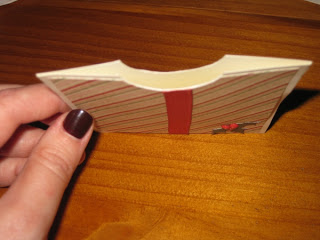
Cut CS for base of “present” to 8-1/2″ x 3-5/8″. Score and fold in half (4-1/4″). Cut B&T paper to 4″ x 3-3/8″. Adhere to center of half of your base. Decorate as desired. Cut half circle in both sides of base.
STEP 2:
Place adhesive along both of the lengths of base to seal and create a pouch as shown below.
STEP 3:
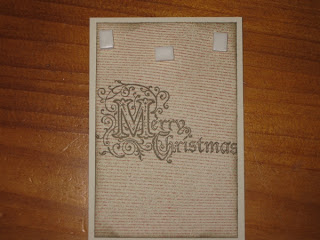
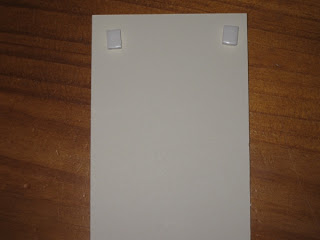
Cut CS for insert to 4-1/4″ x 2-7/8″. And B&T to 4″ x 2-5/8″. Stamp as desired. Then place 3D foam on the front top and back top of the insert as shown below.
STEP 4:
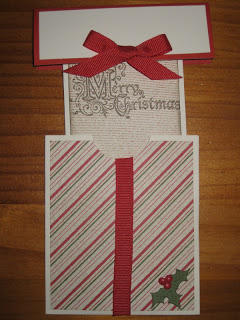
Cut CS for “present top” to 4-1/4″ x 3″. Score at 1-1/2″. Decorate as desired. Adhere insert with 3D foam to present top–placing top edge of insert flush to present top score line.
STEP 5:
Slide insert into base. You can affix a gift card with repositionable adhesive.
And there you have it. Pretty easy peasy, right? Perfect project for birthdays or maybe even for an upcoming Valentine’s present!


