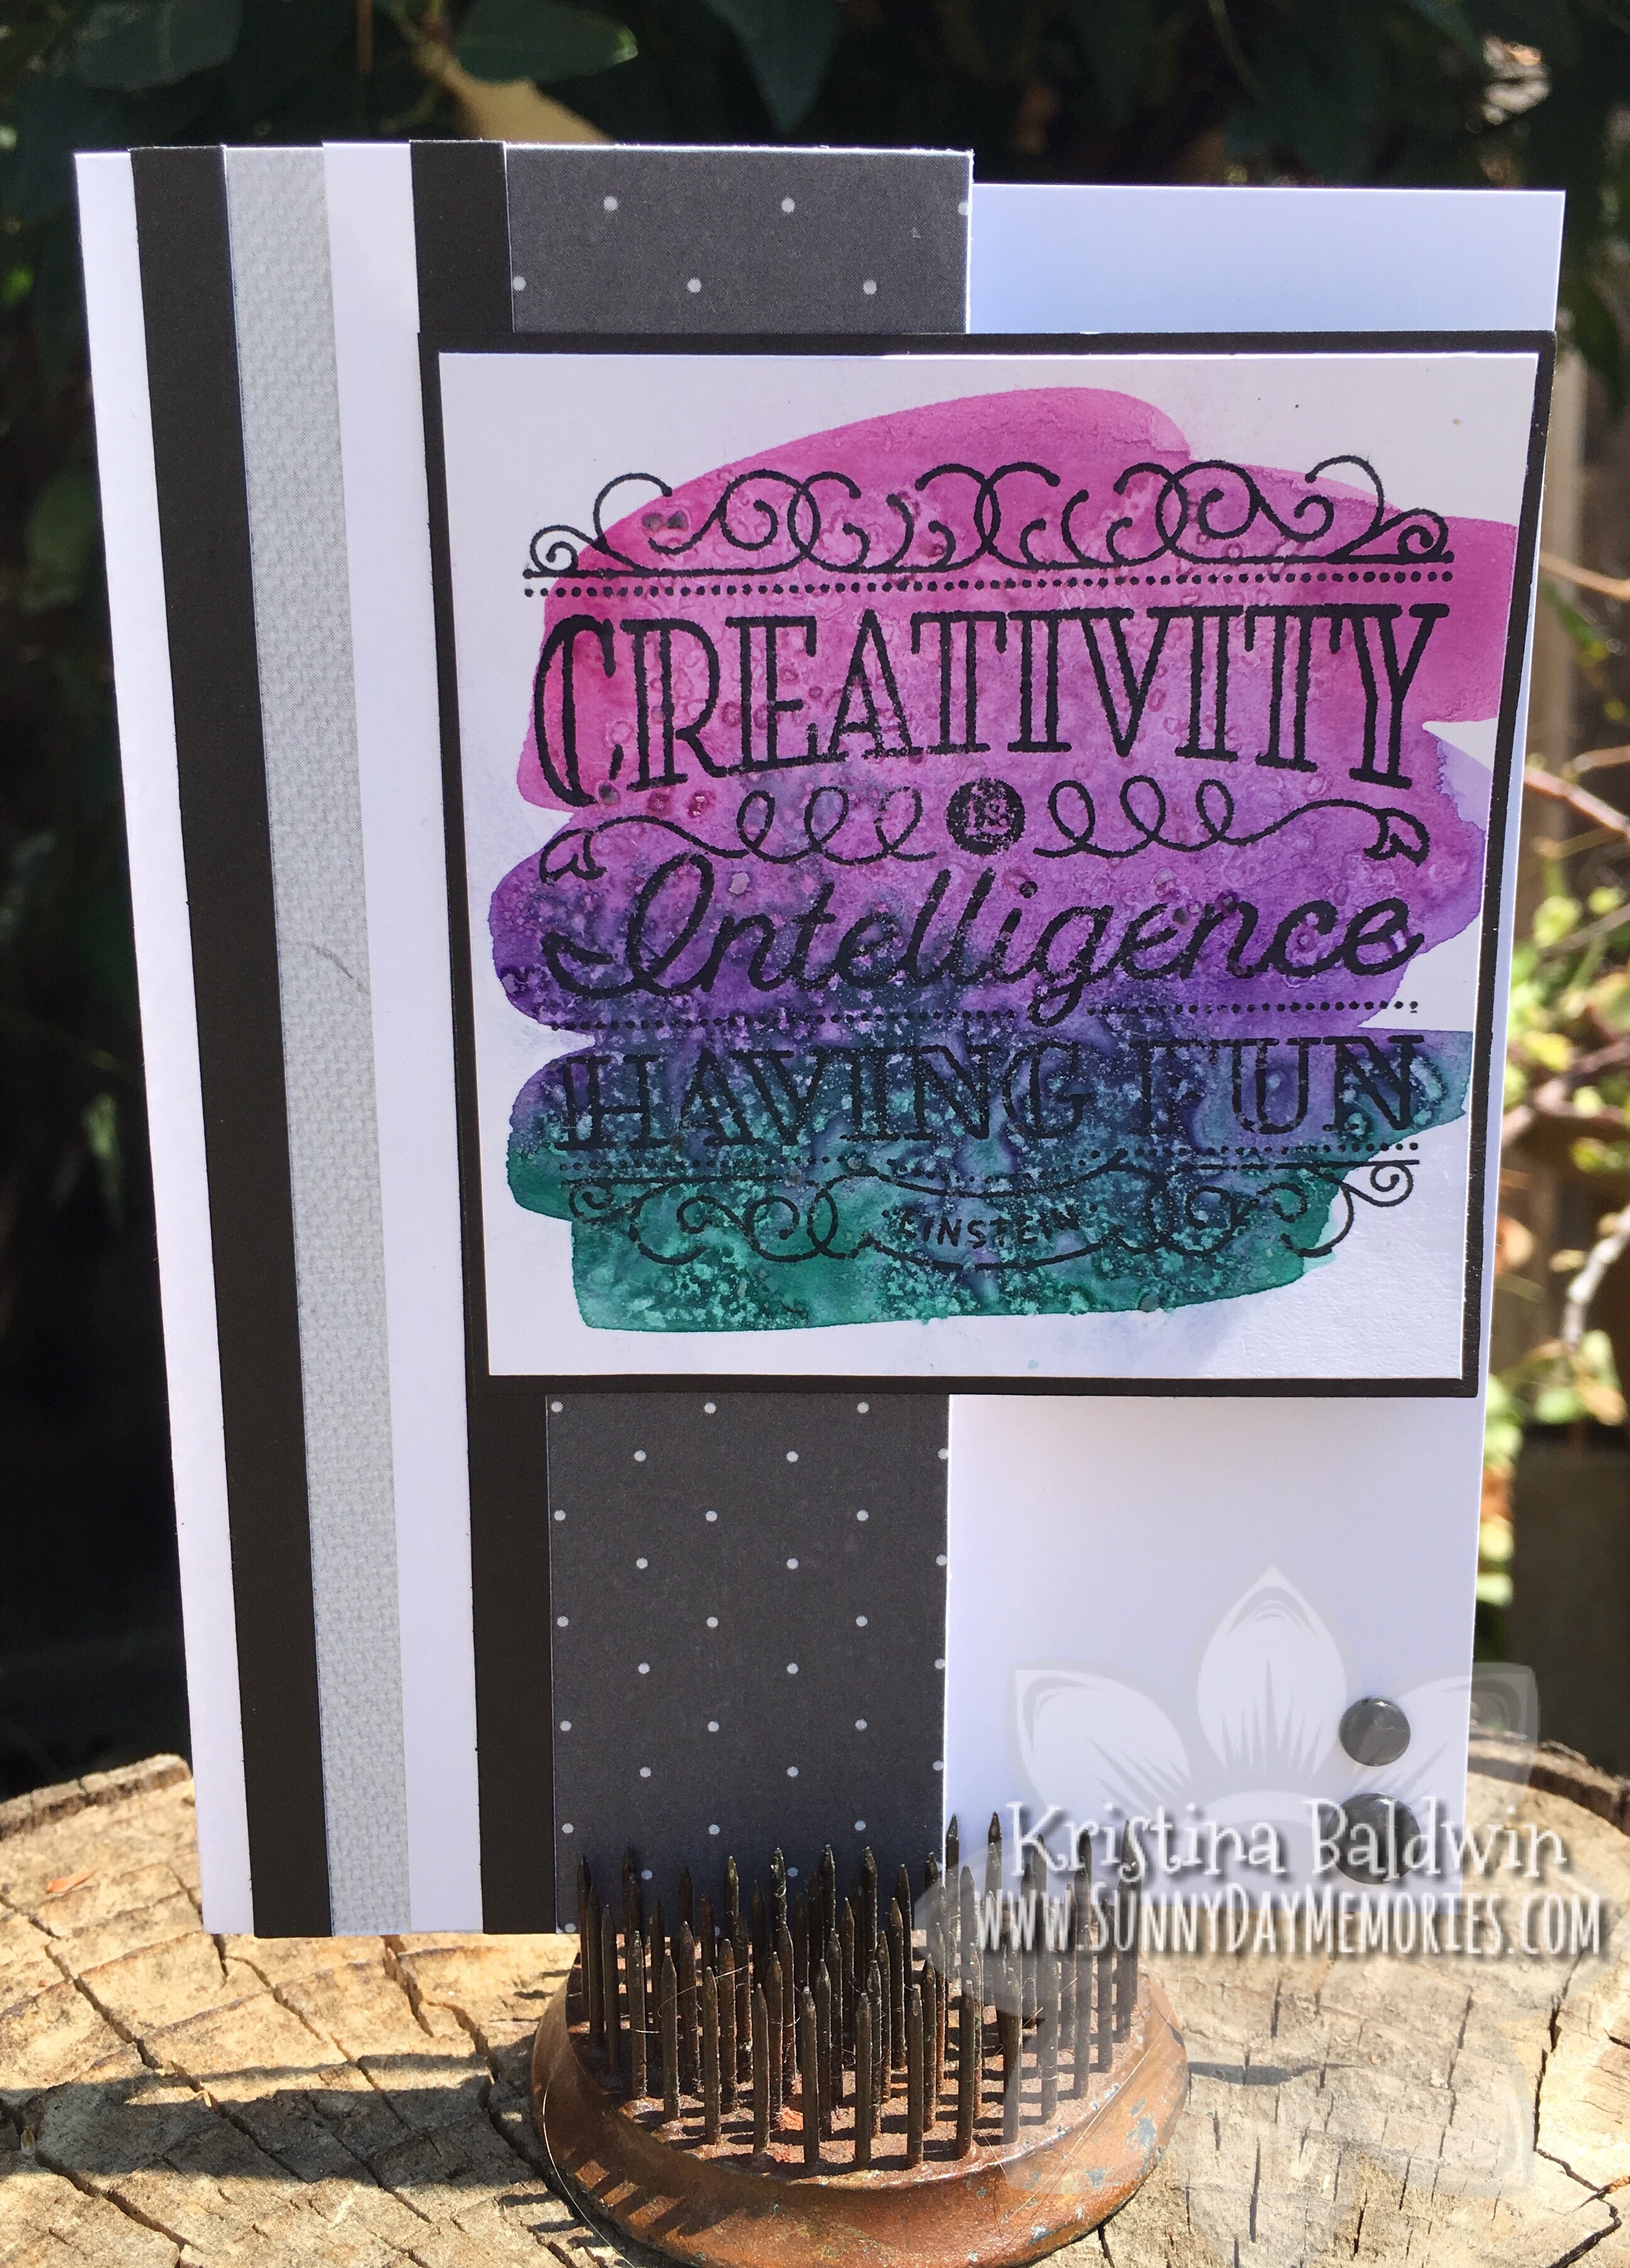
Today we are going to learn how to do a fun (and beautiful!) Salt Watercolor Technique.
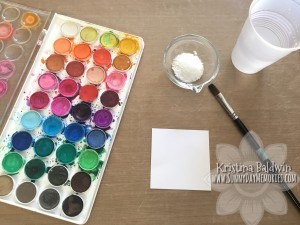
First, let’s start with the supplies you’ll need:
- All-purpose Mat (Z2045)
- Watercolor Paints (Z3132)
- Paintbrush Set–Flat Brush (Z3188)
- Watercolor Paper (Z3146)
- Cup of water
- Kosher Salt
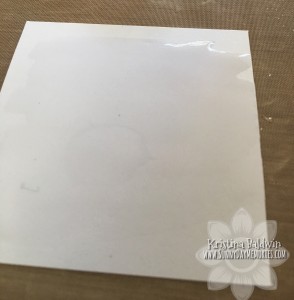
STEP 1:
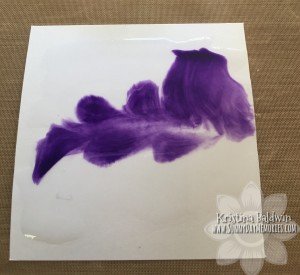
You will want to start by doing a wet wash on your watercolor paper. Simply wet your paintbrush and apply a coat of water to your paper.
STEP 2:
With your paintbrush still wet, pick your first color of watercolor paint and get it wet either in the original paint well or start your own in one of the empty wells of the lid. Add paint to your paper (I usually start in the center and move from there, but you could start at the top or bottom if you prefer.) You’ll notice that the paint will be very mobile from the water we applied at the start–you want this!
STEP 3:
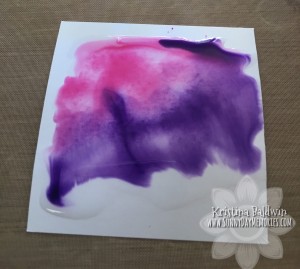
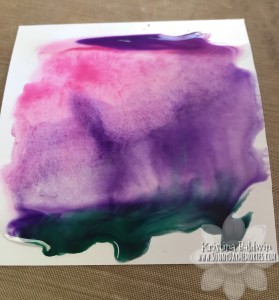
Add your other colors (if desired.) You can always intensify the color a bit by bringing more paint pigment or dilute the color intensity by adding more water.
STEP 4:
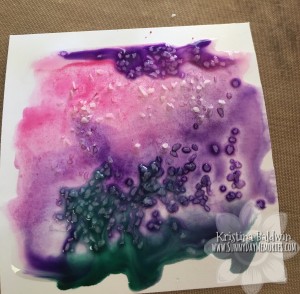
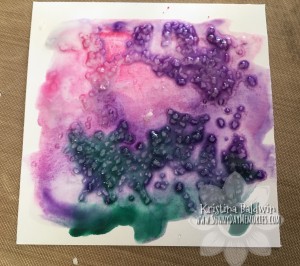
Now that you’ve added your colors, you’ll want to sprinkle Kosher Salt onto your paper (you can try other types of salt if you don’t have Kosher Salt on hand; it’ll just have a slightly different effect.) You’ll notice that if you don’t have enough wetness to your painting, the salt will remain solid and white in color. Whereas, if it is wet enough, that salt will start to absorb the color pigment from the area it is touching. You can always add more water if your salt remains dry and you wish to have the effect in that area.
STEP 5:
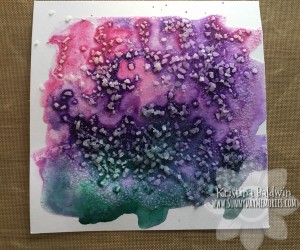
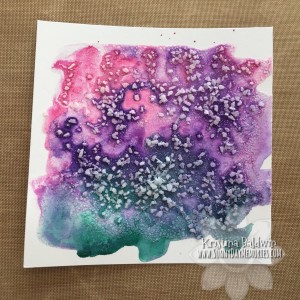
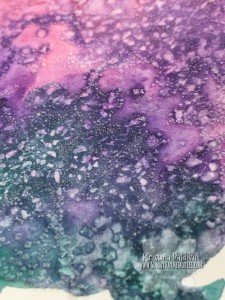
Allow your painting to dry completely. You’ll notice in my first photo, the center is still a little wet; the salt crystals will show you whether or not it’s ready for the next step. This is always a great time to work on the rest of your project. If you’re making a card, design the rest of the card and assemble while this portion dries.
STEP 6:
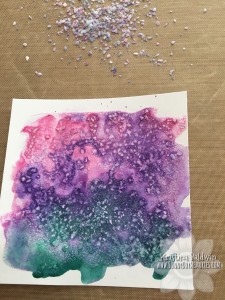
Using your fingers and/or thumb, you’ll want to rub off all the salt from your painting. Don’t be surprised to see some of the color on your fingers afterward! You’ll notice little specks with the absence of color where the salt was on the paper. It’s a really fun effect (think projects with space/solar system!)
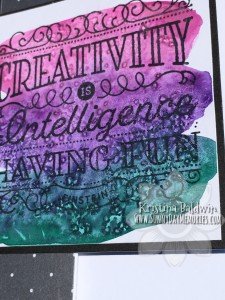
That’s it! You now have a fun piece of art that was easy to create with a very striking result! In my sample, I didn’t use as much water at the start so my colors didn’t blend as much as my sample in the tutorial (where I used more water.) This gives you a better sense of the variety of effects you can get. Add more water. Add more paint. Add more salt. Add less salt. It all creates a stunning effect just a little different with each adjustment. So needless to say, no 2 pieces will look exactly alike! Give it a try and have fun with it!

