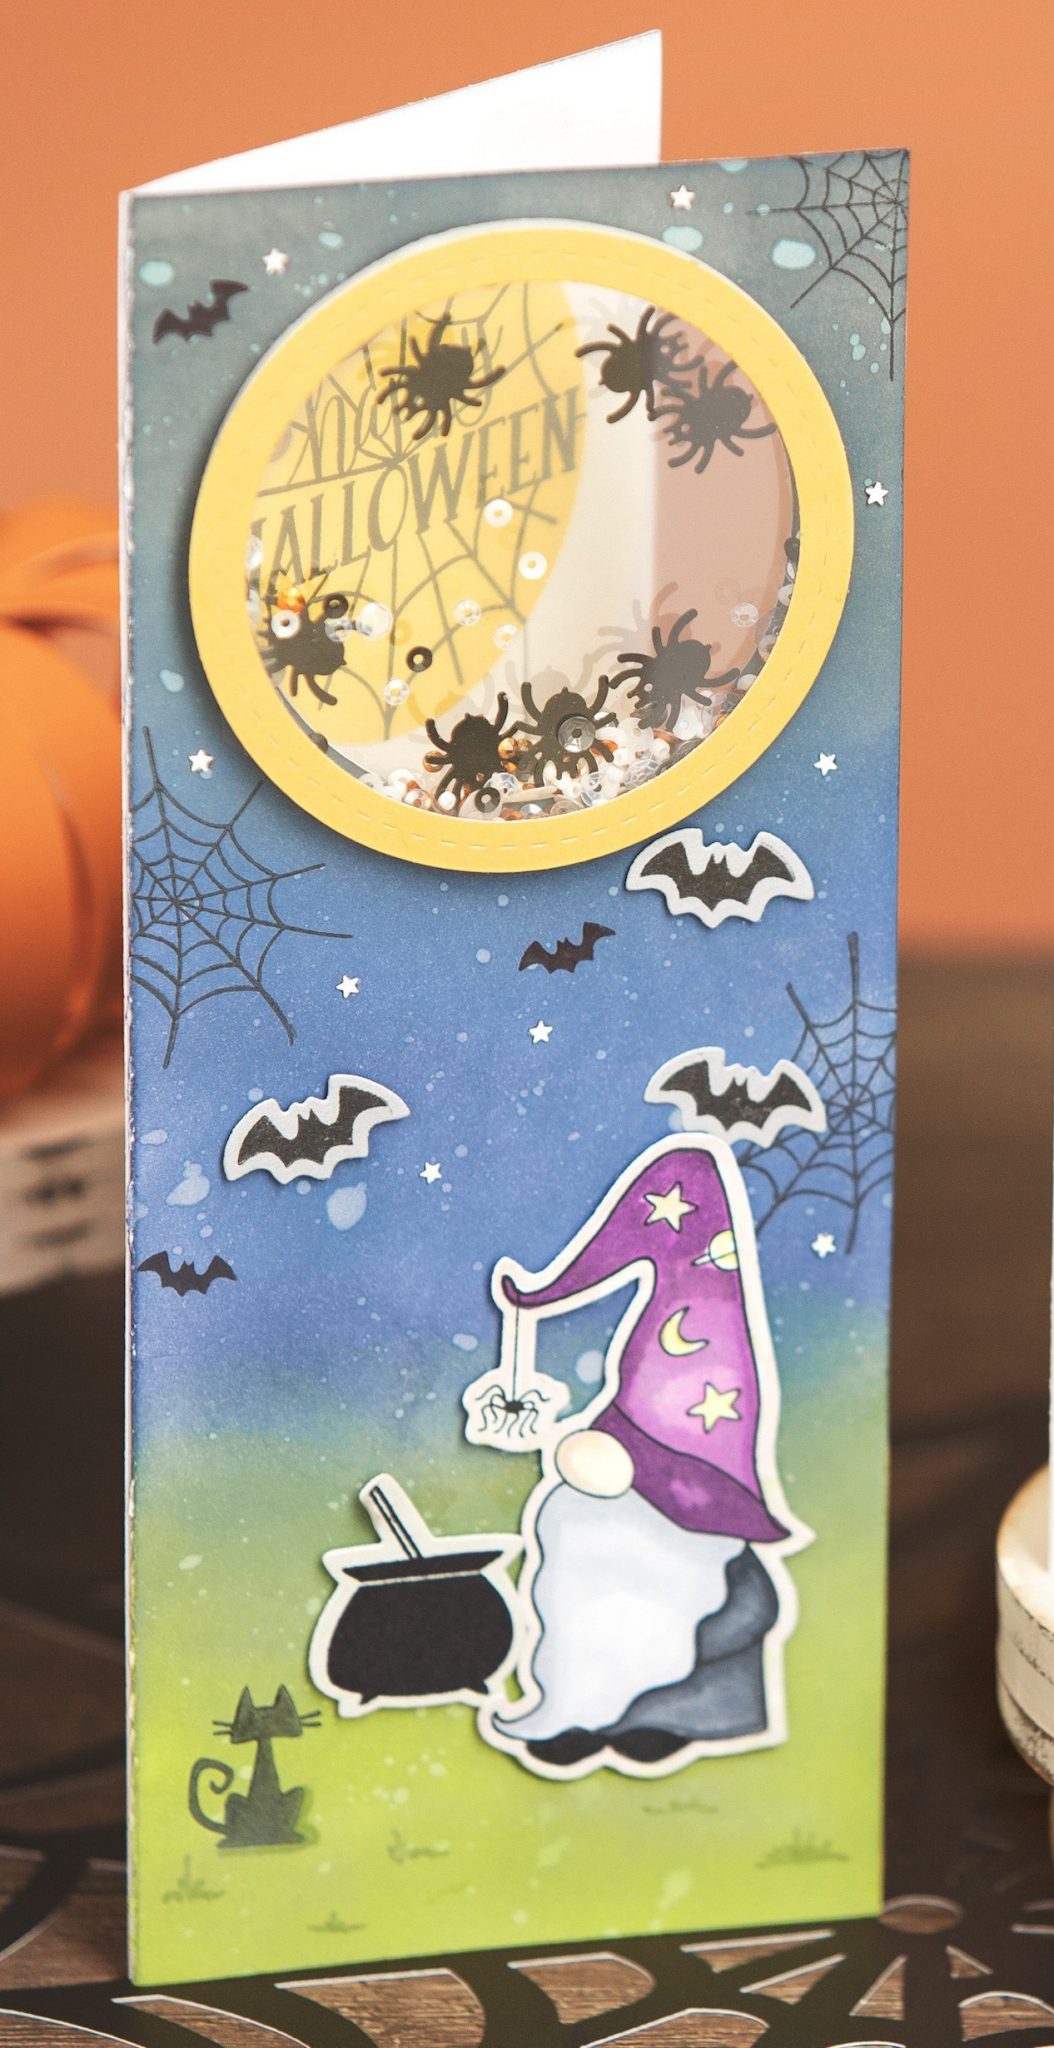
Yesterday, Close To My Heart shared a blog post where they had a tutorial on how to create see-through shaker window projects. I thought it was perfect timing since I also shared a different way to use our *NEW* Shaker Window Thin Cuts in my post yesterday. In case you missed their post, I’m sharing it here with you today!
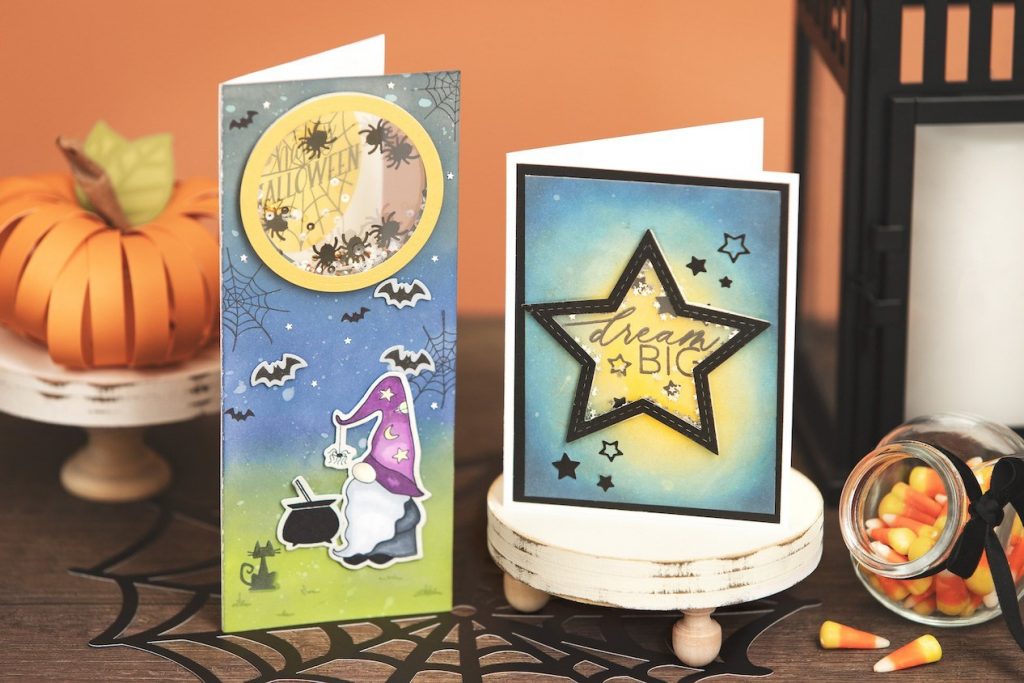
If you haven’t perused the new Close To My Heart Core Products Catalog, you are missing out on some pretty amazing crafting tools! A few of our newest additions really shake things up in the world of shaker windows—Have a look!
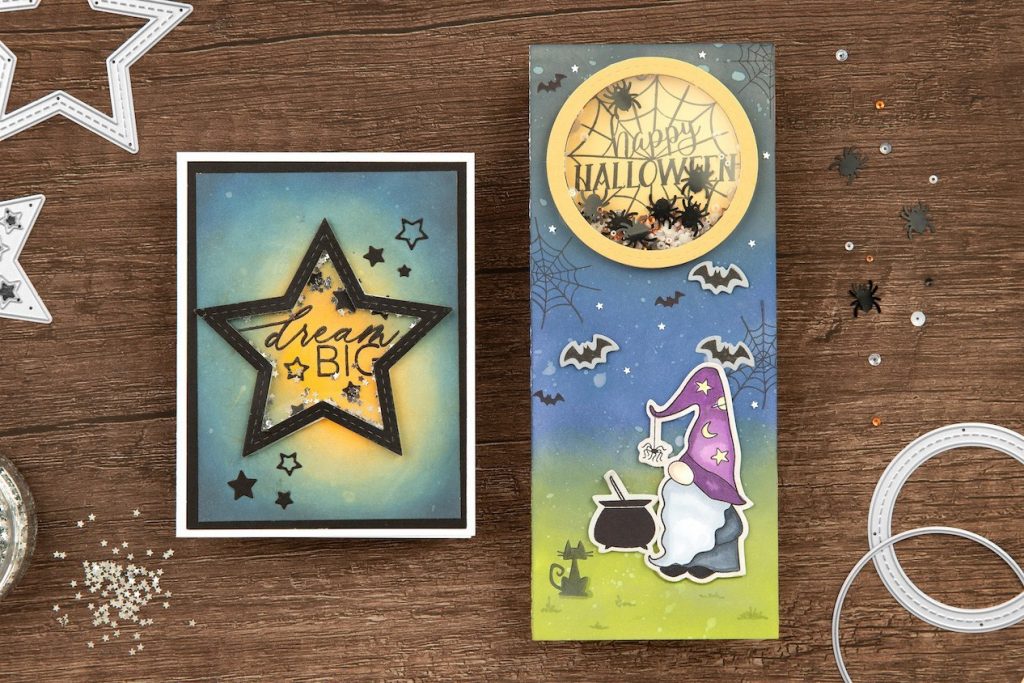
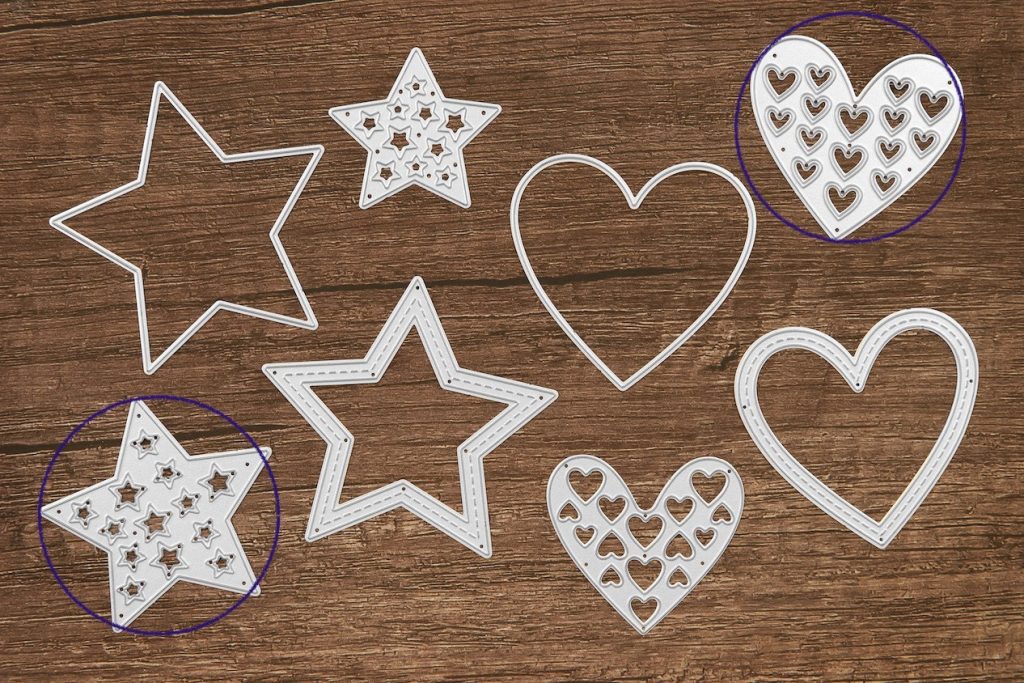
Aside from the original Circle Shaker Window Thin Cuts, we now also have Heart Shaker Window Thin Cuts and Star Shaker Window Thin Cuts sets!

Use these top-of-the-line thin metal dies to cut the window, frame, and confetti for a shaker window, then pair them with their coordinating foam and acetate to complete the dimensional design.
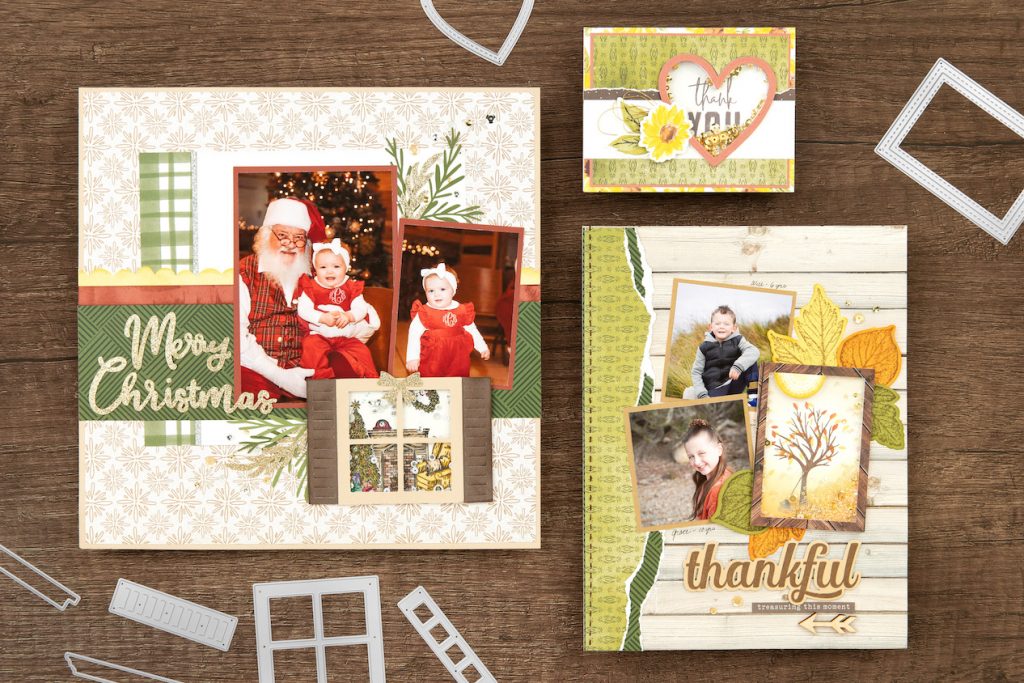
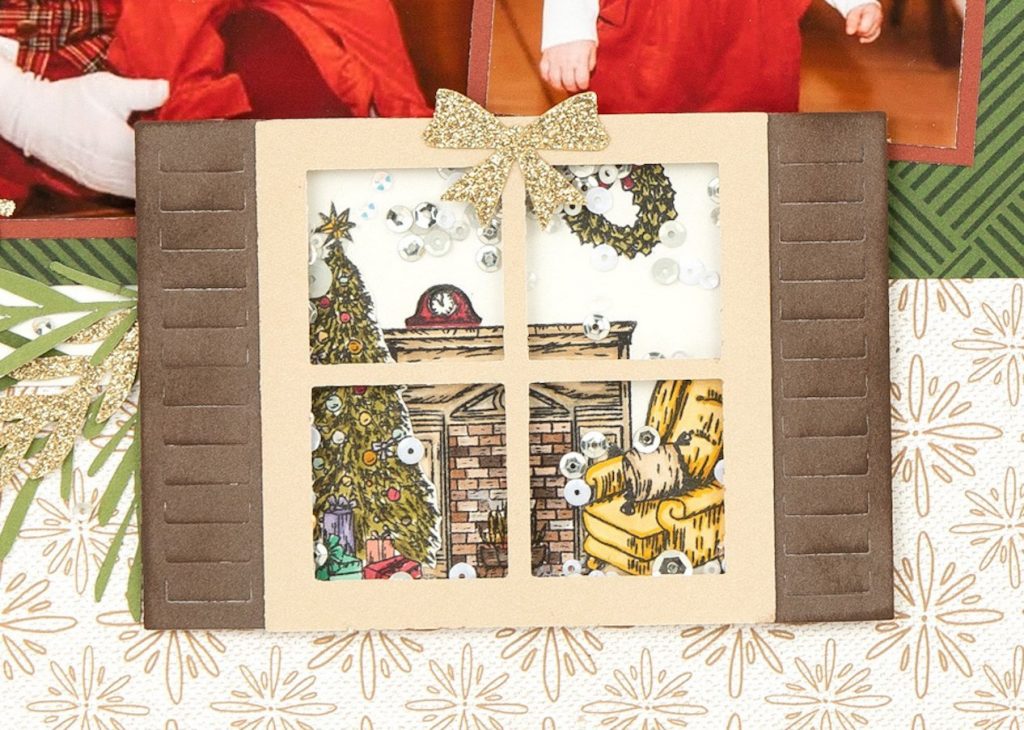


Another of our new sets of dies is a beautiful Window Thin Cuts set that allows you to create a decorative window scene. When you pair these dies with the Square Shaker Window Foam + Acetate (also new!), you can fill it with loose sequins or some of our bitty beads to create the full “shaker” effect.
A fun tip that we want to share with you today is how simple it is to create an actual see-through window using your shaker window Thin Cuts.
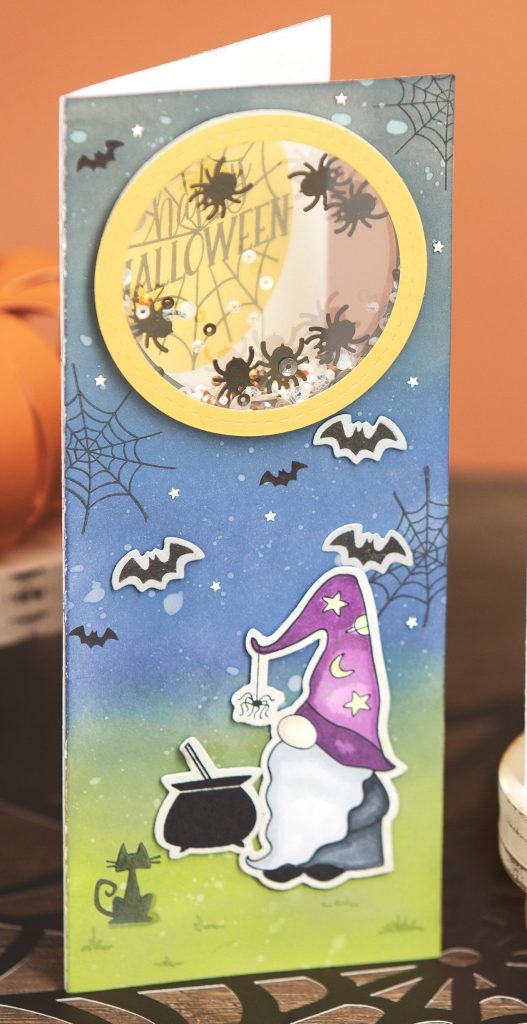
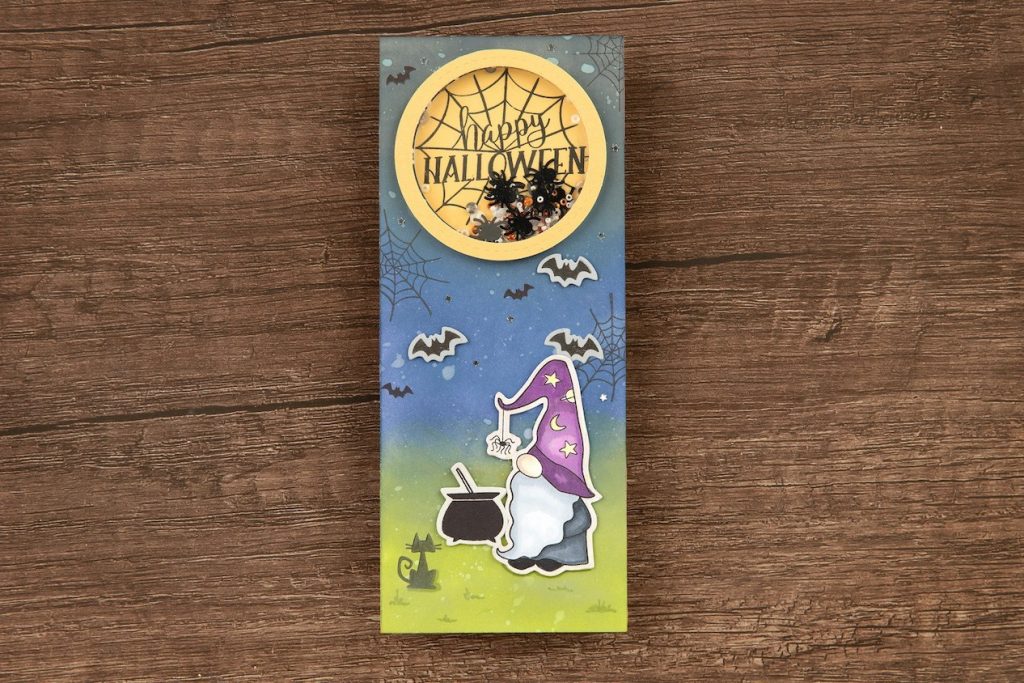
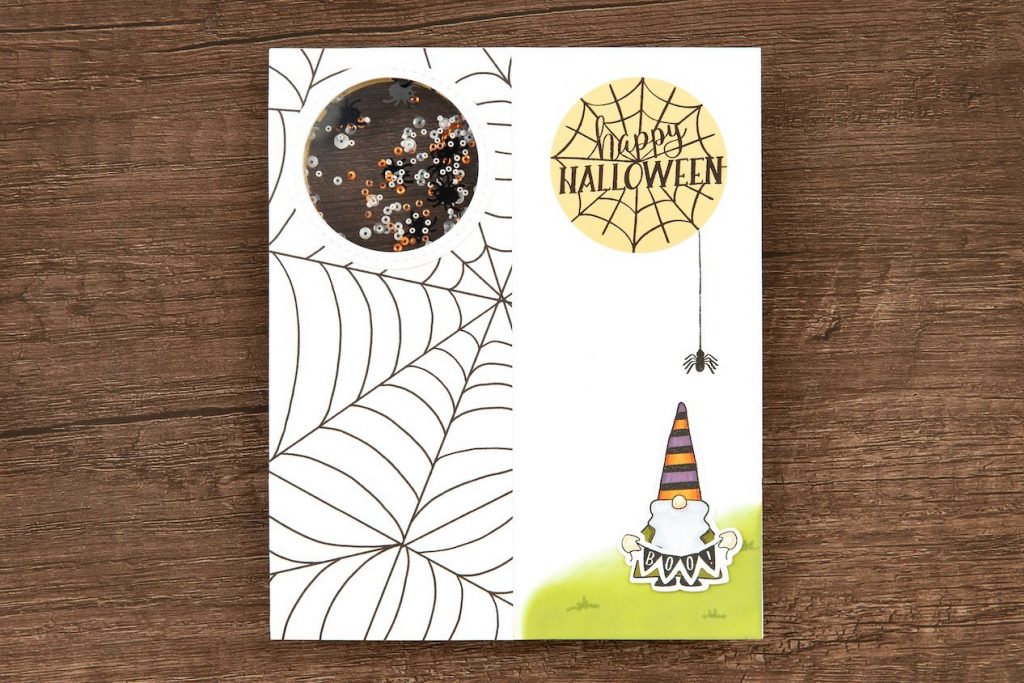
To create a see-through window, you will need to cut a shape on your card base that is smaller than the coordinating overlay and acetate, otherwise your window will just fall through the hole on your project. (You will also need two frames and two pieces of acetate, one for each side.)
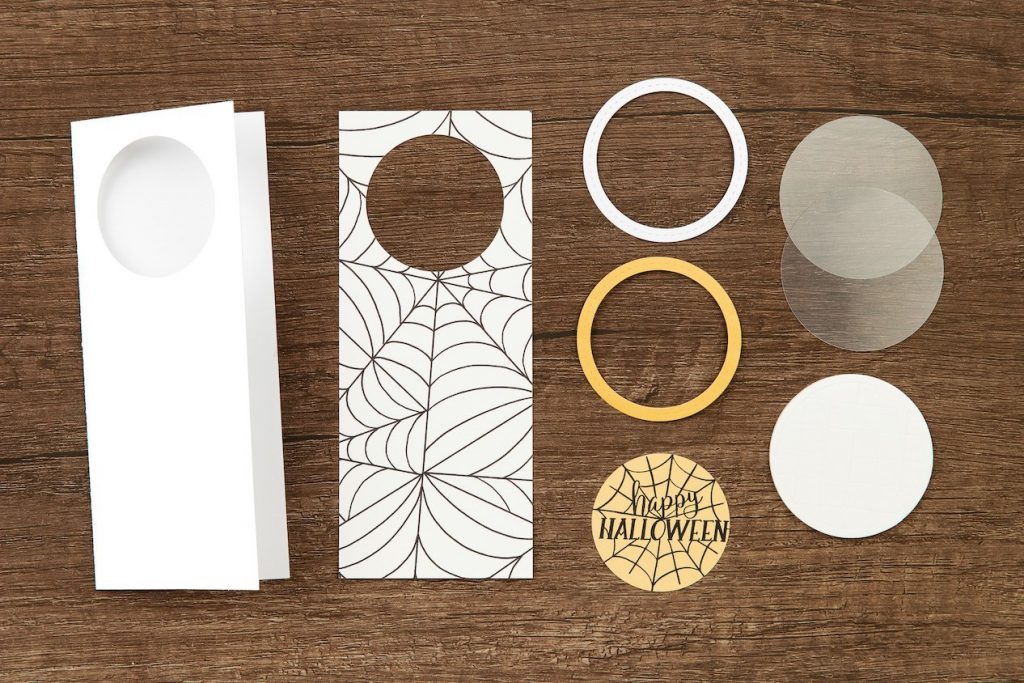
If you look at the circle, star, or heart shaker window Thin Cuts sets, you will notice that these each come with dies that cut confetti. These dies are intentionally designed in the shape of their corresponding sets.
If you use the larger of the two confetti-cutting dies to cut the window on your card base, the overlaying acetate and frame will fit perfectly on top to seal any shaking elements in place!
Once your window is cut on the card base, attach an acetate sheet to the back and frame it with a die-cut overlay.
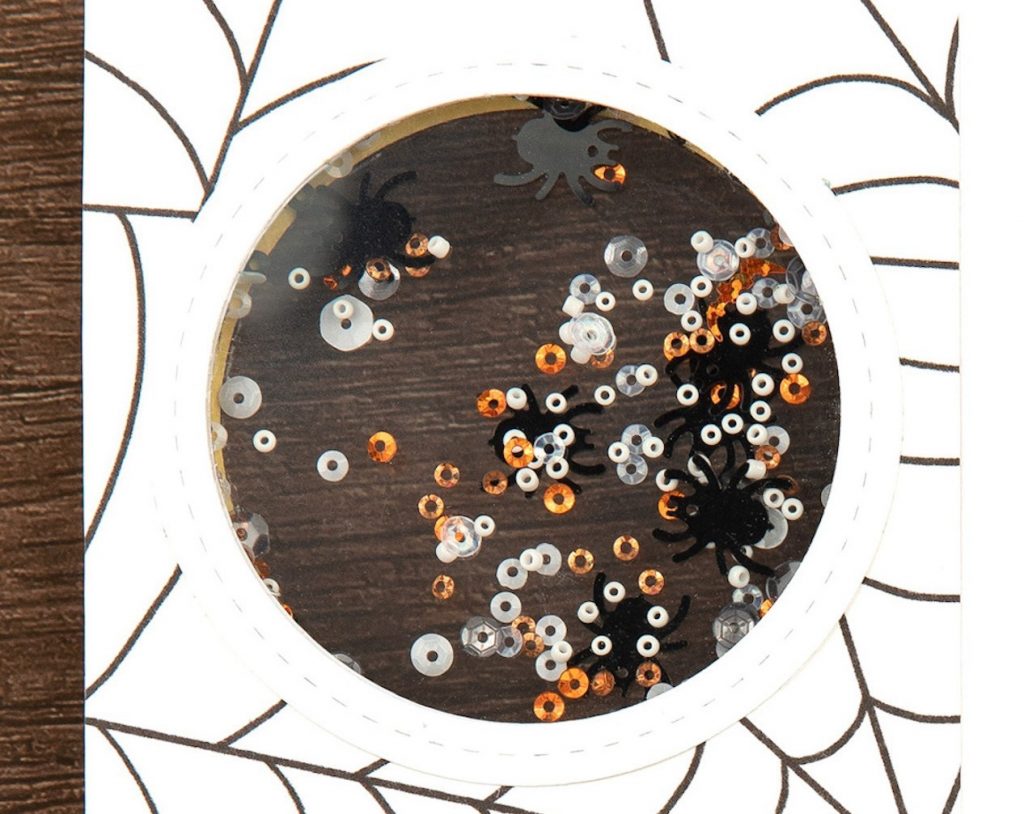
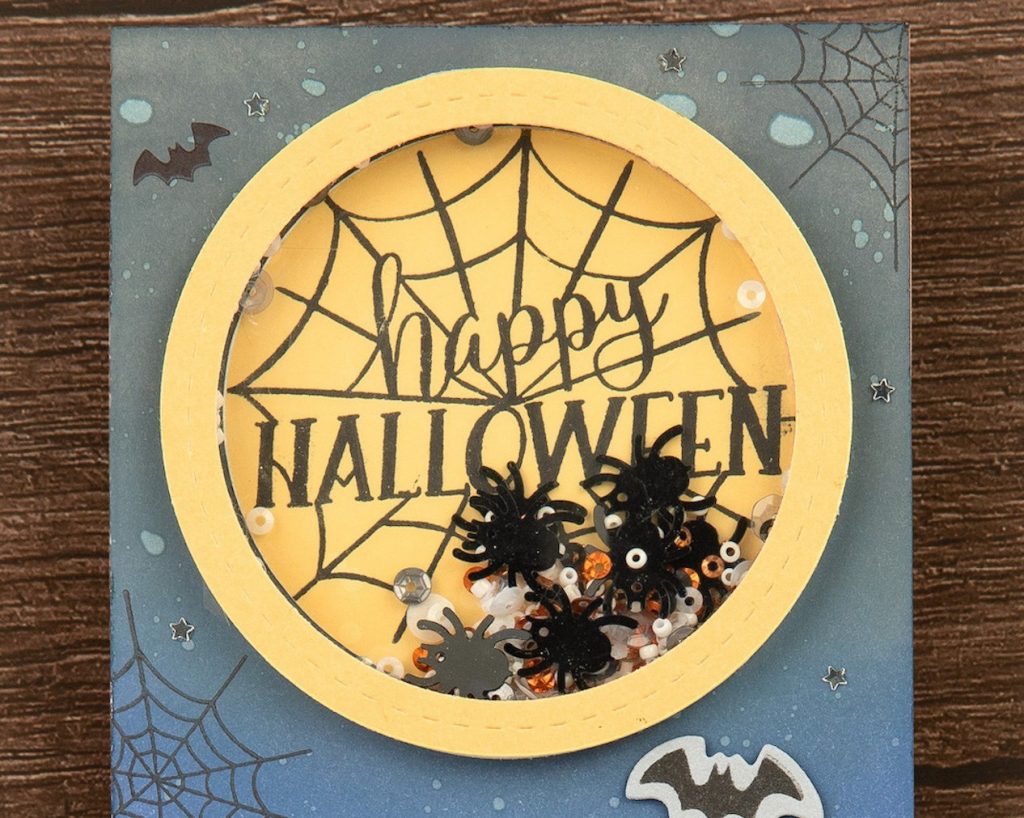
Flip the card back over to the front and add the 3-D foam around the perimeter of your window. Use this 3-D foam as a wall to hold any confetti, loose sequins, or bitty beads you wish to add, and then attach the second piece of acetate and frame. And done! That’s how easy it is to build a see-through shaker window!
So fun, right?! I know I’m now inspired to create a see-through shaker card or layout. How about you? Inspired to create some see-through shaker window projects?

